Unlock Authentic Flavor: Your Guide to Crafting the Perfect Homemade Salsa
Ever wonder what transforms a simple meal into an unforgettable culinary experience? Often, it’s the vibrant, fresh, and zesty notes of a perfectly crafted Salsa. Forget bland, store-bought jars; preparing your own at home opens up a world of unparalleled flavor, allowing you to customize every aspect to your liking. Beyond just a condiment, a truly exceptional Salsa can elevate tacos, grilled meats, and even inspire a spontaneous desire for Salsa dancing – its lively character is infectious! This comprehensive guide will empower you to create a homemade Salsa that’s bursting with freshness and personalized to your palate.
Ingredients & Kitchen Tools
Gathering the right components is the first step towards a sensational Salsa.
Ingredients:
- 4 ripe Roma tomatoes: (approximately 1 lb) – Opt for firm, red tomatoes for optimal flavor and texture.
- 1/2 medium red onion: – Provides a sharp, slightly sweet kick.
- 1-2 jalapeño peppers: (to taste) – Adjust based on your preferred spice level. Remove seeds and membranes for less heat.
- 1/2 bunch fresh cilantro: (about 1/2 cup chopped) – Adds a bright, herbaceous note.
- 2 cloves garlic: – Essential for depth of flavor.
- Juice of 1 lime: (about 2 tablespoons) – Balances flavors and adds tanginess.
- 1/2 teaspoon ground cumin: – Enhances the earthy notes.
- 1/4 teaspoon salt: (or to taste) – Crucial for seasoning.
- Pinch of black pepper: (or to taste) – Adds a subtle warmth.
- Optional: 1/2 avocado, diced: – For a creamy, richer variation.
Kitchen Tools:
- Cutting board: – For safe and efficient chopping.
- Sharp knife: – Essential for precise dicing.
- Large mixing bowl: – To combine all ingredients.
- Measuring spoons and cups: – For accurate ingredient quantities.
- Citrus juicer: – To extract maximum juice from your lime.
- Optional: Food processor or blender: – For a smoother Salsa, but chopping by hand offers a better texture.
Prep Time & Cooking Schedule
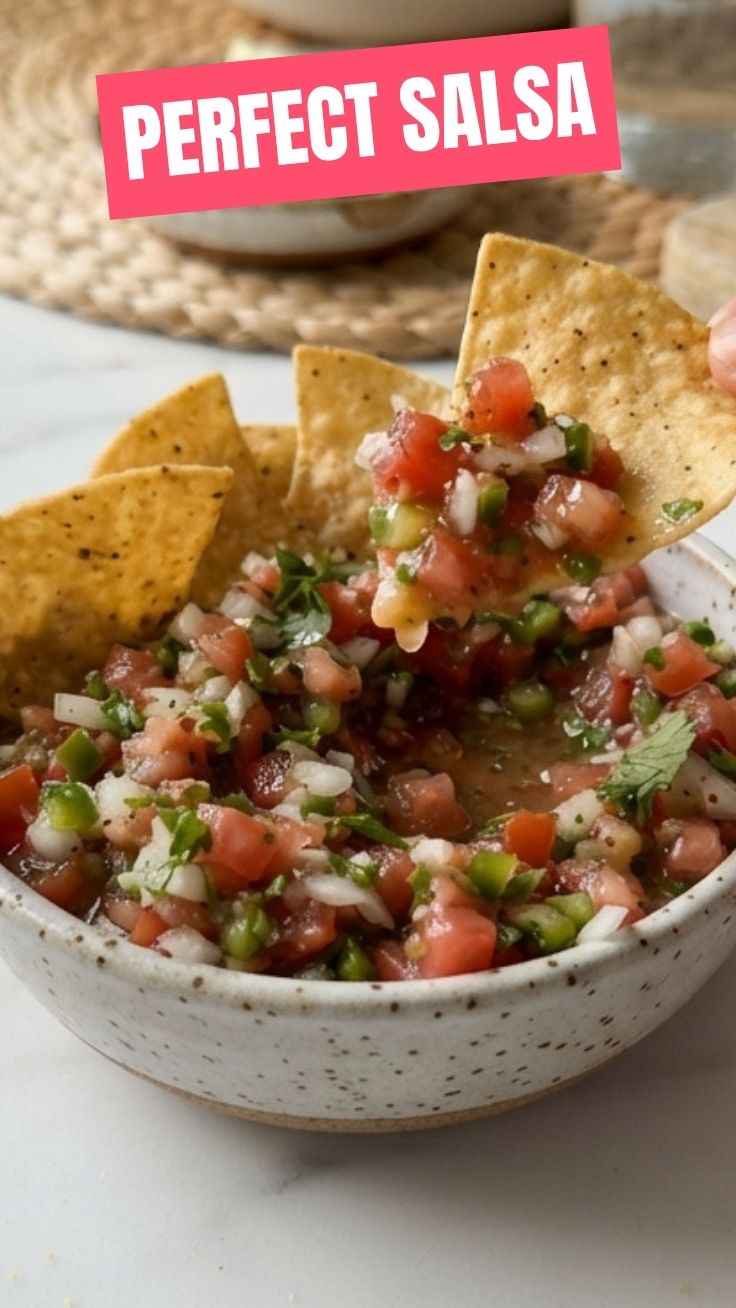
Good things take a little time, especially when it comes to developing robust flavors.
- Prep Time: 20-25 minutes
- Resting Time: 30 minutes (minimum, for flavors to meld)
Allowing your Salsa to rest is crucial. This “marinating” period allows the ingredients to intermingle and deepen their individual profiles, transforming separate flavors into a harmonious, complex blend. Plan to prepare your Salsa at least 30 minutes before serving, or even better, a few hours ahead.
Step-by-Step Instructions
Let’s get chopping and mixing! Crafting your own vibrant Salsa is a truly rewarding experience, almost as invigorating as an evening of Salsa dancing.
1. Prepare the Tomatoes: Wash and core the Roma tomatoes. Dice them into small, even pieces (about 1/4 inch). Aim for consistency to ensure an even distribution of tomato in every scoop. Place them in your large mixing bowl.
2. Dice the Aromatics: Finely dice the red onion and mince the garlic cloves. For the jalapeño, remove the stem, slice it in half lengthwise, and scrape out the seeds and white membrane for a milder Salsa. Finely dice the jalapeño. Add all these to the bowl with the tomatoes.
3. Chop the Cilantro: Roughly chop the fresh cilantro. Add it to the bowl.
4. Combine & Season: Squeeze the fresh lime juice over the chopped ingredients. Add the ground cumin, salt, and black pepper.
5. Mix Thoroughly: Gently fold all the ingredients together with a spoon or spatula until everything is well combined. Taste and adjust seasoning as needed – you might want a little more salt or lime.
6. Rest and Serve: Cover the bowl and refrigerate for at least 30 minutes. This allows the flavors to meld beautifully. If adding avocado, stir it in just before serving to prevent browning. Serve with your favorite tortilla chips, tacos, or as a vibrant topping for grilled chicken or fish.
Nutritional Benefits & Advantages
Homemade Salsa isn’t just delicious; it’s also a nutritional powerhouse! Tomatoes are rich in lycopene, a powerful antioxidant, while jalapeños provide capsaicin, which has anti-inflammatory properties. Onions and garlic offer prebiotics for gut health, and cilantro is packed with vitamins K and A. By making your own, you control the sodium content, avoiding the excessive salt often found in commercially prepared versions. It’s a fresh, low-calorie, and nutrient-dense addition to any meal.
Tips, Variations & Cooking Advice
- Roasting for Depth: For a smoky flavor, roast your tomatoes, jalapeños, and onion halves on a baking sheet at 400°F (200°C) for 15-20 minutes, or until slightly charred, before dicing.
- Spicier Kick: Leave some seeds and membranes in the jalapeño, or add a pinch of cayenne pepper or a dash of hot sauce.
- Fruity Twist: Incorporate diced mango, pineapple, or peaches for a sweet and savory fruit Salsa that pairs wonderfully with seafood.
- Tomatillo Salsa Verde: Substitute fresh tomatillos (roasted or boiled) for Roma tomatoes for a tangy, green Salsa.
- Dietary Adaptations: This recipe is naturally gluten-free and dairy-free. For a low-sodium version, simply reduce the amount of added salt.
Common Mistakes to Avoid
- Over-processing: If using a food processor, pulse only a few times. Over-blending will result in a watery, puréed Salsa rather than a chunky, fresh one.
- Skipping the Rest Time: Don’t rush it! The flavors truly develop and deepen as the Salsa sits.
- Under-seasoning: Always taste and adjust. A pinch more salt or a squeeze of lime can dramatically improve the flavor balance.
- Using Bland Tomatoes: Ripe, flavorful tomatoes are the star here. Avoid pale, hard tomatoes.
Storage & Meal Prep Tips
Store your homemade Salsa in an airtight container in the refrigerator for up to 3-4 days. The flavors will continue to meld and deepen over time, often tasting even better on the second day. It’s generally not recommended to freeze fresh Salsa, as the tomatoes can become mushy upon thawing. For meal prep, dice all ingredients and store them separately. Combine them with lime juice and seasoning just before serving for the freshest taste.
Conclusion
Crafting your own homemade Salsa is a culinary revelation, offering a fresh, vibrant, and customizable experience that far surpasses any store-bought alternative. From its bursting flavors to its incredible versatility, this staple condiment truly elevates any dish, bringing a zest that’s as invigorating as a lively session of Salsa dancing. We encourage you to try this recipe, experiment with variations, and share your delicious results! What’s your favorite way to enjoy fresh Salsa? Let us know in the comments below!
FAQs
Q1: Can I use canned tomatoes for this recipe?
A1: While fresh tomatoes are highly recommended for the best texture and flavor, you can use canned diced tomatoes (drained) in a pinch. The flavor profile will be different, less bright, and more intense.
Q2: How can I make my Salsa less watery?
A2: To reduce wateriness, you can remove the watery seed pulp from the tomatoes before dicing. Also, ensure your ingredients are finely diced rather than roughly chopped.
Q3: What if I don’t like cilantro?
A3: Cilantro can be polarizing! If you’re not a fan, you can omit it entirely or substitute it with fresh parsley for a different, but still herbaceous, note.
Q4: How long does homemade Salsa last?
A4: Stored in an airtight container in the refrigerator, fresh Salsa is best consumed within 3-4 days.
Q5: Can I adjust the spice level easily?
A5: Absolutely! For more heat, leave some seeds and membranes in the jalapeño, or add an extra jalapeño. For less heat, use only half a jalapeño or omit it entirely. You can also add a pinch of dried chili flakes or a dash of your favorite hot sauce.