Master the Grill: Your Ultimate Guide to Flavorful Grilled Chicken
Ever wondered how to achieve that perfectly juicy, smoky Grilled Chicken right in your own backyard? Bringing the art of the grill into your kitchen (or patio!) isn’t just about cooking; it’s about crafting an experience, infusing simple ingredients with incredible depth, and creating memorable meals. This isn’t just another recipe; it’s a comprehensive guide to mastering the techniques that elevate your outdoor cooking. We’ll dive deep into ensuring every bite is tender, flavorful, and a testament to your culinary prowess, making those Grilled Chicken Recipes dreams a delicious reality.
Ingredients & Kitchen Tools
To embark on your journey to perfect grilled chicken, you’ll need a selection of fresh ingredients and a few essential kitchen tools.
Ingredients:
Chicken Pieces: 2 lbs bone-in, skin-on chicken thighs and/or drumsticks (for maximum flavor and juiciness). Substitution: Boneless, skinless chicken breasts for a lighter option, but adjust cooking time.*
- Olive Oil: 2 tablespoons (extra virgin, for binding spices and preventing sticking).
- Smoked Paprika: 1 tablespoon (adds a rich, smoky depth).
- Garlic Powder: 1 tablespoon (a culinary staple for savory notes).
- Onion Powder: 1 tablespoon (enhances the savory profile).
- Dried Thyme: 1 teaspoon (herbaceous notes that complement poultry).
- Cayenne Pepper: ½ teaspoon (optional, for a subtle kick).
- Salt & Black Pepper: To taste (essential for seasoning).
- Lemon: 1 whole (for fresh zest and juice, brightens flavors).
- Fresh Parsley or Cilantro: For garnish (adds freshness and color).
Kitchen Tools:
Grill (Charcoal or Gas): The star of the show. Clarification: Ensure it’s clean and well-maintained.*
- Large Mixing Bowl: For seasoning your chicken.
- Tongs: Long-handled, for safely flipping chicken on the hot grill.
Instant-Read Meat Thermometer: Crucial for ensuring doneness and food safety. Clarification: A must-have for all meat cooking.*
- Basting Brush: (Optional) For applying marinades or glazes.
- Cutting Board & Sharp Knife: For prep work.
- Aluminum Foil: For resting the chicken.
Prep Time & Cooking Schedule
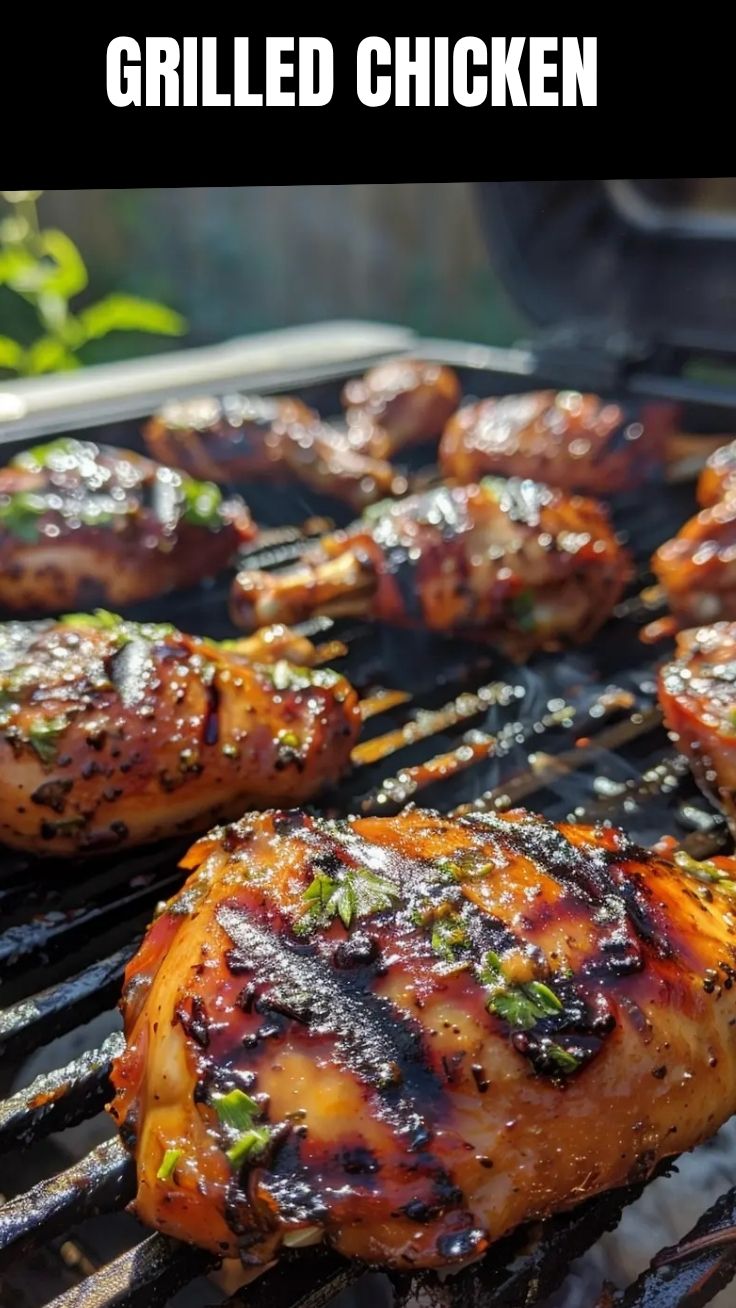
Planning is key for exceptional grilled results.
- Prep Time: 15 minutes
Marinating Time: Minimum 30 minutes (up to 4 hours in the refrigerator for deeper flavor infusion). Context: This step significantly impacts tenderness and taste.*
- Grill Preheat Time: 10-15 minutes
- Cook Time: 20-30 minutes (depending on chicken thickness and grill temperature)
- Resting Time: 5-10 minutes (essential for juicy results).
Step-by-Step Instructions
1. Prepare the Chicken: Pat the chicken pieces dry with paper towels. This helps achieve crispy skin. Place them in a large mixing bowl.
2. Season Generously: Drizzle olive oil over the chicken. In a small bowl, combine smoked paprika, garlic powder, onion powder, dried thyme, cayenne pepper (if using), salt, and black pepper. Sprinkle this seasoning mix over the chicken, ensuring each piece is thoroughly coated. Use your hands to rub the spices in for maximum flavor. Add the zest of half a lemon.
3. Marinate: Let the chicken marinate at room temperature for at least 30 minutes, or cover and refrigerate for up to 4 hours.
4. Preheat the Grill: While the chicken marinates, preheat your grill to medium-high heat (375-400°F or 190-200°C). Clean the grill grates thoroughly with a wire brush to prevent sticking.
5. Grill the Chicken: Place the Grilled Chicken pieces skin-side down on the preheated grates. Close the lid and grill for 5-7 minutes, until the skin is golden brown and slightly crispy. Practical Tip: Avoid moving the chicken too frequently during this initial stage to get good char marks.
6. Flip and Continue Cooking: Flip the chicken pieces and continue grilling for another 15-20 minutes, turning occasionally, until the internal temperature reaches 165°F (74°C) when checked with an instant-read meat thermometer in the thickest part of the meat (avoiding the bone). Texture Cue: The juices should run clear when pierced. For those exploring Grilled Chicken Recipes, ensuring proper doneness is paramount.
7. Rest the Chicken: Once cooked, transfer the chicken to a clean cutting board or platter. Tent loosely with aluminum foil and let it rest for 5-10 minutes. This allows the juices to redistribute, ensuring tender and moist meat.
8. Serve: Squeeze the remaining lemon juice over the chicken and garnish with fresh parsley or cilantro. Serve hot and enjoy!
Nutritional Benefits & Advantages
Grilled chicken is a powerhouse of protein, vital for muscle repair, growth, and overall body function. Opting for bone-in, skin-on pieces provides flavor, but removing the skin after grilling significantly reduces fat content for a healthier profile. Chicken is also a rich source of essential nutrients like B vitamins (niacin, B6), phosphorus, and selenium, which contribute to energy metabolism, immune function, and bone health. Grilling, compared to frying, is a lower-fat cooking method, as it allows excess fat to drip away, making it an excellent choice for a balanced diet.
Tips, Variations & Cooking Advice
- Flavor Variations: Experiment with different spice rubs! Try a smoky BBQ rub, a zesty lemon-herb blend, or a spicy peri-peri marinade.
- Ingredient Swaps: Use boneless, skinless chicken breasts or tenderloins for faster cooking, but be mindful not to overcook them, as they dry out easily.
- Alternative Cooking Methods: No grill? No problem! You can achieve similar results using a grill pan on the stovetop or by baking the chicken in the oven at 400°F (200°C) for 25-35 minutes, broiling for the last few to crisp the skin.
- Dietary Adaptations: This recipe is naturally gluten-free. For a dairy-free marinade, simply ensure your seasoning blend contains no dairy additives.
- Brining: For even juicier chicken, consider brining your chicken in a saltwater solution (1/4 cup salt per 4 cups water) for 30 minutes to 4 hours before seasoning and grilling.
Common Mistakes to Avoid
- Overcrowding the Grill: This lowers the grill temperature and steams the chicken instead of searing it, leading to less crispy skin and uneven cooking.
- Not Oiling the Grates: Leads to sticking and tearing of the chicken skin. Always start with clean, oiled grates.
- Flipping Too Soon/Too Often: Let the chicken develop a crust before flipping. Too much flipping prevents good char and can dry out the meat.
- Not Using a Thermometer: Guessing doneness is a recipe for dry chicken or, worse, undercooked poultry. Always rely on an instant-read meat thermometer.
- Skipping the Resting Time: Resting is crucial. It allows the muscle fibers to relax and reabsorb juices, resulting in significantly more tender chicken.
Storage & Meal Prep Tips
Storage: Leftover grilled chicken can be stored in an airtight container in the refrigerator for up to 3-4 days. For longer storage, freeze cooked chicken in a freezer-safe bag or container for up to 3 months.
Reheating:
- Oven: Reheat in a preheated oven at 300°F (150°C) for 15-20 minutes, or until warmed through, to help maintain moisture.
- Microwave: Best for quick reheating but can sometimes dry out the chicken. Use short intervals and cover with a damp paper towel.
- Skillet: Reheat on medium-low heat in a lightly oiled skillet, covered, for 5-7 minutes, flipping once.
Meal Prep: Grill a larger batch of chicken at the beginning of the week. It’s fantastic for salads, sandwiches, wraps, or as a protein addition to grain bowls and pasta dishes throughout the week.
Conclusion
Mastering the art of Grilled Chicken is a rewarding culinary journey that pays off with every succulent bite. By following these detailed steps, heeding our expert tips, and understanding the science behind the perfect char and juiciness, you’re well on your way to becoming a grill master. So fire up your grill, embrace the smoky aroma, and savor the incredible flavors you’ll create. We encourage you to try this ultimate guide to elevate your grilling game and share your delicious results with us! Explore even more inventive Grilled Chicken Recipes and continue your culinary adventure!
FAQs
Q1: How do I prevent my chicken from sticking to the grill?
A1: Ensure your grill grates are clean and hot before you place the chicken on them. Lightly brush the grates with a high-smoke-point oil (like canola or grapeseed) right before cooking.
Q2: Can I use boneless chicken breasts instead?
A2: Absolutely! Boneless, skinless chicken breasts cook faster, typically around 6-8 minutes per side, depending on thickness. Be extra careful not to overcook them, as they can dry out quickly.
Q3: What’s the best way to get crispy chicken skin on the grill?
A3: Start with patting the chicken skin very dry. Grill skin-side down over medium-high heat initially until the skin is golden brown and releases easily from the grill. Avoid moving it too much during this phase.
Q4: How important is resting the chicken after grilling?
A4: Resting the chicken is crucial! It allows the juices, which concentrate in the center during cooking, to redistribute throughout the meat, resulting in a much juicier and more tender product. Don’t skip this step.
Q5: My grilled chicken sometimes tastes bland. What can I do?
A5: Ensure you’re seasoning generously and allowing enough time for marination (at least 30 minutes, ideally longer). Don’t forget salt and pepper, and consider adding a fresh element like lemon zest or a squeeze of fresh lime juice after cooking.