Master the Art of Home-Cooked Perfection: Your Guide to Fall-Off-The-Bone Ribs
Tired of expensive restaurant ribs that leave you wanting more? Imagine sinking your teeth into tender, succulent Baby Back Ribs, slow-cooked to perfection in your own kitchen. There’s an undeniable satisfaction in crafting a culinary masterpiece from scratch, and this guide will empower you to create the most incredible BBQ Ribs your taste buds have ever encountered. Beyond the cost savings, preparing these at home guarantees control over ingredients, allowing for personalized flavor profiles that restaurant meals simply can’t match. Get ready to elevate your grilling game and impress everyone with your newfound rib expertise!
Ingredients & Kitchen Tools
Crafting outstanding ribs requires quality ingredients and the right equipment. Here’s what you’ll need:
- Pork Baby Back Ribs (2 racks, about 2-3 lbs each): The stars of the show! Look for meaty, well-marbled racks for optimal flavor and tenderness.
- Yellow Mustard (2 tbsp): Acts as a binder for the rub and adds a subtle tang.
- Apple Cider Vinegar (1/2 cup): Tenderizes the meat and adds moisture.
- Water (1/2 cup): To be used with apple cider vinegar for steaming.
- Your Favorite Dry Rub (1/4 cup): A blend of spices like paprika, brown sugar, garlic powder, onion powder, salt, and black pepper. Feel free to use a store-bought blend or mix your own.
- Your Favorite BBQ Sauce (1 cup): For basting and serving. Choose a sweet, tangy, or smoky variety based on your preference.
- Heavy-Duty Aluminum Foil: Essential for wrapping and steaming the ribs.
- Large Roasting Pan or Baking Sheet: To hold the wrapped ribs in the oven.
- Basting Brush: For applying BBQ sauce.
- Meat Thermometer (optional but recommended): To ensure internal temperature reaches 195-203°F (90-95°C) for optimal tenderness.
- Sharp Knife: For cutting the ribs into individual servings.
- Cutting Board: For prepping and serving.
Prep Time & Cooking Schedule
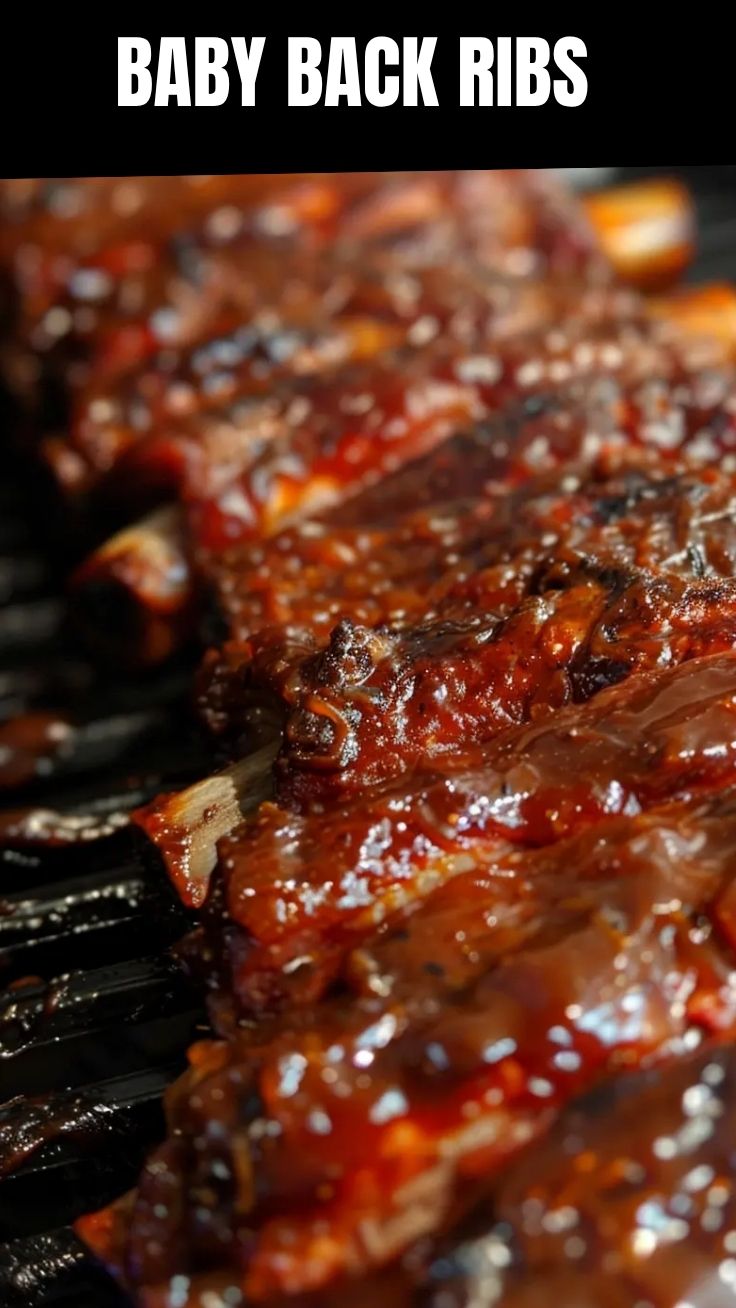
Planning is key to achieving perfectly tender ribs. This recipe involves several stages, so allocate enough time for each.
- Prep Time: 20 minutes (includes membrane removal and dry rub application).
- Cook Time: 3-4 hours (depending on your oven and rib thickness).
- Resting Time: 10-15 minutes (crucial for juice redistribution).
- Total Time: Approximately 3.5 – 4.5 hours.
It’s best to start this recipe several hours before you plan to serve to allow ample cooking and resting time. Consider prepping earlier in the day for an evening meal!
Step-by-Step Instructions
Follow these detailed steps for a truly unforgettable rib experience:
1. Prepare the Ribs: Start by removing the thin membrane from the bone side of the Baby Back Ribs. This little trick is vital for tenderness. Use a butter knife to lift the edge of the membrane and then grab it with a paper towel and pull it off. Pat the ribs dry with paper towels.
2. Apply the Binder and Rub: Evenly spread the yellow mustard over both sides of the ribs. This acts as a binder, helping your dry rub adhere. Generously sprinkle your favorite dry rub all over the ribs, ensuring full coverage.
3. Preheat Oven & Prepare for Steaming: Preheat your oven to 275°F (135°C). In a small bowl, combine the apple cider vinegar and water.
4. Wrap and Bake: Place each rack of ribs, bone-side up, on a large piece of heavy-duty aluminum foil. Pour half of the vinegar-water mixture over each rack. Tightly seal the foil around the ribs, creating a sealed packet. Place the foil-wrapped ribs in a large roasting pan or on a baking sheet. Bake for 2.5 to 3 hours, or until the meat begins to pull away from the bone and is very tender. This steaming process inside the foil is the secret to incredibly moist BBQ Ribs.
5. Saucing and Finishing: Carefully remove the ribs from the oven. Increase the oven temperature to 375°F (190°C) or prepare your grill for indirect medium heat. Unwrap the ribs, discard the foil and any accumulated liquid. Baste the top side of the ribs with a generous layer of your preferred BBQ sauce.
6. Caramelize the Sauce: Place the sauced ribs back on the baking sheet (or on the grill). Bake (or grill) for another 20-30 minutes, basting with more BBQ sauce every 10 minutes, until the sauce is caramelized and slightly sticky. Watch closely to prevent burning.
7. Rest and Serve: Once the ribs are beautifully caramelized, remove them from the oven or grill and let them rest for 10-15 minutes. This allows the juices to redistribute, ensuring maximum tenderness and flavor. Slice between the bones and serve hot!
Nutritional Benefits & Advantages
Pork ribs, when prepared correctly, can be a great source of protein, essential for muscle repair and growth. They also contain B vitamins, such as B12, crucial for nerve function and red blood cell production, and minerals like selenium and zinc, which support immune health. While ribs can be higher in fat, moderate consumption as part of a balanced diet can provide satiety and flavor. Using a homemade dry rub allows you to control sodium and sugar content, making for a healthier alternative to many store-bought options.
Tips, Variations & Cooking Advice
- Smoky Flavor: For an authentic smoky taste without a smoker, add a few drops of liquid smoke to the apple cider vinegar mixture before wrapping the ribs.
- Spicy Kick: Include a pinch of cayenne pepper or chili flakes in your dry rub for a fiery twist.
- Herbaceous Ribs: Incorporate dried rosemary or thyme into your rub for an herbal aroma.
- Grilling Finish: If you have a grill, finishing the ribs over indirect heat after baking will impart beautiful grill marks and a slightly crispy texture.
- Broiler Finish: For a quick caramelization, you can finish the ribs under the broiler for a few minutes, but keep a very close eye on them to prevent burning.
- Portion Control: Ribs are rich; one rack typically serves 2-3 people, depending on appetite.
Common Mistakes to Avoid
- Not Removing the Membrane: This is the most common mistake! Skipping this step results in tough, chewy ribs where the meat doesn’t easily pull from the bone.
- Under-cooking: Ribs need time. Rushing the cooking process will lead to tough, stringy meat. Patience is key for fall-off-the-bone tenderness.
- Over-saucing: While delicious, too much sauce too early can burn. Apply the majority of your sauce in the final cooking stage.
- Skipping the Rest: Resting allows the meat to reabsorb its juices, making for a more succulent end product. Don’t slice immediately!
Storage & Meal Prep Tips
Leftover ribs can be stored for 3-4 days in an airtight container in the refrigerator. To reheat, wrap them in foil with a splash of apple cider vinegar or water and warm in a 300°F (150°C) oven until heated through. Alternatively, microwave them on a lower power setting to prevent drying out. Freezing is also an option; wrap individual portions tightly in foil and then place in a freezer-safe bag for up to 3 months. Thaw in the refrigerator overnight before reheating.
Conclusion
There you have it – your definitive guide to creating mouth-watering Baby Back Ribs at home. With a little patience and the right techniques, you can achieve restaurant-quality results that will delight your family and friends. The journey from raw ribs to perfectly tender, saucy BBQ Ribs is incredibly rewarding. Don’t be shy – try this recipe, share your culinary triumphs in the comments below, and explore our other delicious guides to expand your home-cooked repertoire!
FAQs
Q: Can I use spare ribs instead of baby back ribs?
A: Yes, you can! Spare ribs are generally meatier and fattier, but they will require a longer cooking time, typically an extra hour or two in the oven.
Q: How do I know when the ribs are done?
A: The most reliable sign is when the meat easily pulls away from the bone and the internal temperature reaches 195-203°F (90-95°C). The rack should also be flexible, almost bending in half when picked up from one end.
Q: Can I prepare the dry rub in advance?
A: Absolutely! You can mix your dry rub days or even weeks in advance and store it in an airtight container. This can be a great time-saver on cooking day.
Q: What if I don’t have a roasting pan?
A: A large, sturdy baking sheet with a rim will work just fine. Make sure your foil packets are sealed well to prevent any liquid from escaping.
Q: Can I make these ahead for a party?
A: You can cook the ribs through the foil-wrapped step, let them cool, and refrigerate. When ready to serve, bring them to room temperature, unwrap, sauce, and finish baking/grilling until heated through and caramelized.