The Ultimate Cozy Comfort: Unveiling the Perfect Homemade Apple Crisp (and Why It Beats Store-Bought Every Time!)
Ever wondered if you could create a dessert that embodies warmth, nostalgia, and pure deliciousness right in your own kitchen? The answer, unequivocally, is yes! In a world brimming with mass-produced treats, there’s an undeniable magic in crafting your own home-baked delights. Today, we’re diving deep into the art of making the perfect Apple Crisp – a dish that promises to fill your home with an intoxicating aroma and your heart with comfort. This isn’t just about following a recipe; it’s about reclaiming the joy of homemade goodness, a sentiment often overshadowed by the convenience of pre-made options like an Apple pie from the freezer aisle. Get ready to impress your taste buds and your loved ones with this truly exceptional dessert!
Ingredients & Kitchen Tools
Crafting this delightful Apple Crisp requires a simple arsenal of fresh ingredients and basic kitchen essentials.
- For the Filling:
* 6-8 Medium Apples: A mix of tart (Granny Smith, Braeburn) and sweet (Fuji, Honeycrisp) for balanced flavor and texture.
* 1/2 cup Granulated Sugar: Adjust to taste based on apple sweetness.
* 1/4 cup Brown Sugar (packed): Adds depth and a hint of molasses.
* 1/4 cup All-Purpose Flour: Thickens the apple juices.
* 1 tsp Ground Cinnamon: Essential warm spice.
* 1/2 tsp Ground Nutmeg: Complements the cinnamon beautifully.
* 2 tbsp Lemon Juice: Brightens the flavor and prevents browning.
* Pinch of Salt: Enhances all the other flavors.
- For the Topping:
* 1 cup All-Purpose Flour: Provides structure to the crisp topping.
* 1/2 cup Rolled Oats (old-fashioned): Adds chewiness and texture.
* 1/2 cup Brown Sugar (packed): For sweetness and caramel notes.
* 1/4 cup Granulated Sugar: Balances the brown sugar.
* 1/2 tsp Ground Cinnamon: Ties into the filling’s spice profile.
* 1/4 tsp Salt: Brings out the flavor of the oats and sugars.
* 1/2 cup (1 stick) Unsalted Butter, cold and cubed: Creates that irresistible crumbly texture.
- Kitchen Tools:
* 9×13 inch Baking Dish or 8×8 inch square dish
* Large Mixing Bowls (2)
* Vegetable Peeler
* Paring Knife
* Whisk
* Pastry Blender or your fingertips
* Measuring Cups and Spoons
Prep Time & Cooking Schedule
This recipe is designed for a seamless baking experience.
- Prep Time: 20-25 minutes
- Cook Time: 45-55 minutes
- Resting Time: 15-20 minutes (allowing the crisp to set and flavors to meld)
Plan to prepare this delightful dessert about an hour and a half before you want to serve it, allowing ample time for baking and resting. This ensures the apples are perfectly tender and the topping is beautifully golden and crunchy.
Step-by-Step Instructions
Let’s get baking! Follow these detailed steps for a flawless Apple Crisp.
1. Preheat & Prep Apples: Preheat your oven to 375°F (190°C). Peel, core, and slice your apples into roughly 1/2-inch thick pieces. In a large bowl, combine the sliced apples with 1/2 cup granulated sugar, 1/4 cup brown sugar, 1/4 cup flour, 1 tsp cinnamon, 1/2 tsp nutmeg, 2 tbsp lemon juice, and a pinch of salt. Toss gently until the apples are evenly coated. Pour the apple mixture into your prepared baking dish.
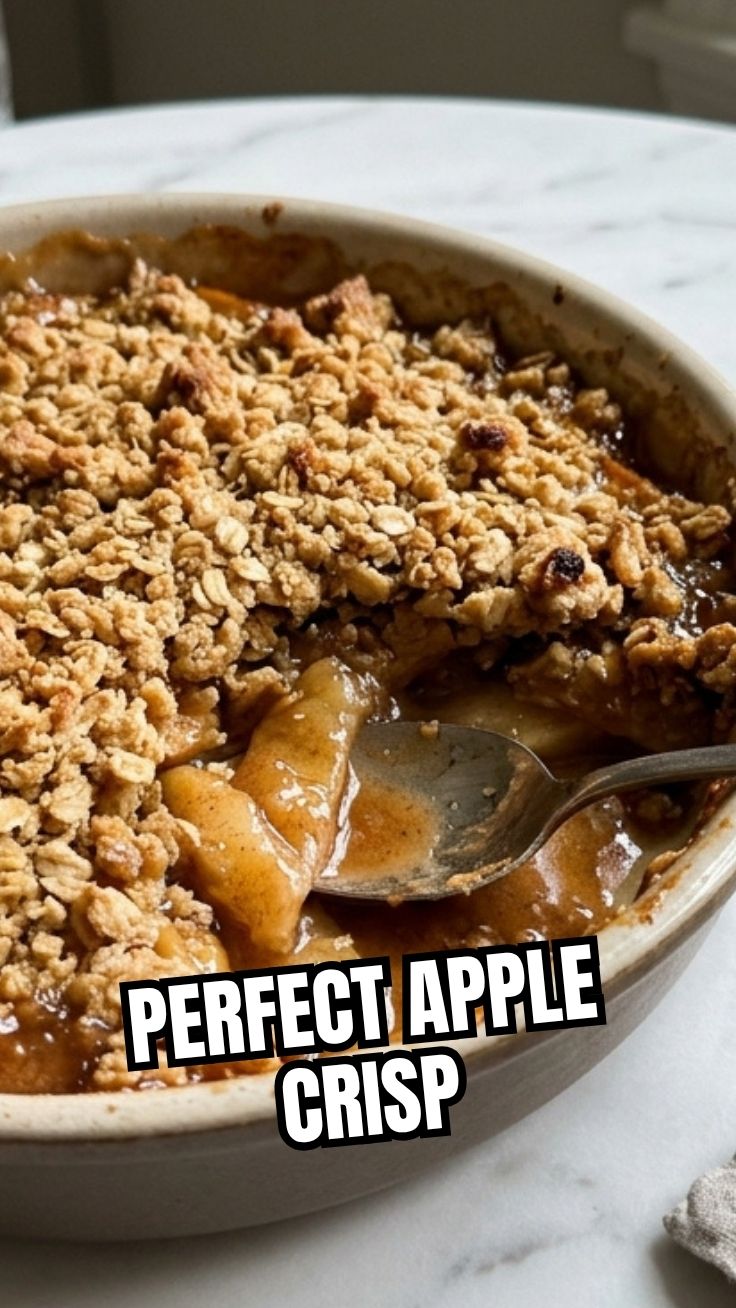
2. Prepare the Topping: In a separate medium bowl, whisk together 1 cup all-purpose flour, 1/2 cup rolled oats, 1/2 cup brown sugar, 1/4 cup granulated sugar, 1/2 tsp cinnamon, and 1/4 tsp salt. Add the cold, cubed butter. Using a pastry blender or your fingertips, cut the butter into the flour mixture until coarse crumbs form. Sprinkle this delicious topping evenly over the apple mixture in the baking dish. This crisp, buttery topping is what truly distinguishes an Apple Crisp from its cousin, the Apple pie, offering a delightful texture contrast.
3. Bake to Perfection: Bake for 45-55 minutes, or until the topping is golden brown and the apple filling is bubbling around the edges. If the topping browns too quickly, loosely tent the dish with foil.
4. Cool & Serve: Remove from the oven and let cool for at least 15-20 minutes before serving. This allows the filling to set up nicely. Serve warm, perhaps with a scoop of vanilla ice cream or a dollop of whipped cream!
Nutritional Benefits & Advantages
Beyond its incredible taste, this homemade Apple Crisp offers some surprising benefits. Apples are a fantastic source of dietary fiber, promoting digestive health and helping to regulate blood sugar levels. They also contain essential vitamins like Vitamin C and a host of antioxidants, contributing to overall wellness. Opting for whole oats in the topping adds more fiber and sustained energy. When made at home, you have complete control over the sugar content and quality of ingredients, making it a more wholesome dessert choice compared to many store-bought options.
Tips, Variations & Cooking Advice
- Flavor Boost: Add a splash of rum or bourbon to the apple filling for an adult twist. A teaspoon of vanilla extract in the filling also enhances the sweetness.
- Spice It Up: Incorporate a pinch of allspice or ground cloves for a more complex spice profile.
- Topping Variations: For extra crunch, add 1/4 cup chopped nuts (pecans or walnuts) to the crisp topping.
- Gluten-Free: Substitute all-purpose flour in both the filling and topping with a 1:1 gluten-free baking blend. Ensure your oats are certified gluten-free.
- Dairy-Free: Use a plant-based butter substitute in the topping.
Common Mistakes to Avoid
- Undercooked Apples: Ensure your apples are tender when pierced with a fork. If they’re too firm, the crisp won’t have the desired gooey texture.
- Soggy Topping: Don’t overmix the topping ingredients, as this can develop the gluten and make it less crumbly. Keep the butter cold to achieve the perfect crisp texture.
- Too Much Liquid: Make sure to drain any excess liquid from the apples if they are particularly juicy, otherwise your crisp might be watery.
Storage & Meal Prep Tips
Leftover Apple Crisp can be stored, covered, in the refrigerator for up to 3-4 days. To reheat, simply warm it in the oven at 350°F (175°C) for 10-15 minutes, or microwave individual portions until heated through. Freezing is also an option; wrap tightly in plastic wrap and then foil, and it will keep for up to 3 months. Thaw in the refrigerator overnight before reheating.
Conclusion
There you have it – a comprehensive guide to mastering the art of the perfect homemade Apple Crisp. From the perfectly spiced, tender apples to the irresistible buttery, oat-filled topping, this dessert is a true labor of love that pays off in every single bite. While a classic Apple pie certainly holds its own, there’s something uniquely comforting and effortlessly delicious about a crisp. We encourage you to try this recipe, savor the aromas, and discover the unmatched satisfaction of baking from scratch. Share your crispy creations with us in the comments – happy baking!
FAQs
Q1: What are the best apples for apple crisp?
A1: A mix of tart (Granny Smith, Braeburn) and sweet (Fuji, Honeycrisp, Gala) apples works best to provide a balanced flavor and retain some texture after baking.
Q2: Can I make apple crisp ahead of time?
A2: Yes, you can assemble the crisp a day in advance and store it in the refrigerator before baking. Add an extra 5-10 minutes to the baking time if baking directly from the fridge.
Q3: How do I prevent the topping from getting soggy?
A3: Ensure your butter is very cold when making the topping, and avoid overmixing. Also, a thin layer of flour in the apple filling helps absorb excess moisture.
Q4: Can I use quick oats instead of rolled oats?
A4: While rolled oats provide a chewier texture, quick oats can be used in a pinch, but the topping might be slightly less distinct.
Q5: What’s the difference between an apple crisp and an apple crumble?
A5: The terms are often used interchangeably, but generally, an apple crisp includes oats in its topping, giving it a crisper texture, while an apple crumble typically uses a streusel-like topping made from butter, flour, and sugar, resulting in a more uniform crumb.