Master the Perfect Pan-Seared Ribeye: Your Ultimate Home-Cooked Guide
Ever wondered how to achieve that restaurant-quality, perfectly seared Steak (Pan-Seared Ribeye) right in your own kitchen? Skip the expensive steakhouse and embrace the rewarding satisfaction of preparing a phenomenal meal at home. Mastering the art of the Pan-Seared ribeye isn’t just about cooking; it’s about connecting with your food, understanding flavor, and impressing yourself and your loved ones with culinary prowess. This comprehensive guide will walk you through every step, ensuring your buttery, tender ribeye is a triumph.
Ingredients & Kitchen Tools
Crafting the perfect pan-seared ribeye requires a few essential ingredients and the right tools. Quality matters here, so invest in the best you can find.
- Ribeye Steaks (1.5-2 inches thick, 12-16 oz each): The star of the show. Bone-in or boneless, choose well-marbled cuts for maximum flavor and tenderness.
- Kosher Salt: Essential for seasoning, draws out moisture and enhances flavor. Not table salt.
- Freshly Ground Black Pepper: Adds a pungent, aromatic kick. Grind just before use for best results.
- High Smoke Point Oil (e.g., Avocado, Grapeseed, Canola): For searing without burning. Avoid olive oil for high-heat searing.
- Unsalted Butter (2-4 tbsp): For basting, adding richness and a beautiful golden crust.
- Fresh Garlic (2-3 cloves, smashed): Infuses the butter with aromatic notes during basting.
- Fresh Rosemary or Thyme Sprigs (2-3): Enhances the steak’s flavor with earthy, herbaceous notes during basting.
- Heavy-Bottomed Skillet (Cast Iron or Stainless Steel): Crucial for even heat distribution and a perfect sear.
- Tongs: For safely flipping the steak without piercing it (which releases juices).
- Instant-Read Meat Thermometer: Your best friend for ensuring perfect doneness.
- Cutting Board: For prepping and resting.
- Aluminum Foil: For tenting the steak during resting.
Prep Time & Cooking Schedule
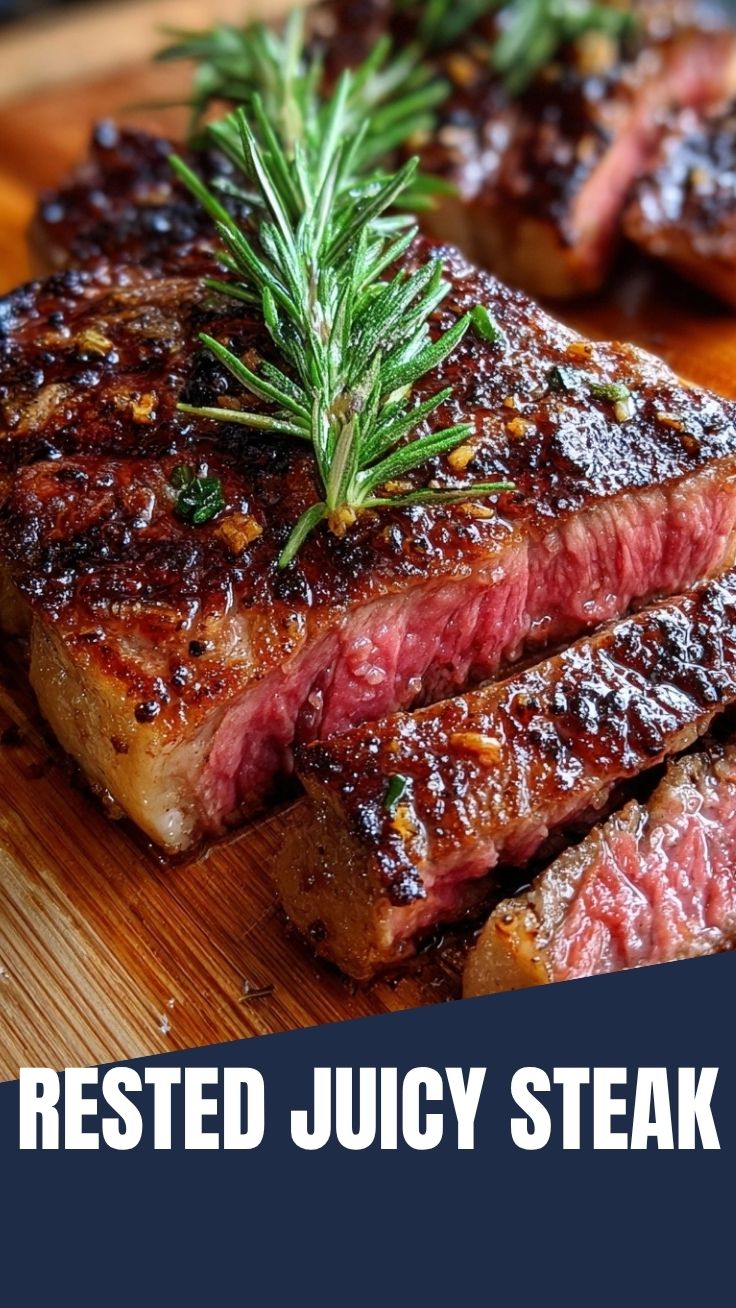
Achieving perfection begins with proper planning.
- Prep Time: 15-20 minutes (includes bringing steak to room temperature)
- Cook Time: 8-15 minutes (depending on thickness and desired doneness)
- Resting Time: 10-15 minutes
Context: The most crucial “prep” step is bringing your steak to room temperature for at least 30-60 minutes before cooking. This allows for more even cooking from edge to edge. Patting the steak completely dry is also critical for a superior sear.
Step-by-Step Instructions
Follow these instructions to create a masterful Steak (Pan-Seared Ribeye) with a beautiful crust and juicy interior. Achieving that perfect Pan-Seared finish is all about heat control and timing.
1. Bring to Room Temp & Season: Remove ribeye steaks from the refrigerator 30-60 minutes before cooking. Pat them thoroughly dry with paper towels. Season generously on all sides with kosher salt and freshly ground black pepper.
2. Preheat Skillet: Place your cast iron or heavy-bottomed skillet over medium-high heat for 5-7 minutes until it’s screaming hot. You should see a faint wisp of smoke when you add oil.
3. Add Oil: Add 1-2 tablespoons of high smoke point oil to the hot skillet, swirling to coat the bottom.
4. Sear the Steak: Carefully place the seasoned ribeyes in the hot skillet. Do not overcrowd the pan. Sear for 2-4 minutes per side without moving them, until a deep, golden-brown crust forms.
5. Baste with Aromatics: Reduce heat to medium-low. Add butter, smashed garlic, and herb sprigs to the pan. Tilt the pan slightly and, using a spoon, continuously baste the melted butter and aromatics over the steak for 1-3 minutes. This adds incredible flavor and helps cook the steak evenly.
6. Check Doneness: Use an instant-read thermometer to check the internal temperature.
* Rare: 120-125°F
* Medium-Rare: 130-135°F
* Medium: 140-145°F
* Medium-Well: 150-155°F
* Well Done: 160°F+
(Remember, the temperature will rise by 5-10 degrees during resting.)
7. Rest the Steak: Once your desired doneness is reached, remove the steak from the pan and place it on a clean cutting board. Tent loosely with aluminum foil and let it rest for 10-15 minutes. This allows the juices to redistribute, ensuring a tender and moist steak.
8. Slice and Serve: Slice against the grain, serve immediately, and enjoy!
Nutritional Benefits & Advantages
Ribeye steak, while a rich cut, offers significant nutritional benefits in moderation. It’s an excellent source of high-quality protein, essential for muscle repair and growth. It’s also packed with vital micronutrients like iron, critical for oxygen transport, zinc, important for immune function, and B vitamins (B6, B12, niacin, riboflavin), which play crucial roles in energy metabolism. Opting for grass-fed ribeye can further enhance the nutritional profile, providing higher levels of omega-3 fatty acids and conjugated linoleic acid (CLA). Cooking at home gives you complete control over ingredients, allowing you to choose high-quality fats and avoid excessive sodium often found in restaurant preparations.
Tips, Variations & Cooking Advice
- Flavor Variations: Experiment with different herbs like sage or marjoram. A pinch of red pepper flakes can add a subtle heat to your basting butter.
- Ingredient Swaps: If fresh herbs aren’t available, a small pinch of dried herbs can work, but add them to the butter later to prevent burning.
- Alternative Cooking Methods: While pan-searing provides the best crust, you can finish thicker steaks in the oven (after searing) at 375°F (190°C) until desired doneness is reached.
- Portion Control: A 6-8 oz portion is often sufficient. Consider slicing and sharing a larger steak.
- Dietary Adaptations: For a dairy-free option, use ghee or a plant-based butter alternative for basting.
Common Mistakes to Avoid
- Cooking a Cold Steak: Leads to uneven cooking – cooked on the outside, rare/raw in the middle. Always bring to room temperature.
Wet Steak: Moisture prevents a good sear. Pat it bone dry* before seasoning.
- Under-seasoning: Steak needs a generous amount of salt and pepper. Don’t be shy!
- Overcrowding the Pan: Reduces pan temperature, causing steaming instead of searing. Cook in batches if necessary.
- Flipping Too Often: Resist the urge! Let the crust form undisturbed for robust flavor.
- Not Resting the Steak: This is arguably the biggest mistake. Resting allows the juices to redistribute, resulting in a tender, moist steak. Skipping this step leads to dry, tough meat.
- Piercing the Steak: Use tongs, not a fork, to avoid losing valuable juices.
Storage & Meal Prep Tips
Leftover pan-seared ribeye can be a delicious addition to future meals.
- Refrigeration: Store cooled, cooked ribeye in an airtight container in the refrigerator for up to 3-4 days.
- Freezing: For longer storage, tightly wrap individual slices or the whole steak in plastic wrap, then aluminum foil, and freeze for up to 2-3 months. Thaw overnight in the refrigerator.
- Reheating: To maintain texture and avoid overcooking, gently reheat sliced steak in a warm skillet with a splash of broth or water, or in the microwave on low power, only until just warm. Overheating will make it tough. Sliced cold ribeye is also fantastic in salads or sandwiches.
Conclusion
Mastering the perfect Steak (Pan-Seared Ribeye) at home is a culinary skill that brings immense satisfaction and consistently delicious results. By focusing on proper technique, precise heat control, and the vital step of resting, you can achieve a consistently phenomenal Pan-Seared crust and a perfectly juicy interior every time. We encourage you to try this recipe, pay attention to the details, and enjoy the rich, savory rewards. Share your experiences in the comments below, or explore our other steak recipes for more inspiration!
FAQs
Q1: Why is it important to bring the steak to room temperature?
A1: Bringing the steak to room temperature ensures more even cooking. If you cook a cold steak, the outside will cook much faster than the inside, leading to a steak that’s overcooked on the exterior and undercooked in the center.
Q2: What’s the best way to tell if my pan is hot enough?
A2: A good test is to add a few drops of water to the pan. If they immediately evaporate and sizzle, the pan is hot enough. You’ll often see a faint wisp of smoke from the dry pan when it’s at the ideal searing temperature.
Q3: Can I use butter for the initial sear?
A3: It’s generally not recommended. Butter has a low smoke point and will burn and turn black before you achieve a good sear on the steak. Use a high smoke point oil first, then add butter for basting at a lower temperature.
Q4: How important is resting the steak?
A4: Resting is crucial! It allows the muscle fibers, which contract during cooking and push juices to the center, to relax and redistribute those juices throughout the meat. Skipping this step results in a dry, less flavorful steak, as all the juices will run out onto your cutting board.
Q5: My steak came out tough. What went wrong?
A5: Toughness can be due to a few factors: overcooking (especially beyond medium-rare), not resting the steak, or slicing with the grain instead of against it. Always slice against the grain to shorten the muscle fibers, making each bite more tender.