Unleash Your Inner Baker: Crafting the Perfect Homemade Snickerdoodle Cookies
Ever wondered what makes a truly exceptional cookie? It’s that perfect balance of crisp edges, a chewy center, and a delightful cinnamon-sugar embrace. While store-bought options abound, there’s an unparalleled joy and sense of accomplishment that comes from baking your own treats from scratch. Today, we’re diving into the wonderful world of Snickerdoodle Cookies, those simple yet irresistible cinnamon-dusted delights. Learning this classic Snickerdoodle recipe at home not only fills your kitchen with an intoxicating aroma but also allows for complete control over ingredients, ensuring fresh, wholesome goodness in every bite. Get ready to impress your taste buds and loved ones with a batch of these iconic confections!
Ingredients & Kitchen Tools
To embark on your snickerdoodle adventure, gather these essentials:
- All-Purpose Flour (2 ¾ cups): The structural backbone of our cookies. For a lighter cookie, you can sift it.
- Cream of Tartar (2 teaspoons): This secret ingredient is what gives snickerdoodle cookies their characteristic tangy flavor and chewy texture. Don’t skip it!
- Baking Soda (1 teaspoon): A leavening agent that helps the cookies rise and spread.
- Salt (½ teaspoon): Enhances all the other flavors.
- Unsalted Butter (1 cup, 2 sticks), softened: Provides richness and tenderness. Using unsalted butter allows you to control the salt content.
- Granulated Sugar (1 ½ cups + ¼ cup for coating): Sweetens the dough and forms the signature crust.
- Large Eggs (2), room temperature: Binds the ingredients together and adds moisture.
- Vanilla Extract (1 teaspoon): A flavor enhancer that complements the cinnamon.
- Ground Cinnamon (2 tablespoons for coating): The star spice for the irresistible coating.
Kitchen Tools:
- Large Mixing Bowls (2): For dry and wet ingredients.
- Electric Mixer (stand or hand-held): Essential for creaming butter and sugar.
- Measuring Cups & Spoons: For accurate ingredient proportions.
- Baking Sheets (2): Lined with parchment paper or silicone mats for non-stick baking.
- Cooling Rack: To prevent soggy bottoms after baking.
- Small Bowl: For the cinnamon-sugar coating.
- Whisk: To combine dry ingredients.
- Rubber Spatula: For scraping bowls and folding ingredients.
Prep Time & Cooking Schedule
- Prep Time: 20 minutes
- Chill Time: 30 minutes (minimum, but longer is better for flavor development)
- Cook Time: 8-10 minutes per batch
- Total Time: Approximately 1 hour 15 minutes (including chilling and active baking)
This schedule assumes you have all ingredients prepped and ready. The chilling time is crucial for preventing the cookies from spreading too much and ensures a chewier texture. You can chill the dough for up to 24 hours for even deeper flavor.
Step-by-Step Instructions
1. Whisk Dry Ingredients: In a medium bowl, whisk together the flour, cream of tartar, baking soda, and salt. Set aside.
2. Cream Butter and Sugar: In a large bowl with an electric mixer, cream the softened butter and 1 ½ cups of granulated sugar on medium speed until light and fluffy, about 2-3 minutes. This process incorporates air, leading to a softer cookie.
3. Add Eggs and Vanilla: Beat in the eggs one at a time, mixing well after each addition. Stir in the vanilla extract until just combined.
4. Combine Wet and Dry: Gradually add the dry ingredients to the wet ingredients, mixing on low speed until just combined. Be careful not to overmix, as this can lead to tough cookies.
5. Chill the Dough: Cover the bowl with plastic wrap and refrigerate the dough for at least 30 minutes. This allows the dough to firm up, making it easier to handle and preventing excessive spreading during baking.
6. Preheat Oven & Prepare Coating: Preheat your oven to 375°F (190°C). In a small bowl, combine the remaining ¼ cup granulated sugar and 2 tablespoons of ground cinnamon for the coating. Line your baking sheets with parchment paper.
7. Roll the Cookies: Scoop out dough (about 1.5 tablespoons per cookie) and roll it into smooth balls. Roll each ball generously in the cinnamon-sugar mixture, ensuring it’s fully coated. Place the coated dough balls about 2 inches apart on the prepared baking sheets.
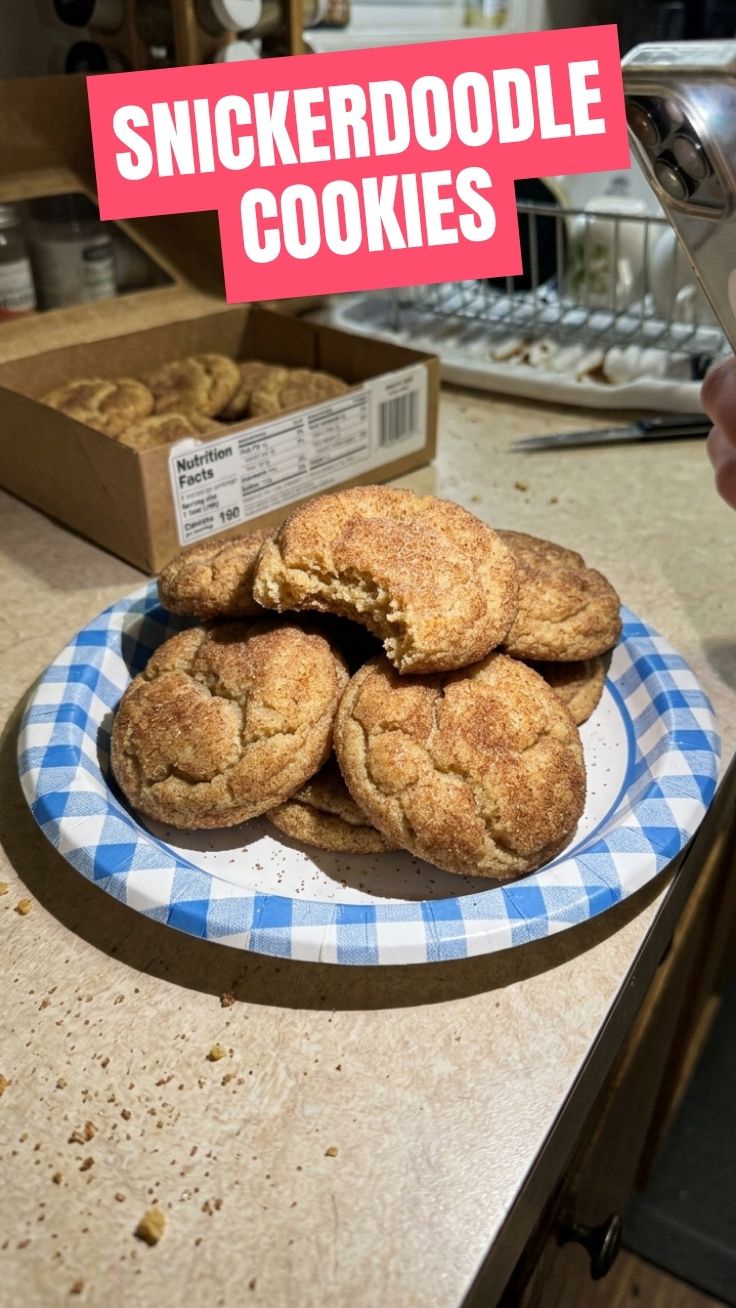
8. Bake: Bake for 8-10 minutes, or until the edges are set and lightly golden, but the centers still look slightly soft. Overbaking will result in dry cookies. The perfect Snickerdoodle Cookies will be delicately chewy.
9. Cool: Let the cookies cool on the baking sheets for a few minutes before transferring them to a wire rack to cool completely. This helps them set and prevents breakage. Enjoy your freshly baked Snickerdoodle recipe!
Nutritional Benefits & Advantages
Beyond their delicious taste, these cookies offer a few surprising advantages. The cinnamon used in snickerdoodles is known for its antioxidant and anti-inflammatory properties. While these are sweet treats, making them at home allows you to use high-quality butter and fresh eggs, avoiding artificial additives often found in commercially produced baked goods. Portion control is also a breeze when you bake them yourself!
Tips, Variations & Cooking Advice
- Softening Butter: If your butter isn’t soft, cut it into small pieces and let it sit at room temperature for 15-20 minutes, or microwave it for 10-15 seconds in small bursts.
- Cream of Tartar Substitute: If you’re out of cream of tartar, you can substitute 2 teaspoons of baking powder for 1 teaspoon of baking soda and 2 teaspoons of cream of tartar. However, the texture and slight tang will differ.
- Flavor Boosts: Add a pinch of nutmeg or cardamom to the cinnamon-sugar mixture for a more complex spice profile.
- Gluten-Free: Substitute the all-purpose flour with a 1:1 gluten-free baking blend that contains xanthan gum.
- Vegan Version: Use a plant-based butter substitute and a flax egg (1 tablespoon ground flaxseed mixed with 3 tablespoons water, let sit for 5 minutes) for each chicken egg.
Common Mistakes to Avoid
- Overmixing the Dough: Overmixing develops the gluten in the flour, resulting in tough, dry cookies. Mix only until the ingredients are just combined.
- Not Chilling the Dough: Warm dough spreads too much, leading to flat, crispy cookies instead of thick, chewy ones. Don’t skip the chill time!
- Overbaking: Snickerdoodles should be slightly soft in the center when removed from the oven. They will continue to cook slightly as they cool on the baking sheet.
- Skipping Cream of Tartar: This ingredient is vital for the signature tangy flavor and chewy texture. Without it, you’ll have a good sugar cookie, but not a true snickerdoodle.
Storage & Meal Prep Tips
Once fully cooled, store Snickerdoodle Cookies in an airtight container at room temperature for up to 3-5 days. For longer storage, you can freeze baked cookies for up to 3 months. Place them in a single layer on a baking sheet to freeze, then transfer to a freezer-safe bag or container once solid. Thaw at room temperature for a quick treat. You can also freeze the raw dough balls (after coating in cinnamon sugar) for up to 2 months. Bake from frozen, adding a minute or two to the baking time.
Conclusion
There you have it – a comprehensive guide to baking perfect, homemade Snickerdoodle Cookies. This classic Snickerdoodle recipe is more than just a sweet treat; it’s a journey into the heart of comforting, nostalgic baking. By following these steps and tips, you’ll create cookies that are not only delicious but also a source of kitchen pride. So go ahead, preheat that oven, embrace the aroma of cinnamon, and share the joy of these quintessential cookies with your friends and family. Let us know in the comments how your snickerdoodles turned out!
FAQs
- Q: Why are my snickerdoodles flat?
* A: Flat cookies are often a result of melted butter, insufficient chilling, or over-creaming the butter and sugar. Ensure your butter is softened, not melted, and always chill the dough.
- Q: Can I use brown sugar instead of granulated sugar?
* A: While you can substitute some brown sugar for granulated, it will change the texture and flavor, making the cookies chewier and slightly richer, diverging from the classic snickerdoodle taste.
- Q: How do I know when the cookies are done?
* A: Look for edges that are lightly set and golden brown, with centers that still appear slightly soft. They will firm up as they cool.
- Q: My cinnamon-sugar coating isn’t sticking well. What should I do?
* A: Ensure your dough balls aren’t too dry. If they’ve been chilled for a long time, let them sit at room temperature for a few minutes before rolling. You can also lightly moisten your hands before rolling the dough balls.
- Q: Can I make the dough ahead of time?
* A: Absolutely! The dough can be prepared and refrigerated for up to 2-3 days, or frozen for up to 2 months. This makes for excellent meal prep or last-minute baking.