Unleash Your Inner Chef: Master the Art of the Perfect Roasted Chicken
Craving that golden-brown, juicy, and incredibly flavorful centerpiece for your next family dinner or special occasion? Look no further! While restaurant-quality chicken often seems daunting, mastering the art of a perfectly Roasted Chicken at home is not only achievable but immensely rewarding. Beyond the impressive presentation, preparing this classic dish yourself provides unmatched control over ingredients, ensuring a healthier and more delicious result. Forget bland, dry poultry; we’re about to unlock the secrets to a succulent and aromatic roast that will have everyone asking for seconds. And when you’re looking for other equally satisfying meals, keep an eye out for more Easy Chicken Recipes that elevate weeknight dinners.
Ingredients & Kitchen Tools
Here’s what you’ll need to create this culinary masterpiece:
- Whole Chicken (3-4 lbs): Choose a good quality, fresh chicken. Organic or free-range can offer superior flavor.
- Lemons (2 large): Provides essential citrus notes and helps tenderize the meat.
- Fresh Rosemary (3-4 sprigs): Offers a woody, pine-like aroma that pairs beautifully with chicken.
- Fresh Thyme (4-5 sprigs): Adds a subtle, earthy, and slightly floral flavor.
- Garlic (1 head): Imparts a pungent, savory depth. No need to peel all cloves; some can be left whole.
- Olive Oil (2-3 tbsp): Helps crisp the skin and infuse flavors. Extra virgin is ideal.
- Salt (1-2 tsp): Essential for seasoning and bringing out natural flavors. Kosher or sea salt is preferred.
- Black Pepper (1/2 – 1 tsp): Adds a mild heat and enhances other spices. Freshly ground is best.
- Optional: Paprika (1 tsp): For color and a subtle smoky sweetness.
- Optional: Onion (1 medium): Quartered and placed in the cavity for added aromatic depth.
Kitchen Tools:
- Roasting Pan with Rack: Crucial for even cooking and allowing air circulation around the chicken.
- Basting Brush: For applying juices back onto the chicken during roasting.
- Meat Thermometer: The most reliable way to ensure the chicken is cooked through and safe to eat.
- Sharp Knife: For carving.
- Cutting Board: For prepping ingredients and carving the chicken.
- Twine (optional): For trussing the chicken, promoting even cooking and a neater appearance.
Prep Time & Cooking Schedule
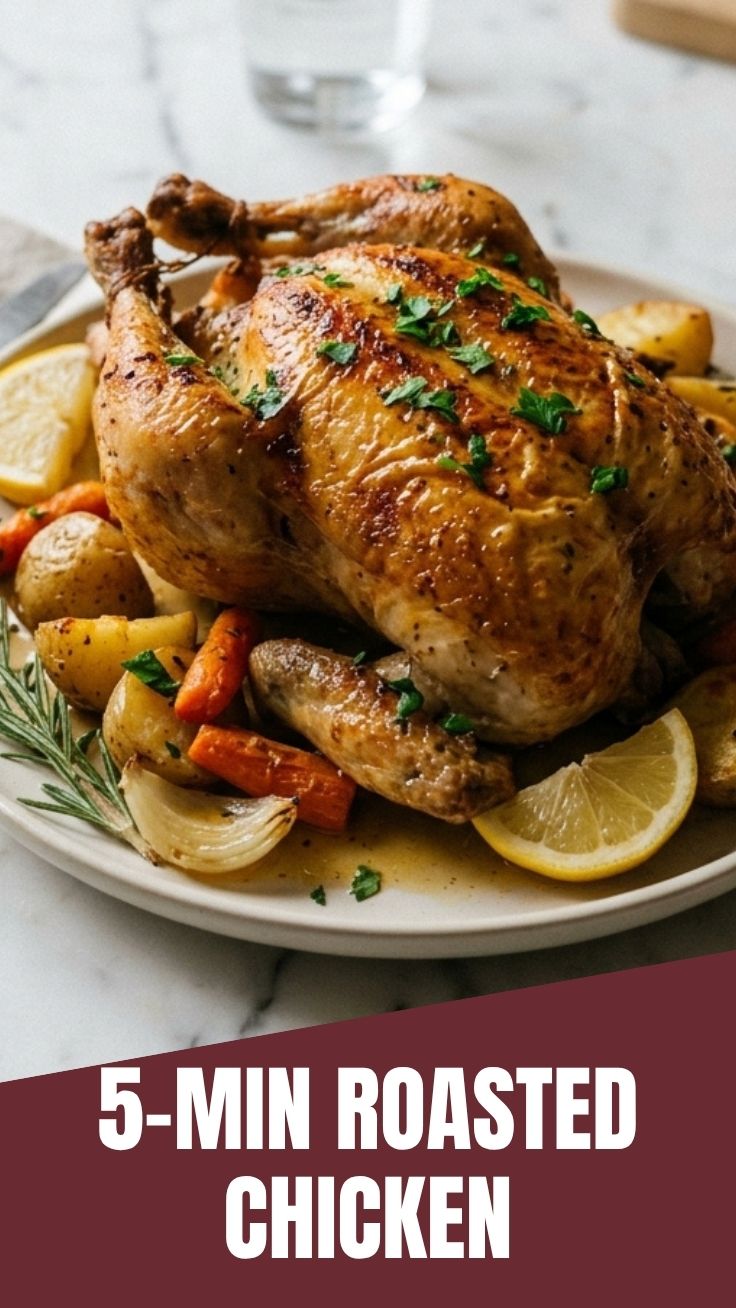
- Prep Time: 20-30 minutes (includes trussing and seasoning)
- Marinating/Resting Time (Optional but Recommended): At least 1 hour in the refrigerator, or ideally overnight, covered. This allows the flavors to truly penetrate the meat and the skin to dry out slightly for a crispier finish.
- Cook Time: 60-90 minutes, depending on the size of your chicken and oven calibration.
- Resting Time (After Cooking): 10-15 minutes. Crucial for juicy results by allowing the juices to redistribute.
Step-by-Step Instructions
1. Prepare the Chicken: Pat the whole chicken thoroughly dry with paper towels. This is vital for crispy skin. If trussing, tie the legs together snugly and tuck the wing tips under the body.
2. Season Generously: In a small bowl, combine olive oil, salt, pepper, and optional paprika. Rub this mixture all over the chicken, including under the skin of the breast and thighs.
3. Aromatic Infusion: Cut one lemon in half, and slice the other. Halve the garlic head. Stuff the chicken cavity with lemon halves, sprigs of rosemary, thyme, and the garlic halves. If using, add quartered onion.
4. Preheat Oven & Position: Preheat your oven to 400°F (200°C). Place the chicken, breast-side up, on a rack in a roasting pan. Slice the remaining lemon into thin rounds and arrange them over the breast and inside the cavity opening.
5. Roast to Perfection: Roast for 60-90 minutes, or until a meat thermometer inserted into the thickest part of the thigh (without touching bone) reads 165°F (74°C). For a beautifully golden-brown skin, you can increase the oven temperature to 425°F (220°C) for the last 10-15 minutes, if needed, monitoring closely to prevent burning. Remember, a perfectly prepared Roasted Chicken is a testament to mindful cooking!
6. Rest & Carve: Once cooked, remove the chicken from the oven and transfer it to a cutting board. Tent loosely with foil and let it rest for 10-15 minutes. This step is non-negotiable for juicy results. Then, carve and serve immediately. Explore other Easy Chicken Recipes for more culinary inspiration.
Nutritional Benefits & Advantages
Chicken is a fantastic source of lean protein, essential for muscle repair and growth. Roasting, particularly without excessive added fats, is a healthy cooking method that preserves nutrients. This recipe also incorporates immune-boosting garlic, antioxidant-rich herbs like rosemary and thyme, and vitamin C from lemons, making it a wholesome and balanced meal.
Tips, Variations & Cooking Advice
- Brining: For an even juicier bird, consider a salt water brine (1/4 cup salt per quart of water) for 4-6 hours before roasting. Rinse thoroughly and pat dry.
- Spices: Experiment with different spice blends like smoked paprika, onion powder, or a touch of cayenne for a kick.
- Vegetables: Roast root vegetables like potatoes, carrots, or parsnips in the same pan with the chicken drippings for a complete meal.
- Butter vs. Oil: You can substitute butter for olive oil for a richer flavor, but oil tends to promote crispier skin.
- High Heat Start: Starting your roast at a higher temperature (425°F/220°C) for 15-20 minutes before dropping it to 375°F (190°C) can help achieve extra crispy skin.
Common Mistakes to Avoid
- Not Drying the Chicken: This is the number one culprit for soggy skin. Always pat dry!
- Overcrowding the Pan: If adding vegetables, ensure there’s enough space for air to circulate, preventing steaming.
- Skipping the Resting Time: Cutting into the chicken immediately after roasting causes juices to run out, leading to dry meat.
- Eyeballing Doneness: A meat thermometer is your best friend. Don’t guess if it’s cooked based on sight alone.
- Under-seasoning: Don’t be shy with salt and pepper!
Storage & Meal Prep Tips
Your perfectly roasted chicken can be a fantastic meal prep staple.
- Refrigeration: Leftovers will keep in an airtight container in the refrigerator for up to 3-4 days.
- Freezing: Carved chicken can be frozen for up to 2-3 months. Portion it into freezer-safe bags or containers.
- Reheating: Reheat gently in the oven (covered with foil to prevent drying) or microwave. Shredded chicken can be easily incorporated into salads, sandwiches, tacos, or soups.
Conclusion
Creating a sensational Roasted Chicken doesn’t have to be intimidating. By following these straightforward steps, you’ll consistently achieve a dish that’s incredibly flavorful, wonderfully juicy, and boasts that coveted crispy skin. It’s a testament to simple ingredients and proper technique. Don’t hesitate to personalize it with your favorite herbs and spices. Now that you’ve mastered this classic, why not broaden your culinary horizons and explore other delightful Easy Chicken Recipes? Happy cooking, and prepare for rave reviews!
FAQs
Q1: How do I get extra crispy skin?
A1: Ensure your chicken is thoroughly dry before seasoning, consider a light basting with oil or butter, and don’t overcrowd the roasting pan. A higher starting temperature and finishing with a blast of heat can also help.
Q2: Can I use dried herbs instead of fresh?
A2: Yes, use about one-third the amount of dried herbs compared to fresh, as their flavor is more concentrated. However, fresh herbs provide a brighter, more aromatic profile.
Q3: My chicken always comes out dry. What am I doing wrong?
A3: Overcooking is the most common cause. Always use a meat thermometer and cook until it reaches 165°F (74°C). Additionally, ensuring proper resting time after roasting is crucial for moisture retention.
Q4: What can I do with the pan drippings?
A4: The pan drippings are liquid gold! You can use them to make a flavorful gravy by deglazing the pan with white wine or broth, then thickening with a roux.