The Ultimate Guide to Perfect Chewy Rice Krispie Treats Every Time
Ever wondered how to achieve that perfect balance of chewy, crispy, and deliciously sweet in your homemade treats? Look no further! Mastering Rice Krispie Treats isn’t just about melting marshmallows; it’s an art form that, once perfected, yields a nostalgic dessert loved by all ages. Preparing these delightful Rice Krispie squares at home offers invaluable benefits: complete control over ingredients, the joy of a truly fresh product, and the ability to customize them to your heart’s desire. Forget stale store-bought versions; get ready to create the ultimate, gooey-centered squares right in your own kitchen!
Ingredients & Kitchen Tools
To embark on your journey to perfect chewy Rice Krispie Treats, gather these essentials:
- 10 oz (about 40 large) Marshmallows: Fresh, soft marshmallows are key for that signature gooey texture. Mini marshmallows melt faster and more evenly.
- 3 tbsp Unsalted Butter: Adds rich flavor and helps prevent sticking. Ghee can be a good dairy-free alternative with a slightly nutty taste.
- 6 cups Rice Krispies Cereal: The star of the show! Ensure it’s fresh for maximum crispness.
- 1 tsp Vanilla Extract (Optional): Elevates the flavor profile; pure vanilla is always best.
- Pinch of Salt (Optional): Balances the sweetness and enhances other flavors.
- 9×13 inch Baking Pan: For shaping your delicious Rice Krispie squares.
- Large Saucepan: Non-stick is a bonus for easy cleanup.
- Spatula: Preferably heat-resistant and non-stick, for stirring and pressing.
- Parchment Paper or Wax Paper: For easy lifting and cleanup.
- Cooking Spray or Extra Butter: To grease the pan and spatula, preventing stickiness.
Prep Time & Cooking Schedule
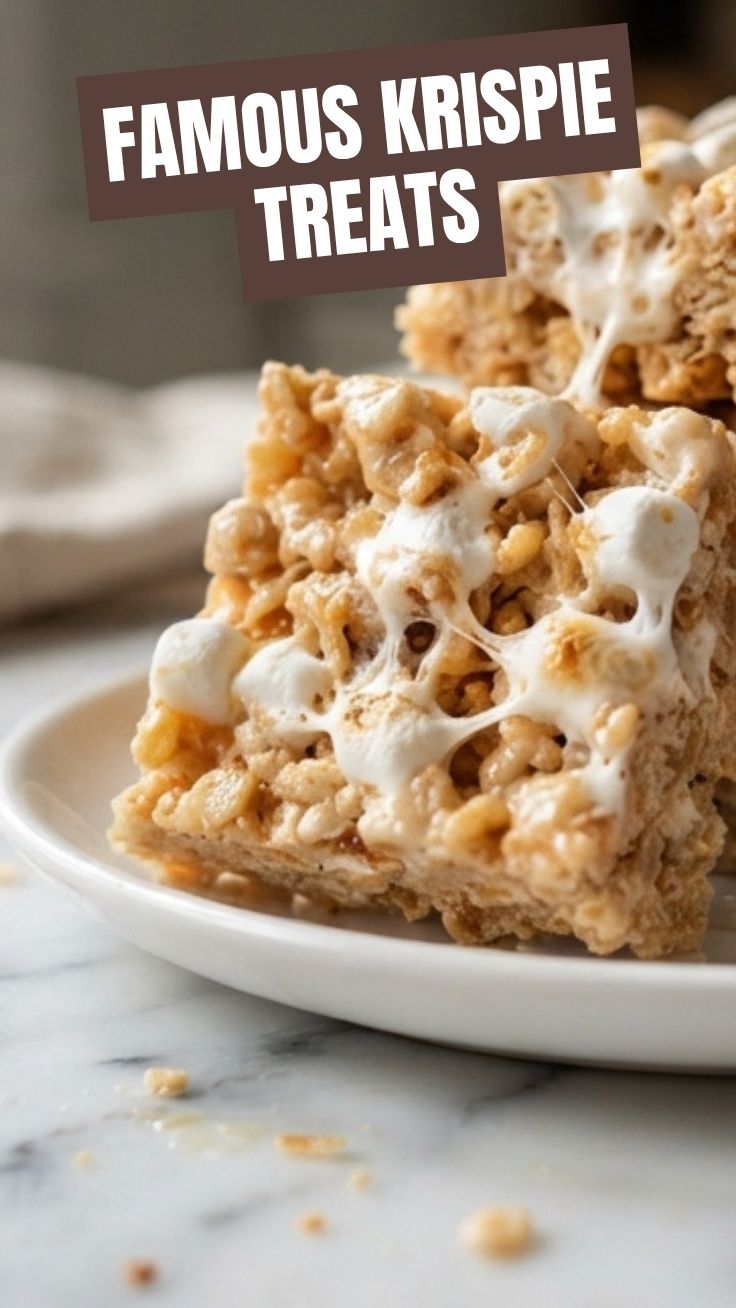
This recipe is incredibly quick, making it perfect for last-minute cravings or spontaneous baking sessions.
- Prep Time: 5 minutes
- Cook Time: 5-7 minutes (melting marshmallows)
- Resting Time: 30-60 minutes (for setting)
The short prep and cook time mean you can have your magnificent Rice Krispies ready to set in under 15 minutes. The resting time is crucial for allowing the treats to firm up, making them easy to cut and handle without falling apart. Plan at least 30 minutes for cooling before cutting into squares.
Step-by-Step Instructions
Achieving perfectly chewy and crispy Rice Krispie Treats involves a few key steps:
1. Prepare Your Pan: Lightly grease a 9×13 inch baking pan with butter or cooking spray. Line it with parchment paper, leaving an overhang on the sides for easy lifting, then lightly grease the parchment paper as well.
2. Melt the Butter: In a large saucepan over low heat, melt the butter completely. Low heat is essential here to prevent the butter from browning too quickly.
3. Add Marshmallows: Immediately add all the marshmallows to the melted butter. Stir continuously until the marshmallows are about 75% melted. Remove from heat at this point, as residual heat will finish melting them. This prevents overcooking, which can lead to hard treats.
4. Incorporate Vanilla & Salt (Optional): Stir in the vanilla extract and a pinch of salt. The salt helps to balance the sweetness.
5. Fold in Cereal: Add the Rice Krispies cereal to the marshmallow mixture. Working quickly, gently fold until the cereal is evenly coated. Over-mixing can crush the cereal and result in a less airy texture. Ensure every grain is touched by the sweet, gooey mixture to form ideal Rice Krispie squares.
6. Press into Pan: Transfer the mixture to your prepared baking pan. Using a buttered spatula or wax paper, gently but firmly press the mixture evenly into the pan. Do not compact it too much, as this can make the treats dense and hard instead of delightfully chewy.
7. Cool and Cut: Let the treats cool completely at room temperature for at least 30-60 minutes. Once set, use the parchment paper overhang to lift the entire slab out of the pan. Cut into desired square sizes with a greased knife.
Nutritional Benefits & Advantages
While Rice Krispie Treats are undoubtedly a dessert, they offer some unique advantages. Rice Krispies cereal itself is typically fortified with essential vitamins and minerals, including B vitamins and iron. Opting for low-sugar marshmallows can reduce the overall sugar content, and using natural butter adds healthy fats. They are naturally gluten-free if you use certified gluten-free rice cereal and marshmallows. As a light, crispy dessert, they can also be a more satisfying option than heavier, calorie-dense baked goods, especially when enjoyed in moderation.
Tips, Variations & Cooking Advice
- Brown Butter: For a rich, nutty flavor, brown your butter before adding marshmallows. Melt butter over medium heat, stirring until golden brown and fragrant, then proceed with the recipe.
- Chocolate Drizzle: Melt milk, dark, or white chocolate and drizzle over the cooled treats for an extra layer of indulgence.
- Mix-ins: Incorporate sprinkles, mini chocolate chips, crushed candies, or even dried fruit into the mixture along with the cereal for personalized flair.
- Marshmallow Type: For extra gooeyness, save about 1 cup of mini marshmallows and add them in at the very end when folding in the cereal. They’ll melt slightly, creating pockets of gooey goodness.
- Dairy-Free: Substitute unsalted butter with a plant-based butter alternative and ensure your marshmallows are gelatin-free for a vegan option.
- Gluten-Free: Always double-check that your Rice Krispies cereal is certified gluten-free, as some brands may contain malt flavoring derived from barley.
Common Mistakes to Avoid
- Overcooking Marshmallows: Heating marshmallows for too long makes them hard and brittle once cooled, rather than chewy. Remove from heat when they are mostly melted.
- Compacting Too Much: Pressing the mixture too firmly into the pan results in dense, hard Rice Krispie squares. A gentle, even press is all that’s needed.
- Not Greasing Properly: These treats are notoriously sticky. Ensure your pan, parchment paper, and spatula are well-greased.
- Stale Cereal: Use fresh cereal for the best crispy texture. Stale cereal will result in a less satisfying crunch.
Storage & Meal Prep Tips
Proper storage ensures your Rice Krispie Treats remain fresh and delicious.
- Room Temperature: Store cooled Rice Krispie Treats in an airtight container at room temperature for up to 3 days. Placing a piece of wax paper between layers can prevent sticking.
- Freezing: Freezing is possible for longer storage. Wrap individual squares tightly in plastic wrap, then place them in an airtight freezer-safe bag or container for up to 6 weeks. Thaw at room temperature for 15-30 minutes before serving. Freezing can sometimes alter the texture slightly, making them a little chewier.
- Meal Prep: These are fantastic for meal prep! Cut into individual portions and store, making them easy to grab for lunchboxes or quick snacks.
Conclusion
Crafting the perfect chewy Rice Krispie Treats is a simple yet rewarding culinary endeavor. By focusing on fresh ingredients, gentle handling, and avoiding common pitfalls, you can consistently achieve that ideal balance of crispy, gooey, and sweet. These versatile Rice Krispie squares are more than just a dessert; they’re a canvas for creativity and a beloved comfort food that brings smiles to every face. Don’t hesitate to experiment with the variations suggested, and remember the key is to melt the marshmallows just right for that signature gooey center. Now go forth, create, and share your delightful creations! We’d love to hear about your successful batches and any unique twists you add in the comments below.
FAQs
Q1: Why are my Rice Krispie Treats hard instead of chewy?
A: This usually happens from overcooking the marshmallows. Heating them on too high a heat or for too long can make them brittle. Remove them from heat once they are mostly melted (about 75%) and stir until smooth.
Q2: Can I use old or stale marshmallows?
A: While technically you can, aged marshmallows lose moisture and might not melt as smoothly, leading to a less desirable texture. Fresh, soft marshmallows yield the best, chewiest results.
Q3: How do I prevent the treats from sticking to my hands/spatula?
A: Lightly buttering your hands or spatula, or using a piece of wax paper to press down the mixture, will prevent sticking. Cooking spray also works well.
Q4: Can I add food coloring?
A: Absolutely! Add a few drops of gel food coloring to the melted marshmallow mixture before adding the cereal for fun, vibrant treats. This is especially great for themed events.
Q5: What’s the best way to cut clean squares?
A: Once the treats are completely cooled and firm, use a large, sharp knife that has been lightly greased with butter or cooking spray. Wiping the knife clean between cuts can also help maintain clean edges.