Master the Art of the Perfect Pumpkin Roll This Fall!
Are you ready to elevate your autumn baking game from “just okay” to “absolutely unforgettable”? If so, then you’re in for a treat! This blog post is your ultimate guide to crafting a show-stopping Pumpkin Roll right in your own kitchen. Forget the supermarket versions; nothing compares to the rich, creamy, and gloriously spiced homemade rendition. We’ll demystify every step, ensuring your pumpkin puree is perfectly balanced and your cream cheese filling is irresistibly smooth. Get ready to impress your family and friends with a dessert that embodies the warmth and comfort of the season, infused with that essential pumpkin spice aroma.
Ingredients & Kitchen Tools
Crafting this delightful dessert requires a thoughtful selection of ingredients and the right tools at your fingertips.
Ingredients:
- For the Cake:
* 3 large eggs: Room temperature for better emulsification and cake structure.
* 1 cup granulated sugar: Provides sweetness and helps with browning.
* 2/3 cup pumpkin puree: Not pumpkin pie filling; ensure it’s 100% pure pumpkin for the best flavor and texture.
* 1 teaspoon vanilla extract: Enhances the overall flavor profile.
* 3/4 cup all-purpose flour: The base for our tender cake.
* 1 teaspoon baking soda: Leavening agent for a light and airy texture.
* 1/2 teaspoon baking powder: Additional leavening for optimal rise.
* 2 teaspoons pumpkin spice: The quintessential blend of cinnamon, ginger, nutmeg, and cloves, bringing that festive aroma.
* 1/2 teaspoon salt: Balances sweetness and enhances other flavors.
* Powdered sugar for dusting: Essential for preventing sticking and for a beautiful finish.
- For the Cream Cheese Filling:
* 8 ounces cream cheese: Softened at room temperature for a smooth, lump-free filling.
* 1/2 cup (1 stick) unsalted butter: Softened, adds richness and flavor.
* 1 teaspoon vanilla extract: Complements the cream cheese beautifully.
* 3-4 cups powdered sugar: To taste, ensuring a sweet, yet not cloyingly so, filling.
Kitchen Tools:
- 15×10-inch jelly roll pan: The perfect size for a thin, pliable cake that’s easy to roll.
- Parchment paper: Essential for easy cake release and rolling.
- Stand mixer or electric hand mixer: For thoroughly combining ingredients and achieving a smooth batter and filling.
- Large mixing bowls: For separate wet and dry ingredients.
- Spatula: For scraping bowls and spreading batter.
- Clean kitchen towel: Crucial for rolling the warm cake.
- Sifter: For powdered sugar (optional, but recommended for smoothness).
Prep Time & Cooking Schedule
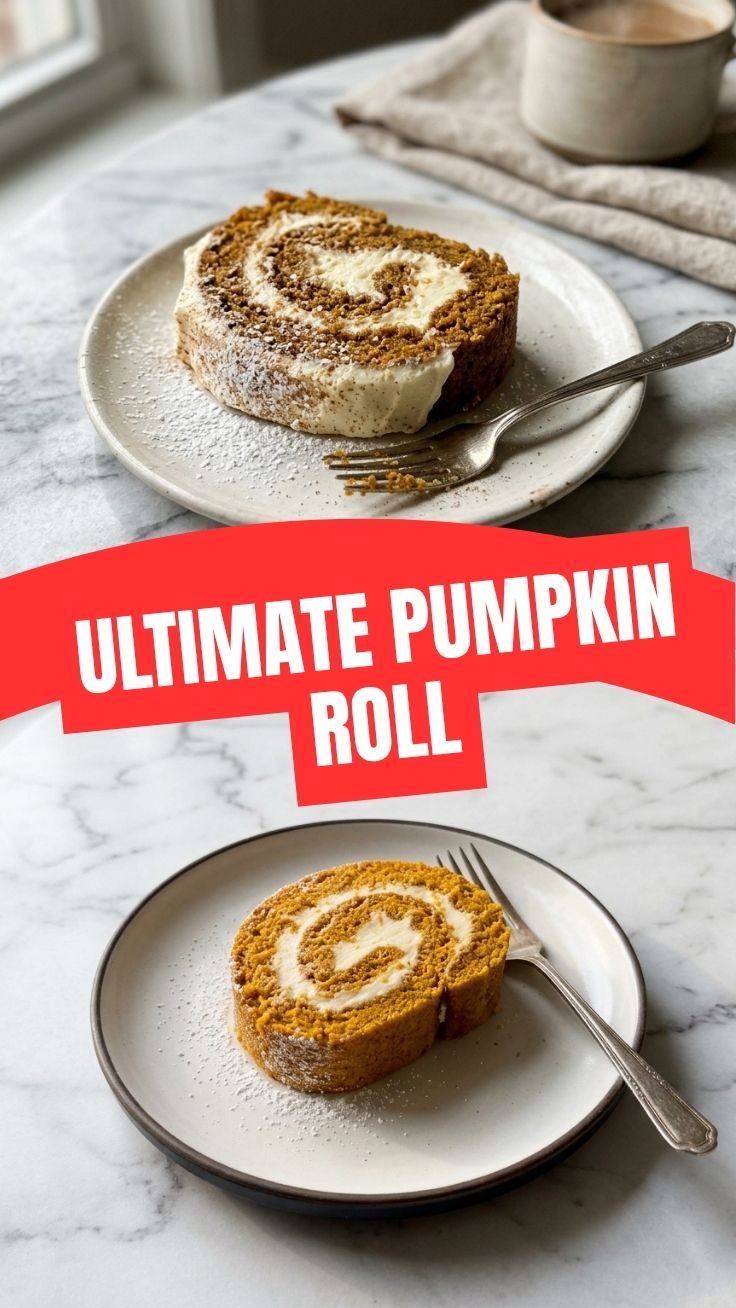
Planning is key to a perfectly executed Pumpkin Roll. Here’s a breakdown to help you schedule your autumnal baking adventure:
- Prep Time: 25 minutes (includes gathering ingredients, preparing the pan, and mixing the batter).
- Cook Time: 13-15 minutes (bake time for the cake).
- Cooling & Resting Time: 2 hours minimum (includes initial cooling in the towel and chilling with the filling). This part is crucial for the roll to set and prevent the filling from oozing. Starting early in the day or even the day before is highly recommended.
Step-by-Step Instructions
Follow these precise steps to create a show-stopping dessert. The trick to a perfect roll lies in handling the warm cake carefully and ensuring your Pumpkin Roll has sufficient cooling time.
1. Prepare Your Pan: Preheat oven to 375°F (190°C). Line a 15×10-inch jelly roll pan with parchment paper, extending over the sides to create “handles.” Grease the parchment lightly.
2. Combine Dry Ingredients: In a medium bowl, whisk together the flour, baking soda, baking powder, pumpkin spice, and salt. Set aside.
3. Mix Wet Ingredients: In a large bowl, using an electric mixer, beat the eggs and granulated sugar on high speed for 3-5 minutes until light and fluffy. Beat in the pumpkin puree and vanilla extract until just combined.
4. Combine Wet and Dry: Gradually add the dry ingredients to the wet ingredients, mixing on low speed until just combined. Be careful not to overmix.
5. Bake the Cake: Pour the batter evenly into the prepared jelly roll pan. Spread to the edges. Bake for 13-15 minutes, or until the top springs back when lightly touched.
6. The Critical Roll: While the cake is baking, lay a clean kitchen towel flat on your counter and generously dust it with powdered sugar. Immediately upon removing the cake from the oven, invert it onto the powdered sugar-dusted towel. Carefully peel off the parchment paper. Starting from one short end, roll the cake and towel together tightly. Place the rolled cake seam-side down on a wire rack and let it cool completely (about 1 hour). This “muscle memory” training prevents cracking later.
7. Prepare the Filling: While the cake cools, beat the softened cream cheese, butter, and vanilla extract in a large bowl with an electric mixer until smooth. Gradually add the powdered sugar, one cup at a time, beating until light and fluffy.
8. Fill and Chill: Once the cake is completely cool, carefully unroll it. Spread the cream cheese filling evenly over the entire surface, leaving a small border around the edges. Reroll the cake tightly, without the towel this time. Wrap the finished Pumpkin Roll tightly in plastic wrap and refrigerate for at least 1 hour (preferably longer) to allow the filling to set.
Nutritional Benefits & Advantages
Beyond its delightful taste, this Pumpkin Roll offers some surprising nutritional perks. Pumpkin is a fantastic source of vitamin A (beta-carotene), an antioxidant vital for vision and immune health. It’s also rich in fiber, which aids digestion. While it’s a dessert, making it at home gives you control over the quality of ingredients, opting for less processed sugars if desired, and allowing you to enjoy a flavorful treat with some inherent goodness. The spices, particularly pumpkin spice, also offer anti-inflammatory benefits.
Tips Variations & Cooking Advice
- Spice It Up: For an extra kick, add a pinch of black pepper or a dash of cardamom to your pumpkin spice blend.
- Nutty Addition: Sprinkle finely chopped pecans or walnuts over the filling before rolling for added crunch and flavor.
- Dairy-Free Option: Use plant-based cream cheese and butter substitutes for a dairy-free friendly version.
- Gluten-Free Cake: Substitute the all-purpose flour with a 1:1 gluten-free baking blend (ensure it contains xanthan gum).
- Chocolate Swirl: Melted chocolate can be drizzled over the filling before rolling or over the finished roll for a decadent touch.
Common Mistakes to Avoid
- Overmixing the Batter: This can lead to a tough, dry cake. Mix until just combined.
- Not Dusting the Towel Enough: If your towel isn’t generously coated with powdered sugar, the cake will stick, making it difficult to unroll.
- Not Rolling While Warm: The cake needs to be rolled immediately after coming out of the oven. If it cools flat, it will crack when you try to roll it later.
- Insufficient Cooling Time: Don’t rush the cooling process, especially after filling. A well-chilled Pumpkin Roll is a sturdy roll!
- Using Pumpkin Pie Filling: This often contains added sugar and spices, which will alter the intended flavor and texture of your cake. Use 100% pure pumpkin puree.
Storage & Meal Prep Tips
Your delicious Pumpkin Roll is best stored in an airtight container in the refrigerator. It will stay fresh for up to 3-4 days. For longer storage, you can freeze individual slices or the whole roll (well-wrapped) for up to 1 month. Thaw in the refrigerator overnight before serving. Do not refreeze after thawing.
Conclusion
There you have it—a comprehensive guide to creating a dazzling Pumpkin Roll that will undoubtedly become a staple in your autumn baking repertoire. The journey from simple ingredients to this elegant dessert is incredibly rewarding, filling your home with the irresistible aroma of warmth and pumpkin spice. Don’t be intimidated by the rolling process; with these detailed steps and helpful tips, you’re set for success. Give this recipe a try, share your magnificent creations with us, and savor every delightful slice!
FAQs
Q1: Can I make the Pumpkin Roll ahead of time?
A1: Absolutely! In fact, it’s often better made a day in advance as it allows the flavors to meld and the filling to fully set, making it easier to slice and serve.
Q2: My cake cracked when I unrolled it. What went wrong?
A2: The most common reason for cracking is not rolling the cake while it’s still warm, or not dusting the towel generously enough with powdered sugar. Ensure you roll it immediately out of the oven to “train” the cake, and use plenty of sugar to prevent sticking.
Q3: How can I prevent my filling from being too soft or runny?
A3: Ensure your cream cheese and butter are softened, but not melted. Over-softened ingredients (especially in a warm kitchen) can lead to a runnier filling. Also, make sure to chill the filled roll for at least an hour to allow the filling to firm up.
Q4: Can I use fresh pumpkin instead of canned puree?
A4: Yes, you can! Just make sure to roast and process it into a smooth puree. The consistency should be similar to canned puree; avoid watery fresh pumpkin, as it can affect the cake’s texture.
Q5: What if I don’t have a jelly roll pan?
A5: While a jelly roll pan is ideal, a baking sheet of similar dimensions with raised edges can work. Ensure it’s large enough to create a thin cake layer that will be pliable for rolling.