Fluffy Homemade Pancakes: Your Ultimate Guide to a Perfect Morning
Ever wondered how to achieve those perfectly golden, impossibly fluffy Pancakes that seem to float off the plate? There’s a special joy in a homemade breakfast, a warmth that store-bought mixes simply can’t replicate. Mastering the art of crafting these delectable discs from scratch is not just about making food; it’s about creating cherished morning moments and infusing your day with a touch of culinary magic. This comprehensive guide will walk you through every step, ensuring your journey to perfect Pancakes is as delightful as the first bite.
Ingredients & Kitchen Tools
- All-Purpose Flour (2 cups): The structural backbone of your Pancakes. Sifting ensures a lighter texture.
- Granulated Sugar (2 tablespoons): Adds sweetness and aids in browning. Adjust to your preference.
- Baking Powder (2 teaspoons): The primary leavening agent, responsible for that coveted fluffiness. Don’t confuse it with baking soda.
- Baking Soda (1 teaspoon): A secondary leavening agent that reacts with the buttermilk for extra lift.
- Salt (1/2 teaspoon): Enhances all the other flavors.
- Large Egg (1): Binds the ingredients and adds richness.
- Buttermilk (1 ½ cups): The secret to tender, moist Pancakes and a key reactive component for leavening. If unavailable, combine regular milk with 1 tablespoon of lemon juice or white vinegar and let it sit for 5 minutes.
- Melted Unsalted Butter (4 tablespoons): Adds flavor and moisture. Cool slightly before adding to the batter.
- Vanilla Extract (1 teaspoon): For aromatic depth and classic flavor.
- Non-stick cooking spray or additional butter/oil: For greasing your griddle or pan.
Kitchen Tools:
- Large mixing bowl: For combining dry ingredients.
- Medium mixing bowl: For combining wet ingredients.
- Whisk: For thorough mixing.
- Rubber spatula or wooden spoon: For gentle folding.
- Measuring cups and spoons: For precise ingredient amounts.
- Non-stick griddle or large frying pan: Essential for even cooking.
- Ladle or 1/4 cup measuring cup: For portioning batter.
- Spatula: For flipping.
- Wire rack (optional): To keep cooked Pancakes warm and prevent sogginess.
Prep Time & Cooking Schedule
- Prep Time: 10 minutes
- Cook Time: 2-3 minutes per pancake batch (totaling approximately 20-25 minutes for the entire recipe)
- Resting Time (for batter): 5-10 minutes (optional, but highly recommended for fluffier results)
This recipe is perfect for a weekend morning breakfast or a special brunch. The prep is quick, meaning you can whip up the batter while your coffee brews. The resting time for the batter allows the gluten to relax and the leavening agents to start their magic, promising an extra airy texture.
Step-by-Step Instructions
1. Combine Dry Ingredients: In your large mixing bowl, whisk together the all-purpose flour, granulated sugar, baking powder, baking soda, and salt. Ensure there are no lumps for an even texture.
2. Combine Wet Ingredients: In the medium mixing bowl, whisk together the egg, buttermilk, melted butter, and vanilla extract until well combined. The buttermilk might look slightly curdled, which is normal and desirable.
3. Combine Wet and Dry: Pour the wet ingredients into the dry ingredients. Using a rubber spatula, gently fold until just combined. Crucially, do not overmix. A few lumps are perfectly fine; overmixing develops gluten, leading to tough Pancakes. The goal is a light, airy texture, essential for the best Pancakes.
4. Rest the Batter (Optional but Recommended): Let the batter rest for 5-10 minutes at room temperature. This allows the flour to fully hydrate and the leavening agents to begin activating, resulting in even fluffier results.
5. Heat Your Griddle/Pan: While the batter rests, heat a non-stick griddle or large frying pan over medium-low heat. A test drop of water should sizzle and evaporate quickly. Lightly grease with cooking spray, butter, or oil.
6. Cook the Pancakes: Pour about 1/4 cup of batter per pancake onto the heated griddle. Cook for 2-3 minutes, or until bubbles appear on the surface and the edges look set.
7. Flip and Finish: Carefully flip the Pancakes and cook for another 1-2 minutes, or until golden brown and cooked through.
8. Serve: Transfer cooked Pancakes to a plate or a wire rack to keep warm. Repeat with the remaining batter. Serve immediately with your favorite toppings for a delightful breakfast.
Nutritional Benefits & Advantages
Homemade Pancakes offer several advantages over their pre-made counterparts. By controlling the ingredients, you can choose organic options, reduce sugar content, and avoid artificial additives. Whole wheat flour can be substituted for added fiber, and the eggs provide protein, contributing to a more satisfying breakfast. Buttermilk also contains beneficial probiotics, aiding digestion. While Pancakes are generally a treat, making them at home allows for mindful indulgence and dietary customization.
Tips, Variations & Cooking Advice
- Even Cooking: Maintain a consistent medium-low heat. Too high, and they’ll burn before cooking through; too low, and they’ll be tough.
- Flavor Boosts: Add a pinch of cinnamon or nutmeg to the dry ingredients.
- Fruity Delight: Fold in fresh blueberries, sliced bananas, or chocolate chips to the batter just before cooking.
- Whole Grain Version: Substitute up to half of the all-purpose flour with whole wheat pastry flour for a healthier, nuttier flavor without sacrificing too much tenderness.
- Dairy-Free: Use a dairy-free milk alternative (like almond or soy milk) with 1 tablespoon of apple cider vinegar for the “buttermilk,” and a plant-based butter substitute.
- Gluten-Free: Use a 1:1 gluten-free all-purpose flour blend.
- Make Ahead Dry Mix: Combine all dry ingredients and store in an airtight container. When ready to cook, just add the wet ingredients.
Common Mistakes to Avoid
- Overmixing the Batter: This is the cardinal sin of pancake making! It develops gluten, leading to chewy, dense Pancakes. Mix until just combined, even if there are a few lumps.
- Cooking on Too High Heat: Results in burned exteriors and raw interiors. Medium-low heat is key for even golden-brown perfection.
- Not Greasing the Pan Properly: Leads to sticking and uneven browning. A light, even coating of fat is crucial.
- Flipping Too Early: Wait for bubbles to form on the surface and the edges to appear set. This indicates one side is cooked and ready for a flip.
Storage & Meal Prep Tips
Leftover Pancakes can be a delicious convenience! Allow them to cool completely, then stack them with parchment paper in between (to prevent sticking) and store in an airtight container or freezer bag.
- Refrigeration: Store in the refrigerator for up to 3-4 days.
- Freezing: Freeze for up to 2-3 months.
- Reheating: Reheat in a toaster oven, microwave (for softer Pancakes), or a warm oven (350°F/175°C for 5-10 minutes) until warmed through. This makes them excellent for quick week-day breakfasts!
Conclusion
Crafting perfect, fluffy Pancakes at home is a truly rewarding culinary experience. With this detailed guide, you’re now equipped to whip up a delicious breakfast that will impress family and friends. Remember, the key lies in fresh ingredients, gentle mixing, and proper heat control. Don’t be afraid to experiment with variations to find your ultimate favorite! Give this recipe a try, share your delightful results, and transform your mornings with these irresistible Pancakes.
FAQs
Q1: Can I make the batter ahead of time?
A1: While fresh batter is best for peak fluffiness, you can make it the night before and store it in the refrigerator. Note that the leavening might be slightly less active, so consider adding a tiny pinch more baking powder just before cooking.
Q2: My Pancakes aren’t fluffy. What went wrong?
A2: The most common culprits are overmixing the batter or using old baking powder/soda. Ensure your leavening agents are fresh and mix the batter only until just combined.
Q3: How do I keep my Pancakes warm while cooking the rest of the batch?
A3: Place cooked Pancakes on a wire rack set over a baking sheet in a warm oven (around 200°F/90°C). This prevents them from becoming soggy.
Q4: Can I use regular milk instead of buttermilk?
A4: Yes, but you’ll need to “sour” it. For every 1 cup of regular milk, add 1 tablespoon of lemon juice or white vinegar. Let it sit for 5 minutes before using.
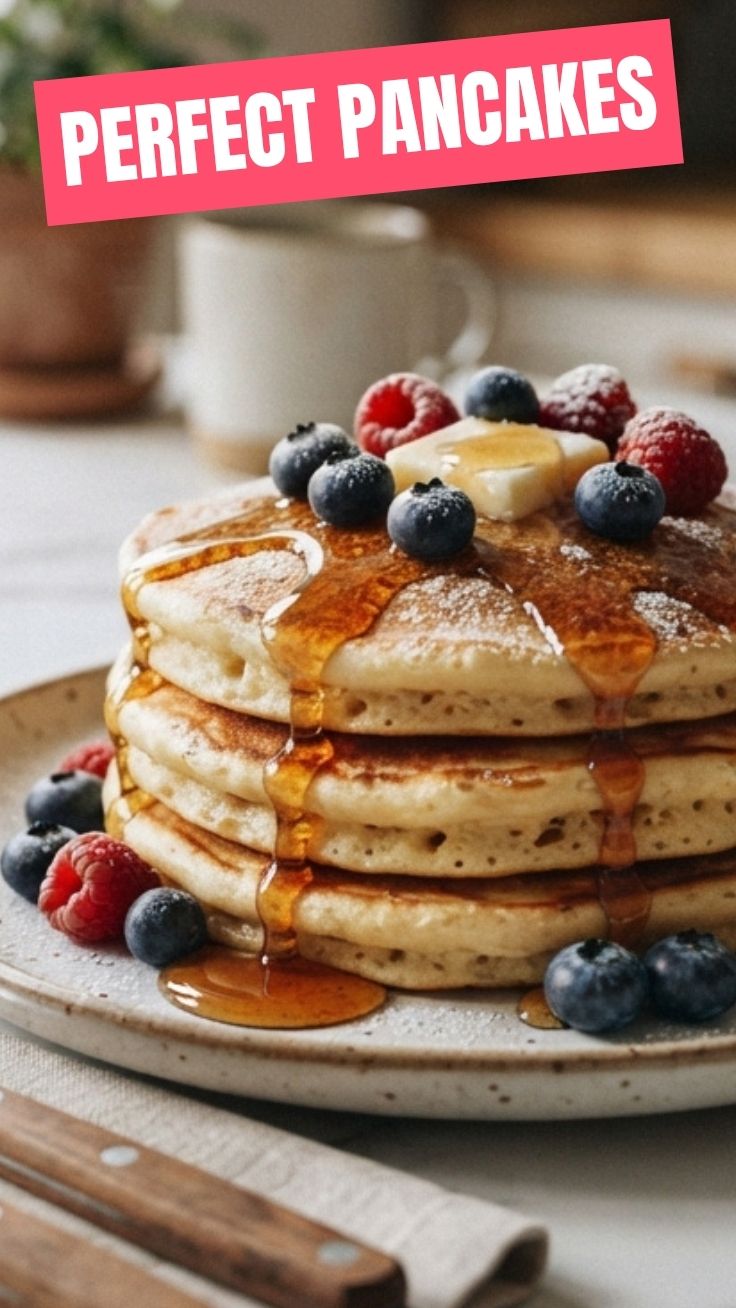
Q5: What are the best toppings for these Pancakes?
A5: Classic options include maple syrup, fresh berries, whipped cream, or powdered sugar. For something different, try fruit compotes, chocolate sauce, nuts, or a dollop of yogurt.