Fluffy Pancakes: Your Weekend Brunch Just Got an Upgrade!
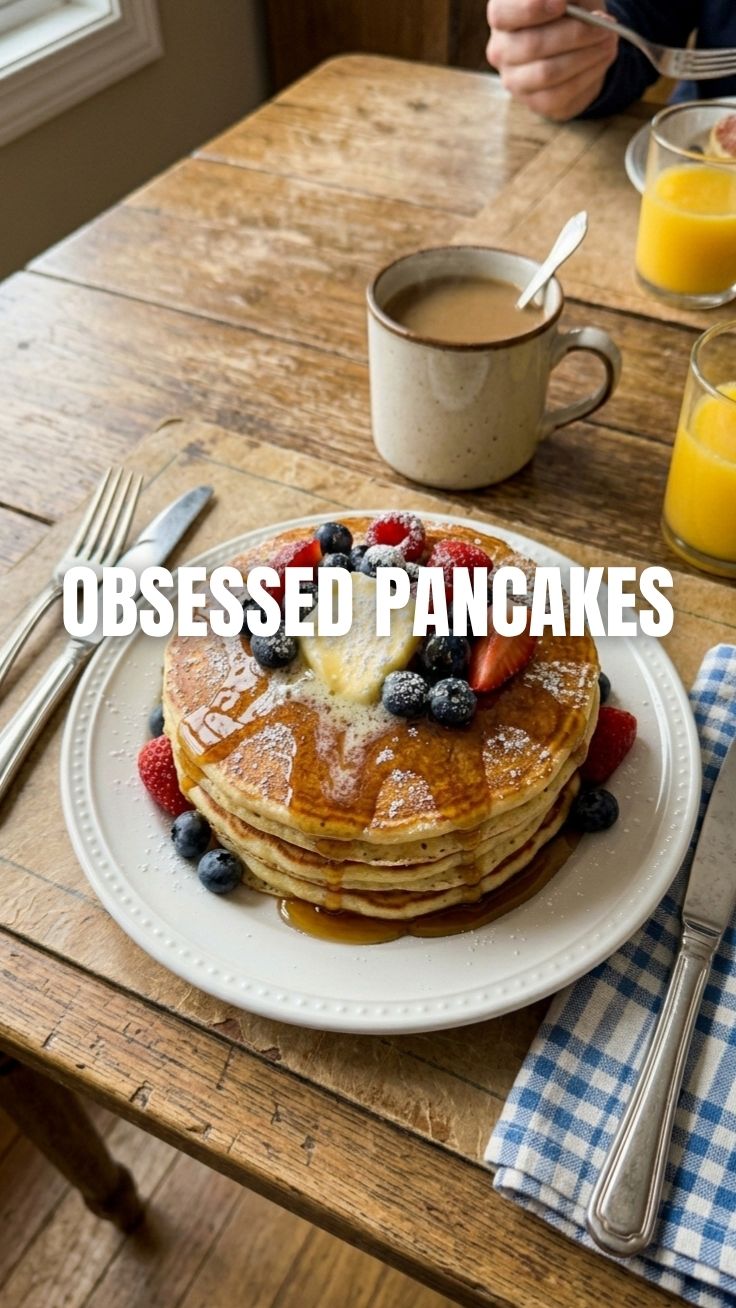
Ever dreamt of waking up to the aroma of freshly made, perfectly fluffy Pancakes, a quintessential breakfast staple, sizzling on the griddle? Ditch the boxed mixes and treat yourself to the real deal! Learning how to make them at home isn’t just about saving money; it’s about infusing your mornings with warmth, flavor, and a touch of culinary magic. This comprehensive guide will walk you through creating light, airy pancakes that will quickly become your family’s favorite. Get ready to elevate your breakfast experience with our simple yet incredibly satisfying recipe for Pancakes.
Ingredients & Kitchen Tools
Here’s what you’ll need to create your culinary masterpiece:
- All-Purpose Flour (1 ½ cups): The backbone of your pancakes. Sifting it ensures a lighter texture.
- Granulated Sugar (2 tablespoons): Adds a touch of sweetness and helps with browning.
- Baking Powder (1 tablespoon): The leavening agent responsible for those delightful fluffy heights.
- Baking Soda (1 teaspoon): Works with the buttermilk to create extra lift and tender crumb.
- Salt (½ teaspoon): Enhances all the other flavors. Don’t skip it!
- Large Egg (1 large): Binds the ingredients together and adds richness.
Buttermilk (1 ¼ cups): Reacts with baking soda for ultimate fluffiness and a subtle tangy flavor. Substitution: If you don’t have buttermilk, add 1 tablespoon of white vinegar or lemon juice to regular milk and let it sit for 5 minutes.*
- Melted Unsalted Butter (3 tablespoons): Adds richness and keeps the pancakes moist.
- Vanilla Extract (1 teaspoon): A flavor enhancer that complements the sweetness.
- Optional Toppings: Maple syrup, fresh berries, whipped cream, chocolate chips, sliced bananas.
Kitchen Tools:
- Large Mixing Bowl: For combining dry ingredients.
- Medium Mixing Bowl: For whisking wet ingredients.
- Whisk: To ensure all ingredients are well combined.
- Measuring Cups & Spoons: For accurate ingredient quantities.
- Rubber Spatula: For gentle mixing and scraping bowls.
- Non-Stick Griddle or Large Frying Pan: Essential for even cooking.
- Ladle or ¼ cup measuring cup: For portioning batter onto the griddle.
- Spatula: For flipping pancakes.
- Wire Rack: To keep cooked pancakes warm and prevent sogginess.
Prep Time & Cooking Schedule
- Prep Time: 10 minutes
- Cook Time: 2-3 minutes per pancake (approximately 15-20 minutes total)
- Resting Time (Batter): 5-10 minutes (optional, but recommended for extra tenderness)
This recipe is designed for a quick and satisfying breakfast. You can easily whip up the batter while your coffee brews, and have piping hot pancakes ready in under 30 minutes! The brief resting time for the batter allows the gluten to relax and the leavening agents to activate, resulting in an even more tender outcome for your Pancakes.
Step-by-Step Instructions
1. Combine Dry Ingredients: In a large bowl, whisk together the all-purpose flour, granulated sugar, baking powder, baking soda, and salt. Ensure there are no lumps.
2. Combine Wet Ingredients: In a separate medium bowl, whisk the egg, buttermilk, melted butter, and vanilla extract until well combined and smooth.
3. Combine Wet and Dry: Pour the wet ingredients into the dry ingredients. Stir gently with a rubber spatula until just combined. A few small lumps are perfectly fine and even desirable; do not overmix, as this will lead to tough pancakes.
4. Rest the Batter (Optional but Recommended): Let the batter rest for 5-10 minutes at room temperature. This allows the flour to fully hydrate and the leavening agents to work their magic, promising incredibly fluffy Pancakes for your delicious breakfast.
5. Preheat Griddle: Heat a non-stick griddle or large frying pan over medium-low heat. Lightly grease with butter or cooking spray.
6. Cook Pancakes: Pour about ¼ cup of batter for each pancake onto the preheated griddle. Cook for 2-3 minutes, or until bubbles appear on the surface and the edges look set.
7. Flip and Finish: Flip the pancakes gently with a spatula and cook for another 1-2 minutes on the second side, until golden brown and cooked through.
8. Serve: Transfer cooked pancakes to a wire rack in a warm oven (around 200°F/90°C) to keep them warm while you cook the remaining batter. Serve immediately with your favorite toppings.
Nutritional Benefits & Advantages
Our homemade Pancakes offer more than just deliciousness. While often seen as an indulgence, they can be a part of a balanced breakfast. Choosing whole wheat flour can increase fiber content, aiding digestion. Eggs provide protein for sustained energy, and buttermilk contains probiotics beneficial for gut health. When topped with fresh fruits, you add essential vitamins, minerals, and antioxidants, turning a simple meal into a powerful start to your day. Furthermore, controlling the sugar level allows you to make a healthier choice compared to store-bought alternatives.
Tips, Variations & Cooking Advice
- Flavor Variations: Add lemon zest, orange zest, or a pinch of cinnamon to the dry ingredients for an aromatic twist. Stir in chocolate chips, blueberries, or finely chopped nuts into the batter just before cooking.
- Dietary Adaptations:
* Gluten-Free: Substitute all-purpose flour with a 1:1 gluten-free baking blend.
* Dairy-Free: Use almond milk or soy milk with 1 tablespoon of apple cider vinegar instead of buttermilk, and use a dairy-free butter alternative.
- Perfectly Golden: Adjust the heat of your griddle. Too high, and they’ll burn; too low, and they’ll be pale and dry. Medium-low is usually the sweet spot.
- Don’t Overmix: This is a crucial tip! Overmixing develops gluten, leading to chewy, dense pancakes instead of light, fluffy ones. Lumps are your friends.
Common Mistakes to Avoid
- Overmixing the Batter: As mentioned, this is the number one culprit for tough pancakes. Mix until just combined.
- Cooking on Too High Heat: You’ll end up with burned exteriors and raw interiors. Patience is key; medium-low heat ensures even cooking.
- Not Greasing the Griddle Properly: This leads to sticking and torn pancakes. Use a light coating of butter or oil.
- Flipping Too Soon: Wait for those bubbles to appear on the surface and the edges to look set before flipping. This indicates the bottom is cooked.
Storage & Meal Prep Tips
Leftover Pancakes are fantastic for a quick weekday breakfast.
- Refrigeration: Store cooled pancakes in an airtight container in the refrigerator for up to 3-4 days.
- Freezing: Place cooled pancakes in a single layer on a baking sheet and freeze until solid. Then, transfer them to a freezer-safe bag or container, separating layers with parchment paper. They will keep for up to 2-3 months.
- Reheating: Reheat in a toaster, microwave (for softer texture), or on a lightly greased griddle until warm.
Conclusion
Mastering the art of fluffy homemade Pancakes is a skill that will bring endless joy to your morning routine. This recipe provides a straightforward path to achieving perfect, tender, and incredibly satisfying pancakes every single time, making your breakfast truly special. So go ahead, give this recipe a try, and prepare to impress your taste buds (and your family!). Share your pancake creations with us in the comments below!
FAQs
Q1: Can I make the batter ahead of time?
A1: While freshly made batter is best for peak fluffiness, you can prepare the dry and wet ingredients separately the night before and combine them in the morning for a quicker start. If you do mix the full batter ahead, it may lose some of its leavening power, resulting in slightly less fluffy pancakes.
Q2: What if my pancakes aren’t fluffy enough?
A2: Ensure your baking powder and baking soda are fresh (check expiration dates). Also, avoid overmixing the batter, as this develops gluten and can make pancakes dense. The buttermilk is also crucial for activating the leavening agents.
Q3: Can I use regular milk instead of buttermilk?
A3: Yes, but you’ll need to create a “buttermilk substitute.” For 1 ¼ cups of milk, add 1 tablespoon of lemon juice or white vinegar, stir, and let it sit for 5 minutes before using. This helps activate the baking soda for better rise.
Q4: How do I know when to flip the pancakes?
A4: Look for bubbles forming on the surface and the edges starting to look dry and set. This is your cue! Typically, it takes about 2-3 minutes per side.
Q5: What are some good savory pancake toppings?
A5: For a savory twist, consider crispy bacon bits, a fried egg, cheddar cheese (stirred into the batter), or a sprinkle of chives. Adjust or omit sugar in the batter for a truly savory experience.