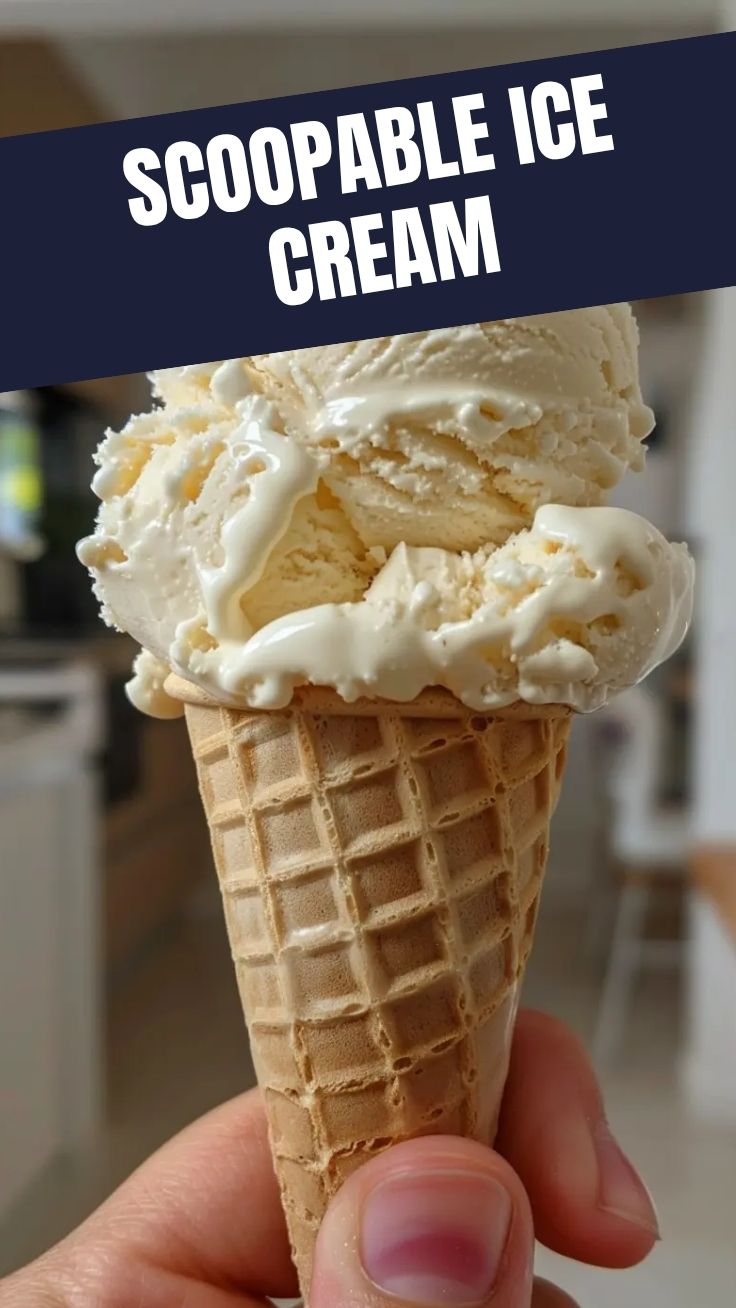
Unlocking Decadence: Your Guide to Perfect Homemade No-Churn Ice Cream
Ever dreamt of scooping into a rich, creamy bowl of homemade ice cream without the fuss of an expensive machine? You’re in the right place! Today, we’re diving deep into the magical world of creating exquisite homemade frozen treats, proving that delicious No-Churn Ice Cream is not just a dream, but a deliciously simple reality. This guide will empower you to craft the perfect batch right in your kitchen, offering insights into ingredient science and seamless techniques. Forget the complexities, and embrace the joy of creating artisanal desserts with these Easy Ice Cream Recipes.
Ingredients & Kitchen Tools
To embark on your no-churn journey, gather these essential components:
- Heavy Cream (2 cups): Crucial for that luxurious, airy texture. Ensure it’s very cold for optimal whipping.
- Sweetened Condensed Milk (14 oz can): Provides sweetness and prevents ice crystals, acting as the foundation of our no-churn magic.
- Vanilla Extract (1-2 teaspoons): Enhances flavor. Use good quality extract for the best taste.
- Pinch of Salt: Balances sweetness and amplifies other flavors.
- Flavorings (Optional): Chocolate chips, chopped nuts, fruit purées, cookie crumbles – anything your heart desires!
Kitchen Tools:
- Large Mixing Bowl: For whipping cream and combining ingredients.
- Electric Mixer (Handheld or Stand Mixer): Essential for achieving stiff peaks with the heavy cream.
- Spatula: For folding and scraping.
- Loaf Pan or Freezer-Safe Container (9×5 inch or similar): For freezing your ice cream.
- Plastic Wrap or Parchment Paper: To cover the ice cream during freezing and prevent ice crystals.
Prep Time & Cooking Schedule

The beauty of No-Churn Ice Cream lies in its minimal active preparation.
- Prep Time: 15-20 minutes
- Chill Time: 6-8 hours (or overnight)
- Total Time: Approximately 6 hours 20 minutes
Plan to make this in the morning or early afternoon to enjoy it for dessert the same day. Overnight chilling guarantees the best, firmest results.
Step-by-Step Instructions
Follow these simple steps for a dessert that will delight:
1. Chill your bowl and beaters (optional but recommended): Place your mixing bowl and electric mixer beaters in the freezer for 10-15 minutes. This helps the cream whip faster and more effectively.
2. Whip the heavy cream: In the chilled bowl, pour the cold heavy cream. Using your electric mixer, beat on medium-high speed until stiff peaks form. The cream should hold its shape when you lift the beaters. Be careful not to over-whip, or it will turn to butter!
3. Combine condensed milk and vanilla: In a separate smaller bowl, mix the sweetened condensed milk, vanilla extract, and a pinch of salt until well combined.
4. Fold in the magic: Gently fold the condensed milk mixture into the whipped cream using your spatula. Perform this in two or three additions to maintain as much air as possible in the mixture. Overmixing here will deflate the cream.
5. Add your mix-ins (optional): If you’re adding flavorings like chocolate chips, nuts, or fruit, gently fold them into the mixture until evenly distributed. This is where your No-Churn Ice Cream truly becomes your own!
6. Transfer and freeze: Pour the mixture into your loaf pan or freezer-safe container. Smooth the top with your spatula. Cover the surface with plastic wrap or parchment paper, pressing it directly onto the ice cream to prevent ice crystals from forming.
7. Chill to perfection: Place in the freezer for at least 6-8 hours, or preferably overnight, until firm. Enjoy your delicious homemade treat, proving that Easy Ice Cream Recipes can be incredibly satisfying.
Nutritional Benefits & Advantages
While ice cream is a treat, homemade versions offer control over ingredients. You can opt for organic dairy, reduce added sugars by adjusting mix-ins, and avoid artificial flavors and preservatives found in many commercial brands. This No-Churn Ice Cream recipe provides calcium and some fat, which is essential for nutrient absorption and satiety.
Tips, Variations & Cooking Advice
- Flavor Fiesta: Experiment with endless flavors!
* Chocolate Lovers: Fold in cocoa powder with the condensed milk or stir in chocolate syrup.
* Fruity Fun: Swirl in fruit purées (like berry, mango, or peach) after folding the condensed milk.
* Nutty Delights: Add chopped nuts, nut butters, or even a swirl of hazelnut spread.
* Coffee Kick: Dissolve instant coffee granules in a tablespoon of hot water, then mix into the condensed milk.
- Texture Talk: For an even richer, denser ice cream, consider chilling your sweetened condensed milk as well.
- Dairy-Free: Substitute heavy cream with a full-fat canned coconut cream (chilled overnight) and use sweetened condensed coconut milk for a delicious vegan alternative.
- Portion Control: Freeze in individual serving containers for easier portioning.
Common Mistakes to Avoid
- Over-whipping the cream: This will result in a grainy texture. Stop as soon as stiff peaks form.
- Under-chilling ingredients: Warm cream won’t whip properly. Ensure it’s very cold.
- Not covering the surface: Exposure to air in the freezer leads to ice crystals and a less creamy texture.
- Deflating the whipped cream: Be gentle when folding in the condensed milk and mix-ins to maintain the airy consistency.
Storage & Meal Prep Tips
Store your homemade No-Churn Ice Cream in an airtight freezer-safe container for up to 2-3 weeks. For optimal texture, let it sit at room temperature for 5-10 minutes before scooping. This allows it to soften slightly, making it easier to serve.
Conclusion
Creating your own delicious No-Churn Ice Cream is a surprisingly simple yet incredibly rewarding culinary adventure. Armed with this comprehensive guide, you have everything you need to whip up a truly decadent treat without any specialized equipment. We hope these Easy Ice Cream Recipes inspire you to experiment and savor the joy of homemade goodness. Don’t hesitate to share your creations and flavor combinations in the comments below!
FAQs
Q1: Can I use low-fat cream for this recipe?
A1: No, full-fat heavy cream is essential for the structure and creaminess of no-churn ice cream. Lower fat content will not whip properly and will result in an icy texture.
Q2: My ice cream is icy. What went wrong?
A2: This usually happens if the cream wasn’t whipped to stiff peaks, or if the mixture wasn’t covered properly to prevent air exposure during freezing. Ensure all folding is gentle to retain air.
Q3: How long does it take for the ice cream to firm up completely?
A3: While 6 hours might yield a soft-serve consistency, it’s best to freeze it for at least 8 hours or overnight for a firmer, scoopable ice cream.
Q4: Can I use different types of sweeteners?
A4: Sweetened condensed milk is key to the no-churn method as it prevents crystallization. Substituting it with other sweeteners like sugar or honey will likely result in an icier product.
Q5: What’s the best way to scoop frozen no-churn ice cream?
A5: To get perfect scoops, let the container sit at room temperature for 5-10 minutes before scooping. You can also dip your ice cream scoop in warm water for even easier serving.