Unlock Dessert Nirvana: The Ultimate No-Bake Cheesecake Experience
Ever dreamt of indulging in a rich, creamy cheesecake without the hassle of baking, water baths, and cracked tops? What if we told you that dream is not only achievable but also incredibly delicious and surprisingly simple to master right in your own kitchen? Preparing a homemade No Bake Cheesecake offers a unique blend of convenience and gourmet satisfaction, allowing you to create a show-stopping dessert with minimal effort. This easy-to-follow guide will walk you through every step, ensuring your homemade creation is a triumph of flavor and texture. Get ready to impress your family and friends with an Easy Cheesecake that tastes like it came straight from a five-star patisserie.
Ingredients & Kitchen Tools
To embark on your no-bake cheesecake journey, gather these essential ingredients and tools. Each item plays a crucial role in creating the perfect texture and flavor.
Ingredients:
- 2 cups Graham Cracker Crumbs: The foundation of our crust. You can buy pre-crushed crumbs or crush your own graham crackers.
- ½ cup Unsalted Butter, melted: Binds the crust together. Unsalted is preferred to control overall saltiness.
- 16 oz Cream Cheese, softened: The star of the show. Full-fat cream cheese yields the creamiest result. Make sure it’s at room temperature for smooth mixing.
- 1 cup Granulated Sugar: Sweetens the filling. Adjust to your personal preference.
- 1 tsp Vanilla Extract: Enhances the flavor of the cheesecake filling. Pure vanilla extract is recommended.
- ½ cup Heavy Cream, cold: Whipped to stabilize and lighten the filling. Chill thoroughly before whipping.
- 1 tbsp Lemon Juice (optional): Adds a touch of brightness and cuts through the richness.
- Pinch of Salt: Balances the sweetness and enhances other flavors.
- Toppings (optional): Fresh berries, chocolate shavings, fruit compote, whipped cream.
Kitchen Tools:
- 9-inch Springform Pan: Essential for easy removal and a beautiful presentation.
- Large Mixing Bowl: For combining the filling ingredients.
- Electric Mixer (handheld or stand): Crucial for whipping cream cheese and heavy cream to the right consistency.
- Rubber Spatula: For scraping bowls and folding ingredients gently.
- Measuring Cups and Spoons: For accurate ingredient quantities.
- Small Saucepan or Microwave-safe Bowl: For melting butter.
- Plastic Wrap: For covering and chilling the cheesecake.
Prep Time & Cooking Schedule
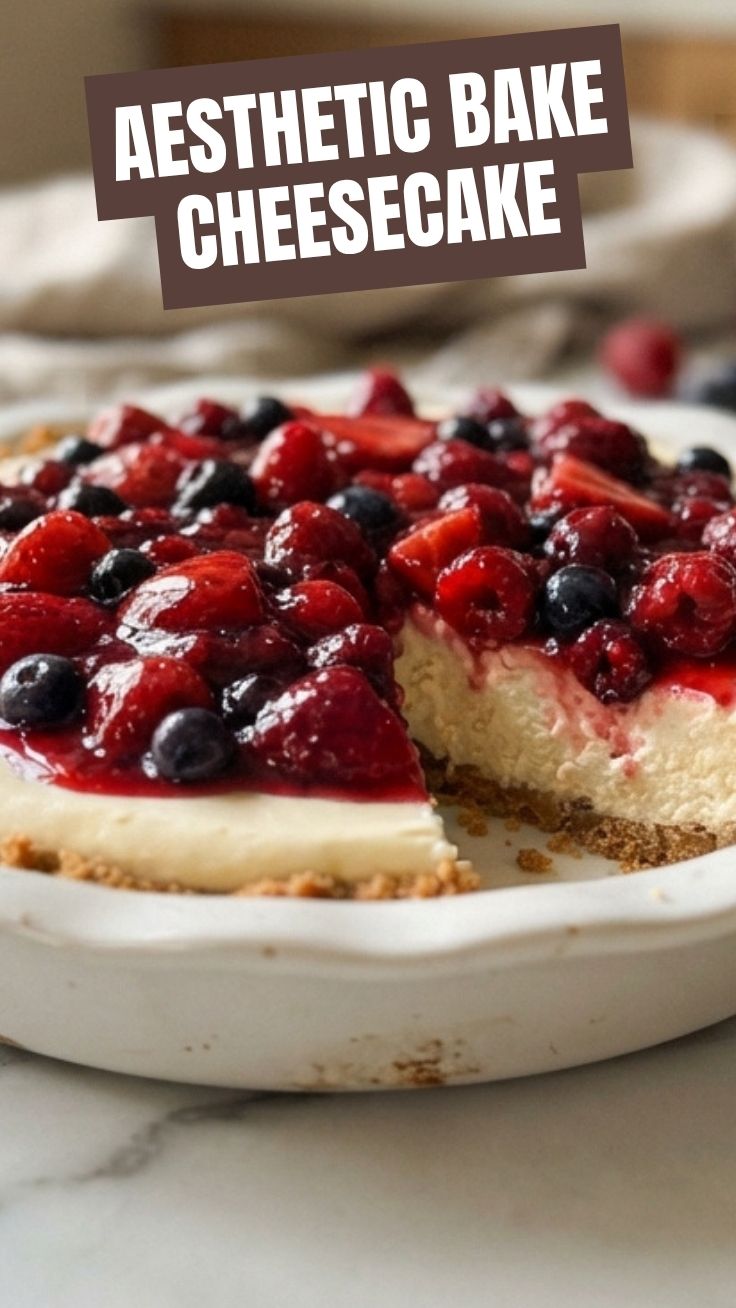
This recipe is designed for maximum flavor with minimal active cooking time. The key to its success lies in adequate chilling.
- Active Prep Time: 20-25 minutes
- Chilling Time (Minimum): 4 hours
- Recommended Chilling Time: Overnight (for best results and firmest set)
Plan to prepare this dessert in advance, ideally the day before you intend to serve it, to allow it ample time to set perfectly. The longer it chills, the firmer and more sliceable your cheesecake will be.
Step-by-Step Instructions
Follow these simple steps to create a show-stopping dessert. Precision and patience are your best allies for this No Bake Cheesecake.
1. Prepare the Crust: In a medium bowl, combine the graham cracker crumbs and melted butter. Mix until the crumbs are evenly moistened and resemble wet sand. Press the mixture firmly and evenly into the bottom of a 9-inch springform pan. You can use the bottom of a glass or your hands to achieve a compact crust. Place the pan in the freezer for at least 15 minutes to firm up while you prepare the filling.
2. Whip the Heavy Cream: In a large, chilled mixing bowl (this helps the cream whip faster), using an electric mixer, whip the cold heavy cream until medium-stiff peaks form. Be careful not to over whip, or it will turn grainy. Set aside.
3. Make the Cream Cheese Filling: In a separate large mixing bowl, beat the softened cream cheese with the granulated sugar until light, fluffy, and smooth, ensuring there are no lumps. Add the vanilla extract, lemon juice (if using), and a pinch of salt. Beat until just combined.
4. Combine and Fold: Gently fold the whipped heavy cream into the cream cheese mixture using a rubber spatula. Use a cutting and folding motion to incorporate the whipped cream without deflating it. This step is crucial for achieving that light, airy texture in your Easy Cheesecake filling.
5. Assemble and Chill: Pour the cheesecake filling over the chilled graham cracker crust. Smooth the top with your spatula. Cover the springform pan tightly with plastic wrap and refrigerate for at least 4 hours, or preferably overnight, until thoroughly set.
6. Serve: Once chilled, carefully remove the sides of the springform pan. Garnish with your favorite toppings just before serving.
Nutritional Benefits & Advantages
Beyond its delicious taste, this dessert offers several advantages. The use of cream cheese provides a source of calcium and essential vitamins. If you opt for fresh fruit toppings, you’re boosting the dish’s antioxidant content and dietary fiber. Furthermore, as a no-bake recipe, it eliminates the need for an oven, making it a more energy-efficient and cooler option during warmer months. It’s also an excellent way to incorporate dairy into your diet, contributing to bone health.
Tips, Variations & Cooking Advice
- Flavor Variations: Swirl in fruit purees (raspberry, blueberry), melted chocolate, espresso powder, or citrus zest for endless flavor combinations.
- Crust Alternatives: Experiment with different cookie crumbs like Oreo, Biscoff, or shortbread for varied textures and tastes.
- Dairy-Free Version: Use vegan cream cheese and coconut cream (chilled, thick part only) for a fantastic dairy-free alternative.
- Portion Control: Make individual cheesecakes in muffin tins lined with paper liners for easy portioning and serving.
- Temperature Matters: Ensure cream cheese is at room temperature for the smoothest filling, and heavy cream is thoroughly chilled for optimal whipping.
Common Mistakes to Avoid
- Not Softening Cream Cheese: This leads to a lumpy filling. Always allow cream cheese to come to room temperature.
- Over-Whipping Heavy Cream: While you want stiff peaks, continuously whipping past this point can result in grainy or buttery cream.
- Insufficient Chilling Time: The biggest mistake! Cutting chilling time short will result in a runny, unset cheesecake. Patience is key.
- Not Pressing the Crust Firmly Enough: A loose crust will crumble when sliced. Pack it down tightly.
- Opening Oven Door (for baked versions, but highlights general baking principles): This specific recipe is no-bake, but for those curious about cheesecake in general, opening the oven door during baking can cause temperature fluctuations that lead to cracks. The no-bake version elegantly bypasses this common issue.
Storage & Meal Prep Tips
Your No Bake Cheesecake stores beautifully.
- Refrigeration: Store leftover cheesecake covered tightly with plastic wrap in the refrigerator for up to 3-4 days. It will retain its creamy texture and fresh flavor.
- Freezing: For longer storage, slice the cheesecake into individual portions. Place them on a baking sheet to freeze solid, then transfer to an airtight container or freezer-safe bag. It can be frozen for up to 1 month. Thaw in the refrigerator for several hours or overnight before serving. Avoid adding fresh fruit toppings before freezing, as they can become mushy upon thawing.
Conclusion
Creating a No Bake Cheesecake at home is a rewarding experience that combines ease with delightful results. This recipe proves that you don’t need complicated techniques or hours in the kitchen to produce an impressive, crowd-pleasing dessert. With its rich, smooth texture and customizable flavors, this Easy Cheesecake is sure to become a staple in your dessert repertoire. We encourage you to give it a try and share your sweet success stories in the comments below! What toppings will you choose for your perfect slice?
FAQs
Q1: Can I use low-fat cream cheese?
A1: While you can, it’s not recommended. Full-fat cream cheese provides the best texture and flavor for a rich, creamy no-bake cheesecake. Low-fat versions can result in a less set and less luxurious filling.
Q2: My cheesecake didn’t set properly. What went wrong?
A2: The most common reasons are insufficient chilling time, over-whipping the heavy cream (which can cause it to separate), or not using enough cream cheese or heavy cream. Ensure all ingredients are measured accurately and allow for ample chilling.
Q3: Can I make this in advance for a party?
A3: Absolutely! This recipe is ideal for making ahead. Prepare it the day before, letting it chill overnight for the firmest, most perfect set.
Q4: How do I get clean slices?
A4: For perfect slices, dip your knife in hot water and wipe it clean between each cut. This prevents sticking and ensures a neat presentation.
Q5: What are some good topping ideas?
A5: Fresh berries (strawberries, blueberries, raspberries), chocolate ganache, caramel sauce, fruit compotes, whipped cream, or a dusting of cocoa powder all make excellent choices. Add toppings just before serving for the best appearance and freshness.