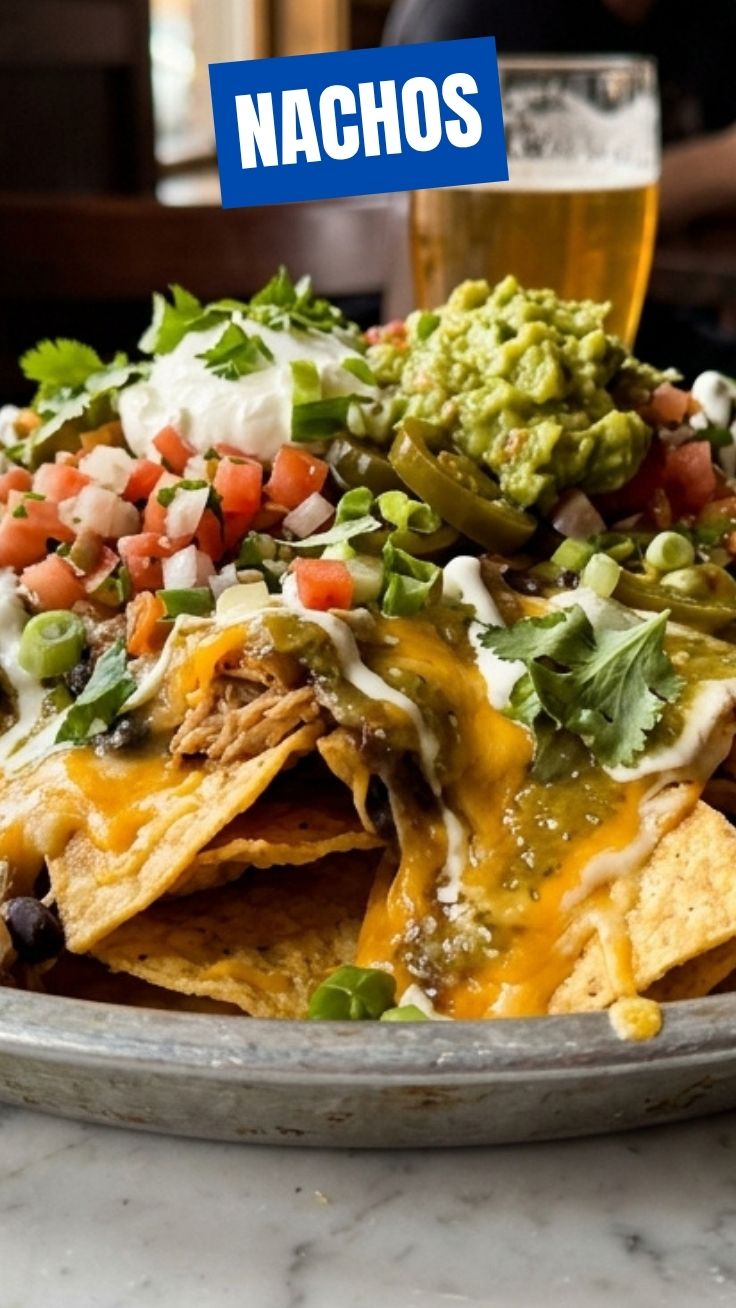
Unleash Your Inner Chef: Crafting the Ultimate Homemade Nacho Experience
Ever wonder how to elevate your snack game from good to absolutely legendary? Forget those limp, microwave-zapped approximations. We’re talking about a culinary adventure that transforms simple ingredients into an explosion of flavor and texture. Preparing delicious Nachos at home isn’t just about saving money; it’s about crafting an experience, customizing every layer, and enjoying a dish that truly reflects your cravings. Today, we’re diving deep into the art of creating the perfect platter of Loaded nachos, guaranteeing a dish that will impress and satisfy every single time. Get ready to ditch the takeout and embrace the joy of homemade goodness!
Ingredients & Kitchen Tools
To embark on this nacho journey, gather these essentials:
- Tortilla Chips (12 oz bag): Opt for sturdy, restaurant-style chips that can withstand layers of toppings without becoming soggy.
- Ground Beef or Turkey (1 lb): Lean ground meat works best.
- Taco Seasoning (1 packet, 1 oz): For authentic Mexican-inspired flavor.
- Salsa (1 cup): Your favorite chunky or smooth variety.
- Canned Black Beans (15 oz, drained and rinsed): Adds fiber and earthy notes.
- Canned Corn (15 oz, drained): For a touch of sweetness and color.
- Shredded Monterey Jack & Cheddar Cheese Blend (2 cups): Melts beautifully for that signature gooeyness.
- Jalapeños (fresh or pickled, sliced): For a kick of heat. Adjust to your spice preference.
- Red Onion (1/2, finely diced): Adds a sharp, fresh bite.
- Avocado (1, diced): Creamy goodness for topping.
- Sour Cream or Greek Yogurt (1/2 cup): For a cooling counterpoint.
- Fresh Cilantro (1/4 cup, chopped): Brightens the flavors.
Kitchen Tools:
- Large Baking Sheet: Essential for even chip distribution and baking.
- Large Skillet: For browning your chosen protein.
- Measuring Cups & Spoons: For accurate ingredient portions.
- Cutting Board & Knife: For prepping veggies.
- Spatula: For stirring and serving.
Prep Time & Cooking Schedule

This recipe is designed for maximum flavor with minimal fuss!
- Prep Time: 15 minutes (chopping veggies, draining cans)
- Cook Time: 20-25 minutes (browning meat, assembling, baking)
- Total Time: Approximately 40 minutes
The beauty of this dish is its quick turnaround. You can prepare most of your ingredients while the oven preheats, ensuring a hot and fresh platter emerges just when hunger strikes. No marinating required – just pure, unadulterated nacho goodness!
Step-by-Step Instructions
1. Preheat & Prep: Preheat your oven to 375°F (190°C). Lay out your tortilla chips in a single layer on a large baking sheet. This ensures even crisping.
2. Cook the Protein: In a large skillet over medium-high heat, brown your ground beef or turkey until no pink remains. Drain any excess grease. Stir in the taco seasoning and 1/4 cup of water, simmering until most of the liquid has evaporated, about 5 minutes.
3. Layer the Foundation: Evenly spread half of the seasoned meat over the chips. Sprinkle with half of the black beans and corn. Now, generously scatter half of your shredded cheese blend over these layers.
4. Repeat & Build: Repeat the layering process with the remaining meat, black beans, corn, and cheese. This creates those coveted, fully loaded bites.
5. Bake to Perfection: Transfer the baking sheet to the preheated oven and bake for 10-15 minutes, or until the cheese is bubbly and melted and the chips are slightly golden. Keep a close eye to prevent burning.
6. Garnish & Serve: Once out of the oven, immediately dot the Nachos with dollops of salsa, sliced jalapeños, diced red onion, avocado, sour cream, and fresh cilantro. Serve immediately and enjoy your spectacular Loaded nachos!
Nutritional Benefits & Advantages
These homemade nachos offer more than just incredible flavor. By building them yourself, you control the quality and quantity of ingredients. The black beans and corn contribute valuable fiber, supporting digestive health. Lean ground meat provides protein for satiety and muscle repair. Avocado adds healthy monounsaturated fats, while fresh vegetables like jalapeños, red onion, and cilantro pack in vitamins and antioxidants without excessive calories. It’s a balanced meal masquerading as a delightful indulgence!
Tips, Variations & Cooking Advice
- Spice It Up: For extra heat, add a pinch of cayenne pepper to your ground meat or use a spicier salsa.
- Vegetarian Delight: Omit the meat and double up on beans, incorporate roasted sweet potatoes, or use a plant-based crumble for a delicious vegetarian option.
- Cheese Please: Experiment with different cheese varieties like cotija, pepper jack, or a smoky gouda for unique flavor profiles.
- Grill Power: For a smoky twist, assemble your nachos on a grill-safe pan and cook over indirect heat until the cheese melts.
- Mini Nachos: Use smaller chips or even Tater Tots for individual servings or a fun appetizer twist.
Common Mistakes to Avoid
- Soggy Chips: Overloading chips in one go or using thin, flimsy chips leads to a soggy mess. Stick to sturdy chips and layer them strategically.
- Cold Toppings: Don’t let your beautiful melted cheese cool down! Have your fresh toppings (salsa, avocado, sour cream) ready to go the moment the nachos come out of the oven.
- Underseasoning: A bland base makes for bland nachos. Ensure your meat is well-seasoned, and don’t be shy with added salt and pepper to taste.
- Overbaking: While you want crispy chips and melted cheese, baking too long can burn the edges and dry out the toppings. Watch them closely!
Storage & Meal Prep Tips
While nachos are best enjoyed fresh, you can store leftovers (without the fresh cream/avocado toppings) in an airtight container in the refrigerator for up to 2 days. Reheat in an oven or air fryer at 300°F (150°C) until warmed through and the cheese is re-melted. Avoid microwaving, as it can make the chips rubbery. For future meal prep, you can cook and season your ground meat ahead of time and store it separately, making assembly even quicker on nacho night!
Conclusion
There you have it – your comprehensive guide to creating homemade Nachos that will rival any restaurant’s offering! By focusing on quality ingredients, smart layering, and a touch of culinary know-how, you can transform a simple snack into a truly memorable meal. Whether it’s for game night, a casual gathering, or just a treat for yourself, these spectacular Loaded nachos are guaranteed to be a crowd-pleaser. Don’t hesitate – dive into your kitchen, get creative, and share your incredible nacho creations with us! We can’t wait to see your culinary masterpieces.
FAQs
Q1: How can I prevent my chips from getting soggy?
A1: Use sturdy, restaurant-style tortilla chips and spread them in a single layer on your baking sheet. Avoid excessively wet toppings directly on the chips; add them after baking.
Q2: Can I make these nachos vegetarian or vegan?
A2: Absolutely! Omit the meat and use extra black beans, roasted vegetables, or a plant-based ground crumble. For vegan, use dairy-free cheese and sour cream alternatives.
Q3: What are some good alternative toppings?
A3: Get creative! Consider adding pickled red onions, corn salsa, pico de gallo, guacamole, crumbled cotija cheese, or even a spicy cashew cream.
Q4: Can I freeze leftover nachos?
A4: It’s generally not recommended to freeze assembled nachos as the chips can become very soggy upon thawing. However, you can freeze the seasoned ground meat or other cooked components separately for future use.