Unlocking the Secret to the Perfect Hummus (Homemade): A Journey to Culinary Delight
Ever wondered how to achieve that perfectly creamy, unbelievably flavorful Hummus (Homemade) that rivals your favorite Mediterranean restaurant? Forget bland store-bought versions and dive into the satisfying world of crafting your own. Preparing this iconic dip at home isn’t just about saving money; it’s about control over fresh ingredients, personalized flavor profiles, and the sheer joy of creating something truly delicious from scratch. Today, we’re demystifying the art of the Hummus Recipe, offering a comprehensive guide to elevate your culinary game and bring a taste of the Mediterranean to your kitchen.
Ingredients & Kitchen Tools
To embark on your Hummus (Homemade) adventure, you’ll need a few key players.
Ingredients:
- 1 can (15 oz) chickpeas (garbanzo beans): Rinsed and drained, essential for that creamy base. You can also cook them from dried for a profound flavor difference.
- 1/4 cup tahini: Toasted sesame seed paste, crucial for authentic flavor and emulsification.
- 1/4 cup fresh lemon juice: Adds brightness and tang; freshly squeezed is non-negotiable.
- 2 cloves garlic: Minced, for a pungent and aromatic kick. Adjust to your preference.
- 1/2 teaspoon salt: Enhances all the flavors. Fine sea salt is recommended.
- 1/4 teaspoon ground cumin: Earthy and warm, complements the chickpeas perfectly.
- 2-4 tablespoons cold water or aquafaba: For achieving the perfect consistency. Aquafaba (the liquid from a can of chickpeas) makes it extra creamy.
- Optional garnishes: Drizzle of extra virgin olive oil, paprika, chopped fresh parsley, pine nuts.
Kitchen Tools:
- Food processor (or high-speed blender): The most efficient way to achieve a smooth texture.
- Fine-mesh sieve (optional): For removing chickpea skins if you desire an ultra-smooth Hummus Recipe.
- Measuring cups and spoons: For accurate ingredient portions.
- Spatula: For scraping down the sides of your food processor.
Prep Time & Cooking Schedule
Crafting your own Hummus (Homemade) is surprisingly quick! The beauty of this recipe lies in its efficiency.
- Prep Time: 10 minutes (This includes rinsing chickpeas, mincing garlic, and juicing lemons).
- Cook Time: 5-7 minutes (This is the blending time in the food processor).
- Resting Time: 15-30 minutes (Optional, allows flavors to meld and develop further when chilled).
This schedule makes it a perfect last-minute appetizer or a convenient component for meal prep throughout the week.
Step-by-Step Instructions
Follow these simple steps for an impeccably smooth and savory Hummus Recipe:
1. Prepare the Chickpeas: If using canned chickpeas, rinse them thoroughly under cold water and drain well. For an extra smooth Hummus (Homemade), gently rub the chickpeas between your hands to remove the skins. This step is optional but makes a noticeable difference in texture.
2. Combine Key Ingredients: In your food processor, combine the rinsed chickpeas, tahini, lemon juice, minced garlic, salt, and cumin.
3. Process Until Smooth: Begin processing the mixture. It will look chunky at first. Gradually add the cold water or aquafaba, one tablespoon at a time, while the processor is running. Continue blending until the hummus reaches your desired creamy, smooth consistency. Stop occasionally to scrape down the sides of the bowl with a spatula to ensure everything is fully incorporated. Pay attention to the texture – aim for a velvety smooth paste, not too thick or too thin.
4. Taste and Adjust: Taste the hummus and adjust seasonings as needed. You might want more salt, lemon juice, or even a dash more cumin. Don’t be afraid to personalize it!
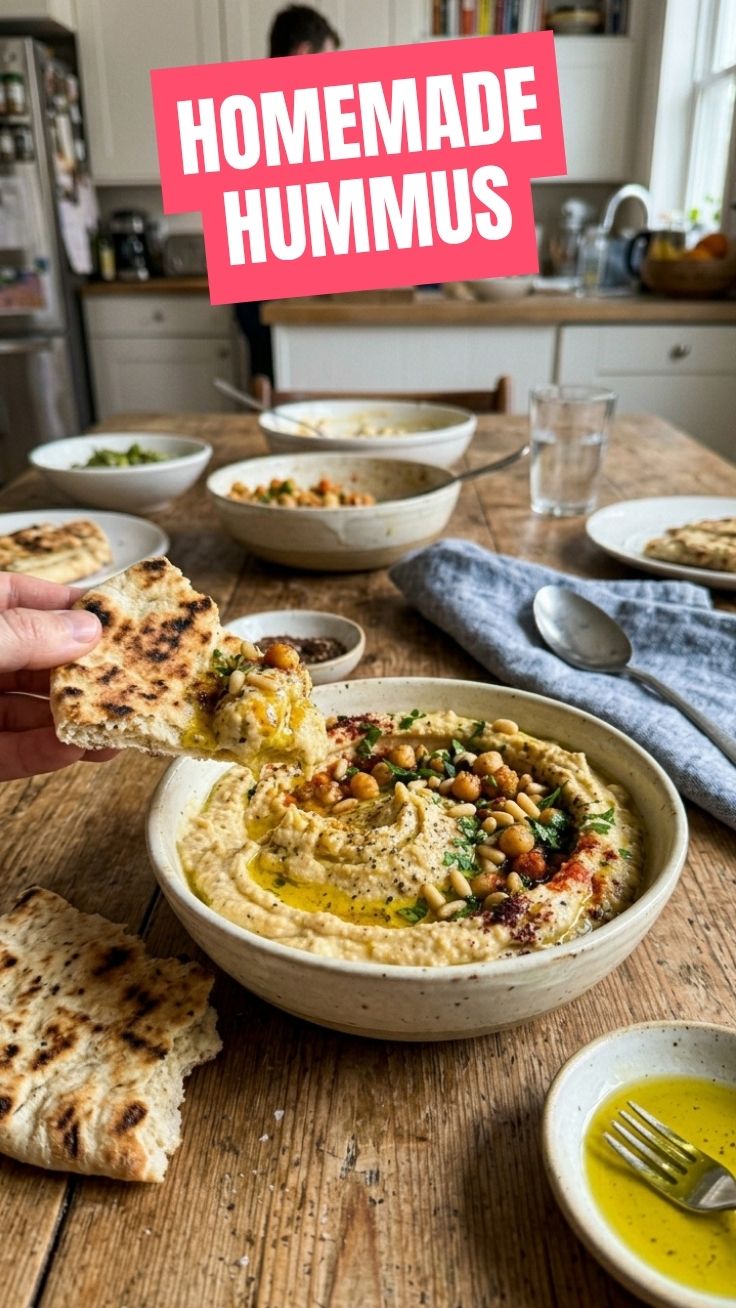
5. Serve & Garnish: Transfer the hummus to a serving bowl. Create a small well in the center with the back of a spoon. Drizzle generously with extra virgin olive oil and sprinkle with paprika, chopped parsley, or pine nuts for an authentic touch.
Nutritional Benefits & Advantages
Beyond its incredible taste, Hummus (Homemade) is a nutritional powerhouse. Chickpeas are an excellent source of plant-based protein and dietary fiber, promoting satiety and digestive health. Tahini provides healthy fats, including monounsaturated and polyunsaturated fats, as well as essential minerals like calcium, magnesium, and iron. Lemon juice adds vitamin C, an antioxidant boost, while garlic offers immune-boosting properties. Overall, hummus is a heart-healthy, gluten-free, and often vegan dip that supports a balanced diet.
Tips, Variations & Cooking Advice
- Roasted Garlic: For a milder, sweeter garlic flavor, roast the garlic cloves before adding them to the hummus.
- Spice It Up: Add a pinch of cayenne pepper or a dash of your favorite hot sauce for a spicy kick.
- Herbal Infusion: Incorporate fresh herbs like cilantro, basil, or dill for a unique flavor twist.
- Roasted Red Pepper Hummus: Roast a red bell pepper until softened, peel, and add it to the food processor for a vibrant, smoky variation.
- Beet Hummus: For a stunning color and earthy sweetness, add a cooked beet to the mixture.
- Soaking Dried Chickpeas: If you have the time, soaking and cooking dried chickpeas from scratch yields an even creamier and more flavorful hummus. Cook them until very tender.
Common Mistakes to Avoid
- Not Enough Liquid: A common culprit for grainy hummus. Don’t be shy with adding cold water or aquafaba gradually until you reach desired creaminess.
- Skipping Tahini: Tahini is non-negotiable for authentic flavor and contributes significantly to the smooth texture.
- Under-processing: Ensure you process the mixture long enough to break down the chickpeas completely.
- Over-seasoning with Garlic: Raw garlic can be potent. Start with two cloves and adjust to taste.
Storage & Meal Prep Tips
Your freshly made Hummus (Homemade) can be stored in an airtight container in the refrigerator for up to 5-7 days. To prevent it from drying out, press a piece of plastic wrap directly onto the surface of the hummus before sealing the container. You can also drizzle a thin layer of olive oil on top. Hummus freezes surprisingly well! Store it in an airtight container for up to 3-4 months. Thaw in the refrigerator overnight and stir well before serving; you might need to add a splash of water or lemon juice to restore its original consistency.
Conclusion
There you have it – the ultimate guide to crafting your own luscious Hummus (Homemade). This recipe is more than just a dip; it’s a versatile culinary staple that can elevate any meal. From a healthy snack with pita bread and veggies to a spread in sandwiches and wraps, or even a base for delicious bowls, the possibilities are endless. We hope you’ll embark on this delightful cooking adventure and discover the unparalleled joy of a truly homemade Hummus Recipe. Share your creations with us, and let’s celebrate the art of good food together!
FAQs
Q1: Can I make hummus without tahini?
A: While you technically can, it won’t have the authentic, rich flavor and creamy texture of traditional hummus. Tahini is a crucial ingredient.
Q2: My hummus is too thick, what should I do?
A: Gradually add more cold water or aquafaba, one tablespoon at a time, while processing, until you achieve your desired consistency.
Q3: How do I remove chickpea skins easily?
A: After rinsing canned chickpeas, gently rub them between your hands under running water. The skins will loosen and float away. This step is optional but yields a smoother result.
Q4: Can I use different types of beans?
A: While traditionally made with chickpeas, you can experiment with other white beans like cannellini beans for a different flavor and texture, though it won’t be true hummus.
Q5: What are some creative ways to serve hummus?
A: Beyond the classic pita and veggie dipper, use it as a spread for wraps and sandwiches, a base for grain bowls, a healthy dollop on salads, or even thinned out as a dressing.