Unlock the Secret to Creamy Perfection: Your Guide to Homemade Vanilla Ice Cream
Have you ever savored that first spoonful of incredibly rich, velvety ice cream and wished you could recreate that magic in your own kitchen? The good news is, you absolutely can! Preparing delectable Homemade Ice Cream (Vanilla) at home isn’t just about crafting a delicious dessert; it’s about controlling the quality of your ingredients, customizing flavors, and experiencing the pure joy of a truly artisanal treat. Forget the artificial flavors and stabilizers, and embrace the simple elegance of a dessert that celebrates real ingredients. This guide will walk you through every step to master luscious homemade vanilla ice cream, unlocking a world of delightful Ice Cream Recipes.
Ingredients & Kitchen Tools
Gathering your pantry staples and essential equipment is the first step to ice cream success. Here’s what you’ll need:
- Heavy Cream (2 cups): The backbone of your creamy texture. Opt for full-fat for the richest results.
- Whole Milk (1 cup): Contributes to the smooth consistency and balances the richness of the cream.
- Granulated Sugar (⅔ cup): Sweetens and helps prevent ice crystals. Adjust to your desired sweetness.
- Egg Yolks (5 large): The secret to a truly custard-based, ultra-creamy ice cream. They also act as an emulsifier. (For an egg-free version, see variations.)
- Vanilla Extract (2 teaspoons): The star flavor! Use high-quality pure vanilla extract or, even better, vanilla bean paste for visible specks and intense flavor.
- Pinch of Salt: Enhances all the other flavors.
- Ice Cream Maker: Essential for churning the mixture into a smooth, frozen dessert. (Freezer bowl type or compressor type).
- Large Saucepan: For heating the custards.
- Whisk: For incorporating ingredients smoothly.
- Fine-Mesh Sieve: To strain the custard and ensure a silky-smooth texture.
- Heatproof Bowl (large): For the ice bath.
- Airtight Freezer-Safe Container: For storing your finished ice cream.
Prep Time & Cooking Schedule
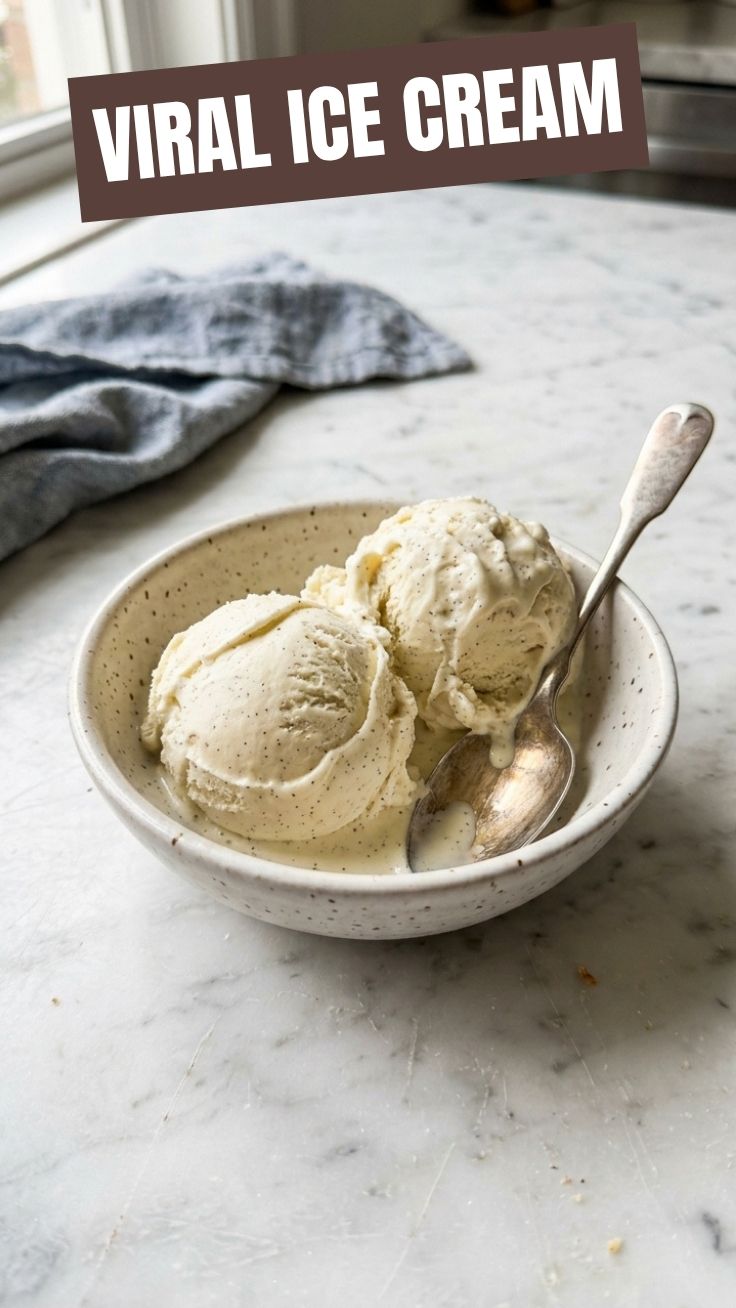
Crafting the perfect vanilla ice cream requires a bit of patience and planning, but the hands-on time is surprisingly minimal.
- Prep Time: 20 minutes (for whisking, heating, and cooling the custard base).
- Chilling Time: 4-6 hours (minimum) or overnight (recommended) for the custard base to completely cool in the refrigerator. This crucial step ensures proper churning and prevents icy textures.
- Churning Time: 20-30 minutes (depending on your ice cream maker).
- Freezing/Hardening Time: 2-4 hours (after churning) in the freezer to reach optimal scoopable consistency.
Total elapsed time from start to finish (including chilling and hardening) can be around 8-12 hours, so plan accordingly if you’re making it for a specific event.
Step-by-Step Instructions
Follow these detailed steps to create your own irresistible Homemade Ice Cream (Vanilla):
1. Prepare the Custard Base: In a large saucepan, combine the heavy cream, whole milk, and half of the granulated sugar. Heat over medium heat, stirring occasionally, until the mixture just begins to simmer around the edges (do not boil). Remove from heat.
2. Temper the Egg Yolks: In a separate medium bowl, whisk the egg yolks with the remaining granulated sugar and a pinch of salt until light in color and frothy. Slowly, and in a thin stream, pour about half of the warm cream mixture into the egg yolk mixture while continuously whisking. This “tempers” the egg yolks, preventing them from scrambling.
3. Combine and Cook the Custard: Pour the tempered egg yolk mixture back into the saucepan with the remaining cream. Return the saucepan to medium-low heat. Cook, stirring constantly with a wooden spoon or spatula, until the custard thickens slightly and coats the back of the spoon. It should reach about 175-180°F (80-82°C). Do not allow it to boil, as this can curdle the eggs.
4. Strain and Cool: Remove the custard from the heat and immediately stir in the vanilla extract (or vanilla bean paste). Pour the custard through a fine-mesh sieve into a clean, heatproof bowl. This ensures a perfectly smooth texture.
5. Chill Thoroughly: Place the bowl with the strained custard into an ice bath (a larger bowl filled with ice and a little water) to expedite cooling. Stir occasionally until the custard cools to room temperature. Once cooled, cover the bowl with plastic wrap, pressing it directly onto the surface of the custard to prevent a skin from forming. Refrigerate for at least 4-6 hours, or preferably overnight, until thoroughly chilled. This chilling period is critical for achieving a smooth, creamy texture during churning and for making the best possible Ice Cream Recipes.
6. Churn the Ice Cream: Follow your ice cream maker’s manufacturer instructions. Pour the chilled custard into the frozen freezer bowl or churner. Churn for 20-30 minutes, or until the ice cream has thickened to the consistency of soft-serve.
7. Harden and Store: Transfer the freshly churned soft ice cream to an airtight, freezer-safe container. Press plastic wrap directly onto the surface of the ice cream, then seal the container with a lid. Freeze for at least 2-4 hours, or until hardened to a scoopable consistency.
Nutritional Benefits & Advantages
Beyond its delightful taste, homemade ice cream offers several advantages. You control the sugar content, reducing it if desired, and you avoid artificial flavors, colors, and high-fructose corn syrup often found in commercial brands. Dairy-based ice cream provides essential calcium and vitamins D (if fortified) and A. By using quality vanilla, you’re also adding natural antioxidants. The egg yolks contribute protein and choline, a nutrient vital for brain health.
Tips, Variations & Cooking Advice
- Bourbon Vanilla: Add 1-2 tablespoons of bourbon with the vanilla extract for a more sophisticated, alcoholic kick.
- Vanilla Bean Paste: For intense vanilla flavor and beautiful specks, substitute vanilla extract with an equal amount of vanilla bean paste.
- Egg-Free Version: For an egg-free custard, increase heavy cream to 2.5 cups, whole milk to 1.5 cups, add 2 tablespoons of cornstarch (slurry with a bit of milk before adding), and heat until thickened.
- Roasted Vanilla: Before making the custard, split a vanilla bean, scrape out the seeds, and roast both the pod and seeds in a dry pan for 5 minutes until fragrant. Add to the cream mixture, then strain after chilling.
- Dairy-Free: Substitute heavy cream with full-fat coconut cream and whole milk with a rich plant-based milk like cashew or oat milk. This will change the flavor profile but still yield a delicious frozen treat.
- Salted Caramel Swirl: During the last few minutes of churning, drizzle in homemade or high-quality store-bought salted caramel sauce.
Common Mistakes to Avoid
- Not Chilling the Custard Enough: This is the most common reason for icy, rather than creamy, ice cream. Ensure the base is thoroughly cold before churning.
- Overcooking the Custard: If the custard boils or gets too hot, the egg yolks can scramble, resulting in a lumpy texture. Cook gently over medium-low heat.
- Not Straining the Custard: Skipping this step can leave small bits of cooked egg or vanilla bean in your final product, compromising the smooth texture.
- Overfilling the Ice Cream Maker: The mixture expands as it churns. Refer to your machine’s manual to avoid overflows.
- Not Freezing the Bowl Appropriately: Make sure your ice cream maker’s freezer bowl is frozen solid (usually 12-24 hours) before churning.
Storage & Meal Prep Tips
Store your Homemade Ice Cream (Vanilla) in an airtight, freezer-safe container to prevent freezer burn and absorb off-flavors from the freezer. Press a piece of parchment paper or plastic wrap directly onto the surface before sealing the lid for extra protection. It will stay fresh and delicious for up to 2-3 weeks in the freezer. For optimal scoops, let it sit at room temperature for 5-10 minutes before serving.
Conclusion
Crafting your own Homemade Ice Cream (Vanilla) is a truly rewarding culinary experience, delivering unparalleled flavor and creaminess that store-bought versions simply can’t match. By following this comprehensive guide, you’ve not only mastered a classic but also opened the door to countless Ice Cream Recipes. So go ahead, whip up a batch, impress your friends and family, and cherish those moments of pure, vanilla-infused bliss. Don’t forget to share your creations and any delicious variations you discover in the comments below!
FAQs
1. Why did my homemade ice cream turn out icy instead of creamy?
* This is typically due to insufficient chilling of the custard base before churning or not enough fat in the recipe. Ensure your custard is thoroughly chilled (preferably overnight) and consider using full-fat dairy products.
2. Can I make this recipe without an ice cream maker?
* While an ice cream maker yields the best results, you can try the “no-churn” method by freezing the completely chilled custard in a shallow pan, then scraping and whisking it thoroughly every 30-45 minutes for about 3-4 hours until creamy.
3. How long does homemade ice cream last in the freezer?
* When stored correctly in an airtight container, homemade ice cream can last for 2-3 weeks. Beyond that, its texture and flavor can start to degrade due to freezer burn.
4. What’s the best type of vanilla to use?
* For the purest flavor, use a high-quality pure vanilla extract or, for even deeper flavor and visible specks, vanilla bean paste. A whole vanilla bean infused into the cream mixture also provides excellent results.
5. My custard looks lumpy after cooking. What went wrong?
* Lumps usually indicate that the egg yolks were overcooked or scrambled. Remember to temper the egg yolks slowly and continuously whisk while cooking the custard over medium-low heat, ensuring it never boils. Straining the custard through a fine-mesh sieve afterward can help salvage it.