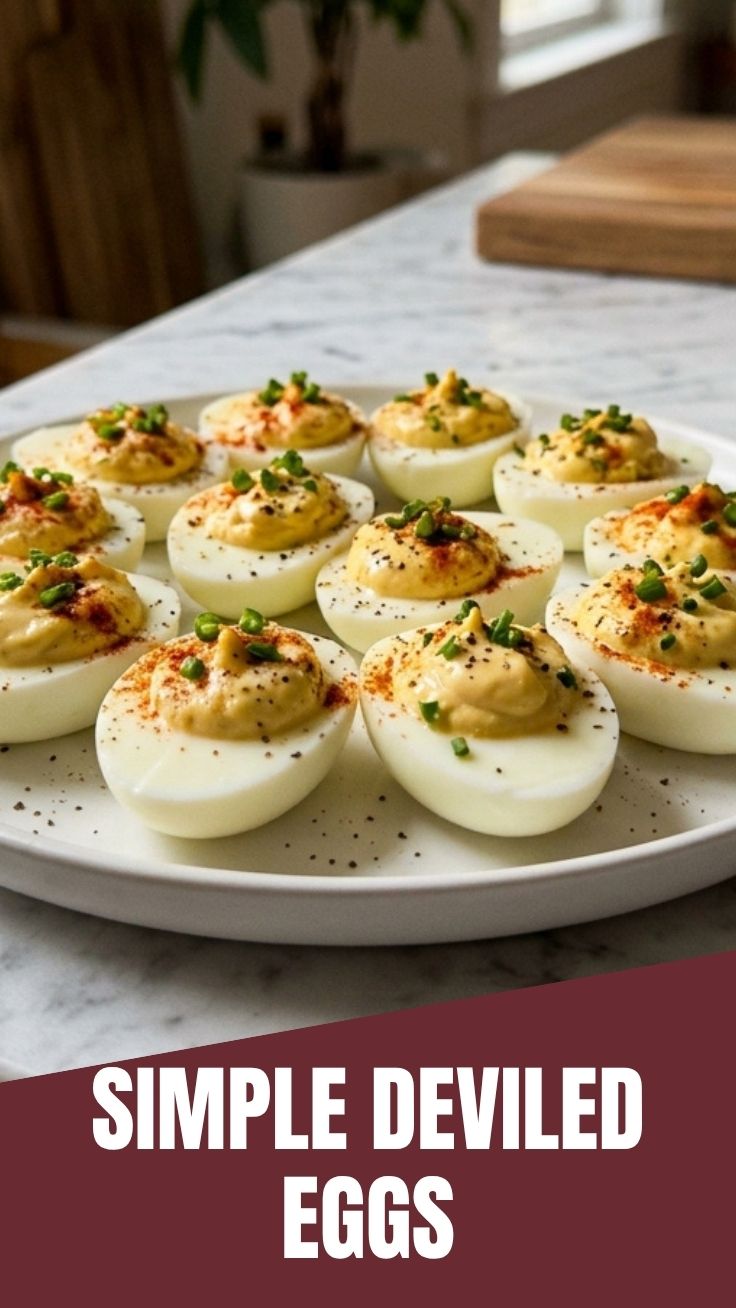
Mastering the Art of Deviled Eggs: A Culinary Journey
Ever wonder how to transform a simple hard-boiled egg into a culinary masterpiece, a bite-sized delight that vanishes from appetizer platters in seconds? The humble Deviled Eggs offers a canvas for creativity, a perfect blend of creamy texture and tangy flavor that consistently steals the show at potlucks, brunches, and holiday gatherings. Crafting this classic at home isn’t just about saving money; it’s about gaining control over ingredients, customizing flavors, and impressing your guests with a truly personalized touch. This isn’t just any Deviled Eggs Recipe; it’s a guide to perfecting a timeless favorite, ensuring every bite is a symphony of flavor and texture.
Ingredients & Kitchen Tools
To embark on your Deviled Egg adventure, gather these essentials:
- 12 Large Eggs: Fresh eggs are key for easy peeling.
- ½ cup Mayonnaise: Full-fat for creaminess, or light for a healthier option.
- 2 tablespoons Dijon Mustard: Adds a tangy depth; adjust to your preference.
- 1 tablespoon White Vinegar: Brightens the flavor and helps emulsify the yolk mixture.
- ¼ teaspoon Salt: Enhances all the other flavors.
- ⅛ teaspoon Black Pepper: A touch of warmth.
- Paprika (for garnish): Sweet or smoked, for color and a hint of extra flavor.
- Fresh Chives or Dill (optional, for garnish): Adds a fresh, herbaceous note.
- Medium Pot with Lid: For boiling the eggs.
- Mixing Bowl: Large enough to combine the yolk mixture.
- Fork or Potato Masher: For mashing egg yolks.
- Piping Bag with Star Tip (optional): For a professional presentation. Otherwise, two spoons will suffice.
- Sharp Knife: For carefully halving the eggs.
Prep Time & Cooking Schedule

- Prep Time: 15 minutes
- Cook Time: 12-15 minutes (for boiling eggs)
- Chilling Time: 30 minutes (minimum, for optimal flavor melding)
Allow adequate time for the eggs to cool completely before peeling, as this significantly impacts peel-ability. Chilling the finished Deviled Eggs for at least 30 minutes allows the flavors to meld beautifully, creating a more harmonious and delicious appetizer.
Step-by-Step Instructions
1. Boil the Eggs: Place eggs in a single layer in the pot and cover with cold water by about an inch. Bring to a rolling boil over high heat. Once boiling, remove from heat, cover, and let stand for 12 minutes. This method helps prevent green rings around the yolk.
2. Ice Bath & Peel: Immediately transfer the cooked eggs to an ice bath for 5 minutes. This stops the cooking process and makes peeling easier. Gently tap and roll each egg on a hard surface to crack the shell, then peel under cold running water.
3. Halve and Scoop: Carefully slice each peeled egg in half lengthwise. Gently scoop out the yolks into your mixing bowl. Place the egg white halves on a serving platter.
4. Create the Filling: Mash the egg yolks thoroughly with a fork or potato masher until smooth. Add mayonnaise, Dijon mustard, white vinegar, salt, and pepper to the mashed yolks. Mix well until the mixture is creamy and lump-free. For a truly exceptional Deviled Eggs, taste and adjust seasoning here – a little more salt, pepper, or mustard can make all the difference. This careful blending is what distinguishes a good Deviled Eggs Recipe from a great one.
5. Fill the Whites: Spoon or pipe the yolk mixture evenly into the egg white halves. If using a piping bag, this is where you can create those beautiful swirls.
6. Garnish and Chill: Sprinkle with paprika and, if desired, fresh chives or dill. Cover loosely with plastic wrap and refrigerate for at least 30 minutes before serving.
Nutritional Benefits & Advantages
Eggs are a powerhouse of nutrition, providing high-quality protein, essential vitamins (B12, D, A), and minerals like selenium and choline, which are vital for brain health. Mayonnaise, while calorie-dense, often contains healthy fats. By making your own, you control the amount of mayonnaise and can opt for healthier versions. This particular appetizer is naturally gluten-free and can be made dairy-free with a suitable mayonnaise substitute.
Tips, Variations & Cooking Advice
- Spicy Kick: Add a dash of hot sauce, a pinch of cayenne pepper, or finely diced jalapeño to the filling.
- Herbaceous Twist: Experiment with fresh herbs like chives, dill, parsley, or even a touch of tarragon.
- Flavor Boosts: A teaspoon of curry powder, a sprinkle of smoked paprika, or a dollop of pickle relish can transform the flavor profile.
- Creamier Texture: For an extra smooth filling, push the yolk mixture through a fine-mesh sieve before filling.
- No Piping Bag? No Problem! Use a small spoon to fill the egg whites or snip the corner off a resealable plastic bag.
Common Mistakes to Avoid
- Overcooking Eggs: Leads to a greenish-gray ring around the yolk, a rubbery texture, and a sulfuric smell. Stick to the 12-minute rule.
- Underseasoning: Do not be afraid to taste the yolk mixture and adjust salt, pepper, and mustard. Bland Deviled Eggs are a missed opportunity.
- Warm Eggs: Peeling warm eggs is notoriously difficult and can result in torn whites. Always use an ice bath.
- Overmixing: While you want a smooth filling, don’t overmix to the point where the texture becomes gluey.
Storage & Meal Prep Tips
Store leftover Deviled Eggs in an airtight container in the refrigerator for up to 2-3 days. While they can be made a day in advance, for optimal freshness and texture, they are best enjoyed within 24 hours. Freezing is not recommended as the whites become rubbery and the filling separates upon thawing. For meal prep, you can boil and peel the eggs in advance, and even mash the yolks and prepare the base dry ingredients (like spices) separately. Combine the wet ingredients and fill the eggs closer to serving time.
Conclusion
There you have it – a comprehensive guide to crafting the perfect Deviled Eggs, a snack, appetizer, or side dish that consistently delights. By following these steps and embracing the subtle nuances of flavor, you’re not just making a dish; you’re creating an experience. This time-honored Deviled Eggs Recipe is simple, versatile, and guaranteed to be a crowd-pleaser. So go ahead, whip up a batch, experiment with the variations, and share your culinary creations with friends and family!
FAQs
Q1: How do I prevent a green ring around the yolk?
A1: The key is to avoid overcooking. Use the method of bringing the water to a boil, then removing it from heat and letting the eggs sit for precisely 12 minutes, followed by an immediate ice bath.
Q2: Can I make Deviled Eggs ahead of time?
A2: Yes, you can prepare them up to 24 hours in advance. Store them covered in the refrigerator. For best results, garnish just before serving.
Q3: What are some good substitutions for mayonnaise?
A3: Greek yogurt (plain), sour cream, or even a creamy avocado can be used as alternatives for a lighter or different flavor profile. Adjust seasonings accordingly.
Q4: My egg whites are tearing when I peel them. What am I doing wrong?
A4: This often happens with very fresh eggs or if they weren’t shocked in an ice bath immediately after cooking. Try using eggs that are a few days old, and ensure the ice bath is cold enough to stop cooking quickly.
Q5: Can I make these spicier?
A5: Absolutely! Add finely minced jalapeño or serrano peppers, a dash of your favorite hot sauce, or a pinch of cayenne pepper to the yolk mixture.