Your Guide to Decadent Homemade Chocolate Peanut Butter Cups
Have you ever craved that perfect harmony of rich chocolate and creamy peanut butter, only to find store-bought options lacking that homemade touch? What if you could recreate that iconic flavor, perhaps even surpassing the quality of Reese’s Peanut Butter Cups, right in your own kitchen? This comprehensive guide will walk you through crafting your very own Chocolate Peanut Butter Cups, offering a rewarding culinary experience that saves you money and allows for customization. Mastering this delightful dessert gives you control over ingredients, ensuring a fresher and more satisfying treat every time.
Ingredients & Kitchen Tools
Gathering the right ingredients and tools is the first step to confectionery success.
- Unsweetened Cocoa Powder (¾ cup): Provides the deep chocolate flavor. Choose Dutch-processed for a darker color and milder taste.
- Powdered Sugar (1 ½ cups): Essential for sweetening and texture in both the chocolate and peanut butter layers.
- Butter (½ cup / 1 stick), melted: Adds richness and helps bind the chocolate mixture. Unsalted is preferred for better control over sweetness.
- Vanilla Extract (1 teaspoon): Enhances the overall flavor profile of the chocolate.
- Creamy Peanut Butter (1 cup): The star of the show. Opt for a traditional, smooth variety for the best texture. Avoid natural, runny peanut butter unless you adjust consistency.
- Salt (¼ teaspoon): A pinch enhances both the chocolate and peanut butter flavors.
- Cupcake Liners (mini or standard size): Essential for shaping the cups and preventing sticking.
- Muffin Tin (mini or standard): Holds the cupcake liners securely while the cups set.
- Mixing Bowls (2-3): For combining ingredients separately.
- Whisk or Spatula: For mixing.
- Measuring Cups and Spoons: For accurate ingredient portions.
Prep Time & Cooking Schedule
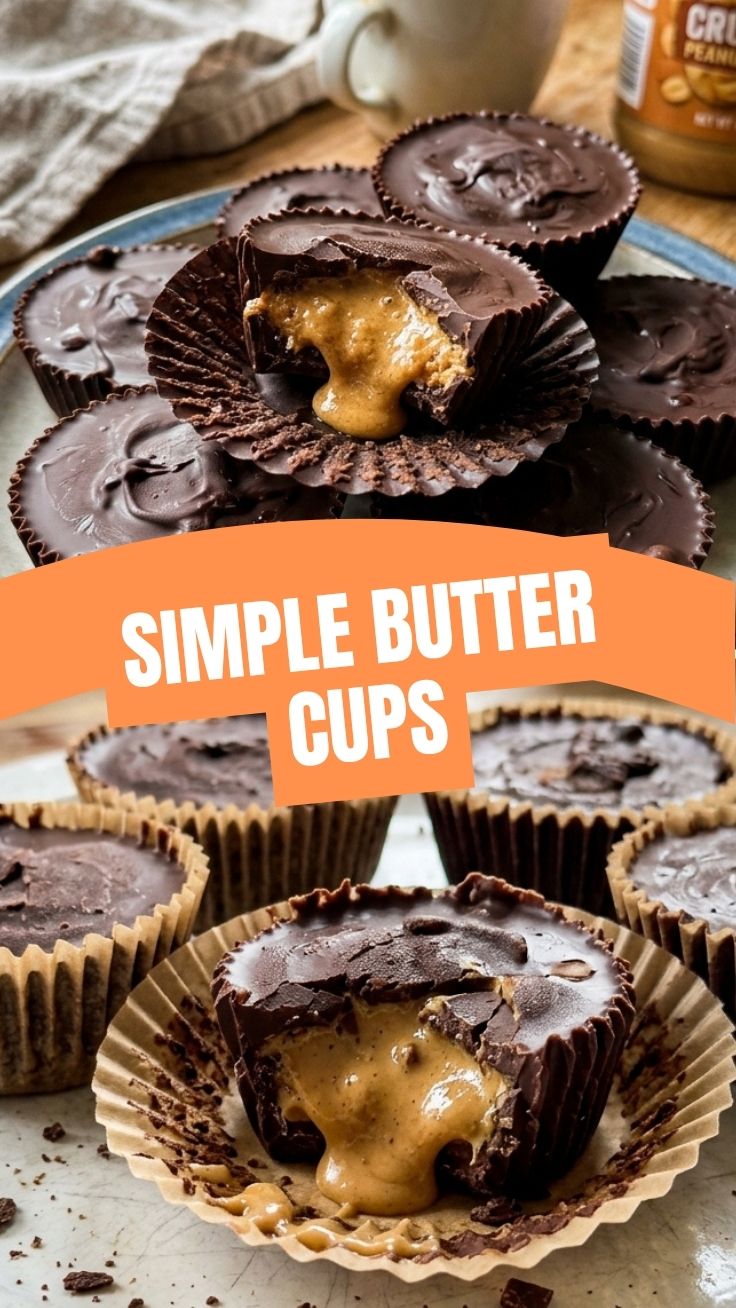
This recipe is surprisingly quick, with most of the time dedicated to chilling.
- Prep Time: 20-25 minutes
- Chill Time: 1-2 hours (or until firm)
Plan to prepare these a few hours before you intend to serve them, or even the day before, as they only get better after a good chill.
Step-by-Step Instructions
Let’s dive into making these irresistible treats. Precision and patience are key!
1. Prepare the Muffin Tin: Line a mini or standard muffin tin with paper cupcake liners. This will ensure your Chocolate Peanut Butter Cups release easily.
2. Make the Chocolate Layer: In a medium bowl, whisk together the unsweetened cocoa powder, half of the powdered sugar (¾ cup), melted butter, and vanilla extract until smooth. The mixture should be thick enough to spread but not crumbly. If it’s too dry, add a tiny bit more melted butter; if too thin, a touch more cocoa powder.
3. Create the Base Layer: Spoon about 1-2 teaspoons of the chocolate mixture into the bottom of each prepared cupcake liner. Use the back of the spoon to gently spread it evenly to form a solid base. Place the muffin tin in the refrigerator or freezer for 10-15 minutes to allow this layer to firm up. This step is crucial for preventing the peanut butter from sinking.
4. Prepare the Peanut Butter Filling: In another bowl, combine the creamy peanut butter, the remaining powdered sugar (¾ cup), and salt. Mix thoroughly until well combined and the mixture forms a soft, pliable ball. If the mixture is too stiff, add a tiny amount of melted butter or a drop of milk; if too sticky, add a little more powdered sugar. This filling is what gives Reese’s Peanut Butter Cups their signature texture.
5. Form the Peanut Butter Centers: Roll the peanut butter mixture into small balls, consistent with the size of your chocolate bases. Flatten each ball slightly into a disc shape and place one disc on top of the chilled chocolate base in each liner.
6. Add the Top Chocolate Layer: Spoon the remaining chocolate mixture over the peanut butter discs, making sure to completely cover the peanut butter. Gently tap the muffin tin on the counter a few times to settle the chocolate and remove any air bubbles, creating a smooth top.
7. Chill to Perfection: Return the muffin tin to the refrigerator for at least 1-2 hours, or until the chocolate is completely firm. For quicker results, you can place them in the freezer for about 30-45 minutes.
8. Serve and Enjoy: Once firm, carefully remove the Chocolate Peanut Butter Cups from the muffin tin and peel off the liners. They are ready to be devoured!
Nutritional Benefits & Advantages
While a treat, these homemade delights offer some advantages. Peanut butter provides healthy fats and protein, contributing to satiety. By making them at home, you control the sugar content and avoid artificial ingredients often found in commercially produced candies. You also get a dose of antioxidants from the cocoa powder.
Tips Variations & Cooking Advice
- Darker Chocolate: For a more intense chocolate flavor, use all unsweetened cocoa powder in the chocolate layer and reduce the powdered sugar slightly if you prefer less sweetness.
- Nut Butter Swap: Cashew butter or almond butter can be substituted for peanut butter for a different flavor profile or for those with peanut allergies.
- Add-ins: Stir in mini chocolate chips, chopped nuts, or a pinch of sea salt into the peanut butter filling for extra texture and flavor.
- White Chocolate Drizzle: Once set, melt some white chocolate and drizzle over the tops for an elegant finish.
- Vegan Option: Use dairy-free butter and ensure your cocoa powder is vegan-friendly.
Common Mistakes to Avoid
- Not Chilling Layers: Failing to chill the base chocolate layer before adding the peanut butter can lead to the peanut butter sinking and uneven layers.
- Too Much Liquid in Peanut Butter: If your peanut butter mixture is too runny, it won’t hold its shape. Always use creamy, stable peanut butter and adjust with powdered sugar if needed.
- Overheating Chocolate: If melting chocolate chips for the outer shell instead of using the cocoa powder method, be careful not to overheat it, which can cause it to seize.
- Impatient Unmolding: Don’t try to remove the cups before they are fully firm, or they will fall apart.
Storage & Meal Prep Tips
Store your homemade Chocolate Peanut Butter Cups in an airtight container in the refrigerator for up to 2 weeks. They can also be frozen for up to 2-3 months. When freezing, place them on a baking sheet layered with parchment paper until solid, then transfer to a freezer-safe bag or container. Thaw in the refrigerator or enjoy straight from the freezer for a firmer texture. These are perfect for meal prepping a quick dessert or an on-the-go snack.
Conclusion
Crafting your own Chocolate Peanut Butter Cups is a deeply satisfying and surprisingly simple endeavor. With fresh ingredients and a little patience, you can create a treat that rivals, and perhaps even surpasses, the classic Reese’s Peanut Butter Cups in both flavor and quality. Give this recipe a try and experience the joy of homemade confectionery; you won’t regret it! Share your creations and let us know your favorite variations in the comments below!
FAQs
Q1: Can I use natural peanut butter for this recipe?
A1: It’s best to use traditional, creamy peanut butter as natural peanut butter can be too oily and may cause the finished cups to be greasy or the filling to be too soft. If you must use natural, blot excess oil and add a bit more powdered sugar to stiffen the mixture.
Q2: My chocolate mixture is too crumbly. What did I do wrong?
A2: This usually means there isn’t enough melted butter. Slowly add another teaspoon or two of melted butter until the mixture comes together into a spreadable consistency.
Q3: How can I make these lower in sugar?
A3: You can experiment with reducing the amount of powdered sugar, especially in the peanut butter filling. You might also consider using a sugar substitute, but be aware it might alter the texture.
Q4: Can I melt chocolate chips instead of using cocoa powder for the shell?
A4: Yes, you can. Melt about 1 ½ cups of chocolate chips (milk, semi-sweet, or dark) with 1 tablespoon of coconut oil or shortening. Use this melted chocolate for the bottom layer, chill, add the peanut butter, and then top with more melted chocolate.
Q5: My chocolate cups are hard to get out of the liners. Any tips?
A5: Ensure the cups are thoroughly chilled and completely firm. Using good quality cupcake liners can also help. For very stubborn cups, a quick dip of the bottom of the muffin tin in warm water for a few seconds can help release them.