Unlock the Secret to the Perfect Homemade Delight: Your Guide to an Unforgettable Cheesecake
Ever wondered how to master the art of creating a dessert that effortlessly combines creamy indulgence with vibrant fruitiness? Today, we’re diving deep into the world of homemade Cheesecake. Forget those pre-made, bland versions – crafting your own offers an unparalleled experience, allowing you to control every ingredient, from the richness of the cream cheese to the burst of freshness from, say, a delightful blueberry compote. This comprehensive guide will not only walk you through the process of creating a show-stopping dessert but also empower you with the knowledge to customize it to your heart’s content. Get ready to impress your taste buds and your guests with a truly exceptional culinary creation.
Ingredients & Kitchen Tools
Crafting the perfect dessert requires a specific set of high-quality ingredients and the right tools. Here’s what you’ll need:
- Cream Cheese (32 oz, full-fat): The star of the show. Full-fat ensures ultimate creaminess and flavor.
- Granulated Sugar (1 ½ cups): Sweetens the batter, balances the tang of the cream cheese.
- Large Eggs (4, room temperature): Binds the ingredients and contributes to the smooth texture. Room temperature eggs incorporate better.
- Sour Cream (1 cup, full-fat): Adds a subtle tang and extra moisture, preventing cracks.
- Vanilla Extract (1 tbsp, pure): Enhances overall flavor.
- Lemon Zest (1 tsp): Provides a bright, fresh note to complement the richness.
- Graham Cracker Crumbs (1 ½ cups): Forms the base of the crust. You can buy pre-made or crush your own.
- Melted Unsalted Butter (½ cup): Binds the graham cracker crumbs together for a sturdy crust.
- Pinch of Salt: Balances the sweetness in the crust.
- Fresh Blueberries (2 cups): For the natural topping – pick ripe, firm berries.
- Cornstarch (1 tbsp): Thickens the blueberry topping.
- Water (2 tbsp): Mixes with cornstarch to create a slurry.
Kitchen Tools:
- 9-inch Springform Pan: Essential for easy removal of the finished product.
- Large Mixing Bowls (2): For preparing the crust and the filling.
- Electric Mixer (stand or hand-held): For thoroughly combining ingredients and achieving a smooth batter.
- Rubber Spatula: For scraping down bowls and folding ingredients gently.
- Measuring Cups and Spoons: For accurate ingredient quantities.
- Saucepan: For preparing the fresh fruit topping.
- Aluminum Foil: For creating a water bath (bain-marie) to prevent cracking.
- Baking Sheet: To place the springform pan on during baking.
Prep Time & Cooking Schedule
- Prep Time: 30 minutes
- Bake Time: 60-75 minutes
- Cooling Time (Room Temp): 1-2 hours
- Chilling Time (Refrigerator): Minimum 4 hours (preferably overnight)
This dessert requires a significant chilling period, so plan to make it a day in advance for best results. The resting time is crucial for the texture to set properly and for flavors to meld.
Step-by-Step Instructions
1. Preheat Oven & Prepare Pan: Preheat your oven to 350°F (175°C). Wrap the outside of your springform pan tightly with several layers of heavy-duty aluminum foil to prevent water from seeping in during the water bath. Lightly grease the bottom of the pan.
2. Make the Crust: In a medium bowl, combine graham cracker crumbs, melted butter, and a pinch of salt. Press the mixture firmly into the bottom of the prepared springform pan. Bake for 10 minutes, then remove from oven and let cool slightly.
3. Prepare the Filling: In a large mixing bowl, using an electric mixer, beat the softened cream cheese until smooth and creamy. Gradually add the granulated sugar, beating until well combined and light.
4. Incorporate Wet Ingredients: Beat in the sour cream, vanilla extract, and lemon zest. Add the eggs one at a time, beating on low speed just until combined after each addition. Do not overmix, as this can introduce too much air, leading to cracks.
5. Water Bath Setup: Place the foil-wrapped springform pan inside a larger roasting pan. Pour the Cheesecake filling over the cooled crust. Carefully pour hot water into the roasting pan, ensuring it comes halfway up the sides of the springform pan.
6. Bake: Carefully transfer the roasting pan with the springform pan to the preheated oven. Bake for 60-75 minutes, or until the edges are set but the center still jiggles slightly.
7. Cooling & Chilling: Turn off the oven, crack the door open, and let the remain in the oven for 1 hour. This gentle cooling prevents cracks. Remove from the oven and water bath. Let cool completely at room temperature, then transfer to the refrigerator and chill for a minimum of 4 hours, or preferably overnight.
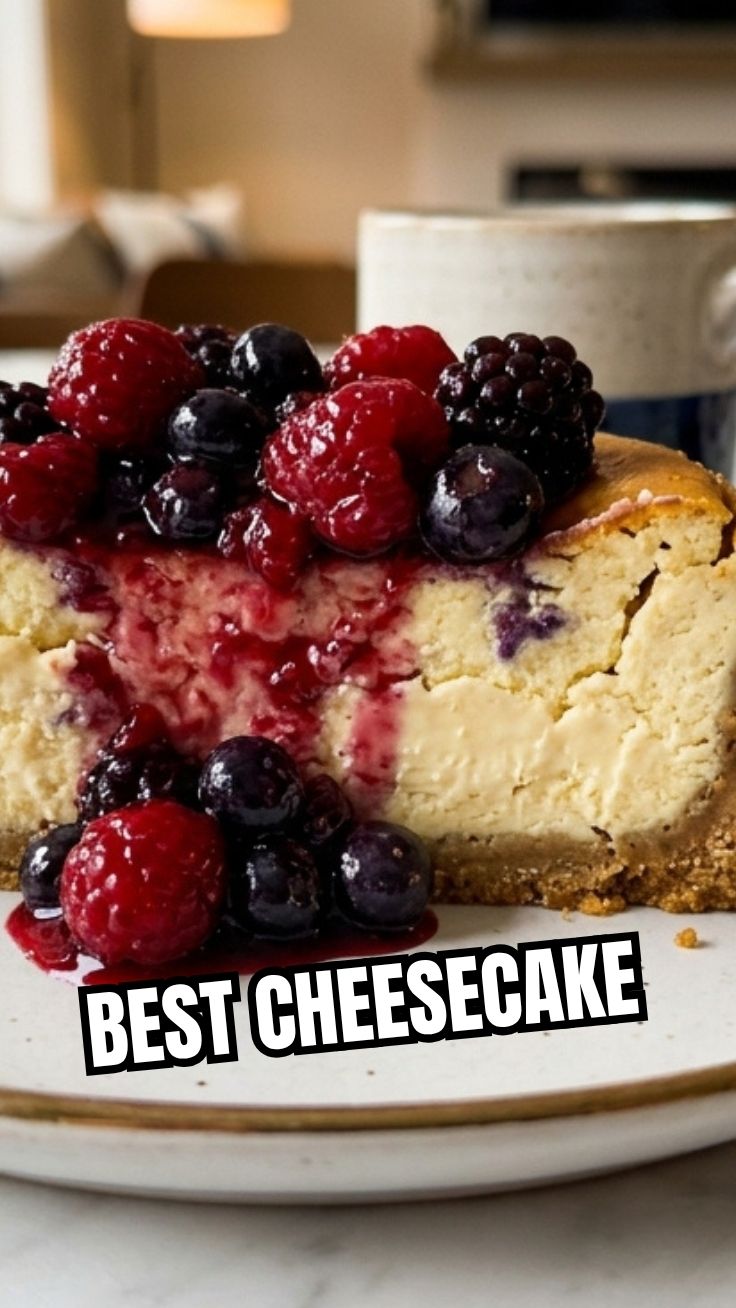
8. Prepare the blueberry Topping: While the dessert chills, combine fresh blueberries, a quarter cup of sugar (or to taste), and 1 tbsp water in a small saucepan over medium heat. Simmer until berries begin to soften and release juices. In a small bowl, whisk cornstarch with 2 tbsp cold water to create a slurry. Stir the slurry into the berries and cook, stirring constantly, until the mixture thickens. Let cool completely before spooning over the chilled dessert.
Nutritional Benefits & Advantages
Beyond its decadent taste, a homemade dessert offers notable benefits. Cream cheese provides a good source of calcium, while eggs contribute essential proteins and vitamins. The fresh fruit topping adds a burst of antioxidants and dietary fiber. By making it yourself, you control sugar levels and avoid artificial preservatives often found in store-bought options.
Tips, Variations & Cooking Advice
- Flavor Boosts: For an extra zesty kick, add orange zest along with the lemon. A hint of nutmeg in the crust can also be delightful.
- Crust Variations: Experiment with different cookie crumbs like vanilla wafers or shortbread for a unique base.
- Topping Alternatives: If blueberries aren’t your preference, consider a raspberry compote, a rich chocolate ganache, or simply fresh fruit.
- Perfect Slices: For clean slices, dip a sharp knife in hot water and wipe it clean between each cut.
- Avoid Overmixing: Overmixing introduces air, which can cause cracking during baking and cooling. Mix just until ingredients are combined.
Common Mistakes to Avoid
- Cracking: The most common issue. Prevent it by using room temperature ingredients, avoiding overmixing, using a water bath, and allowing for gradual cooling in the oven.
- Undercooking/Overcooking: The center should still have a slight wobble when gently shaken; it will set fully upon chilling. Overcooking leads to dry, crumbly texture.
- Rushing the Chilling: This is non-negotiable for a firm, perfectly set dessert.
- Skipping the Water Bath: This technique provides a moist, even cooking environment, preventing dryness and cracking.
Storage & Meal Prep Tips
Leftovers should be stored in an airtight container in the refrigerator for up to 5 days. For longer storage, slices can be frozen individually on a baking sheet, then transferred to a freezer-safe bag or container for up to 2 months. Thaw frozen slices in the refrigerator overnight. To maintain texture and flavor, avoid reheating beyond quick thawing, as it can alter the delicate consistency.
Conclusion
Creating a homemade Cheesecake is a rewarding experience, yielding a dessert that’s rich, creamy, and far superior to any store-bought alternative. From the perfect graham cracker crust to the vibrant tang of a fresh blueberry topping, every step contributes to a truly unforgettable treat. We encourage you to try this recipe, experiment with your favorite fruit toppings, and share your delicious results with friends and family. Your kitchen is about to become the go-to spot for the best dessert in town!
FAQs
1. Can I make this recipe gluten-free?
Yes, simply use gluten-free graham crackers for the crust. The filling is naturally gluten-free.
2. My water bath leaked, what happened?
Ensure your aluminum foil is heavy-duty and wrapped very tightly around the springform pan. Use multiple layers to create a strong barrier.
3. How do I know if my dessert is fully baked?
The edges should be set, and the center should jiggle slightly but not appear liquid. It will firm up completely during the chilling process.
4. Can I use frozen blueberries for the topping?
Yes, frozen blueberries work well. You might need to cook them a little longer to release their juices and ensure even softening.
5. What if I don’t have a springform pan?
While a springform pan is ideal for easy removal, you could use a deeply fluted tart pan with a removable bottom, pressing the crust into the bottom and up the sides.