Master the Perfect Home-Cooked Cheeseburger: Your Ultimate Guide!
Ever wondered how to achieve that perfectly juicy, flavorful Cheeseburger right in your own kitchen? Skip the drive-thru and embrace the satisfaction of crafting a gourmet Hamburger that tantalizes your taste buds and impresses your family and friends. Preparing this classic at home isn’t just about saving money; it’s about controlling the quality of your ingredients, customizing flavors to your exact preference, and experiencing the incredible aroma and taste that only a freshly made patty can deliver. This comprehensive guide will walk you through every step, ensuring your homemade patty is nothing short of culinary perfection.
Ingredients & Kitchen Tools
Here’s everything you’ll need to create your stellar burger experience:
- Ground Beef (80/20 lean-to-fat ratio): 1.5 – 2 lbs. (The fat content is crucial for juiciness and flavor. Avoid leaner options for a truly satisfying burger.)
- Burger Buns (Brioche or Potato): 4-6 count. (Brioche offers a rich, slightly sweet flavor; potato buns are soft and classic.)
- Cheese Slices (Cheddar, American, Swiss): 4-6 slices. (American melts beautifully, cheddar adds sharpness, Swiss offers nutty notes.)
- Lettuce (Iceberg or Romaine): 1 head or leaves. (Crispness is key for texture.)
- Tomatoes: 1-2, sliced. (Adds freshness and acidity.)
- Red Onion: 1 small, thinly sliced. (Provides a sharp bite.)
- Pickles (Dill or Bread & Butter): Sliced, to taste. (Essential for tangy contrast.)
- Condiments: Ketchup, Mustard, Mayonnaise. (Classic choices; feel free to add your favorites.)
- Salt: Kosher or sea salt. (Enhances flavor.)
- Black Pepper: Freshly ground. (Adds aromatic spice.)
- Butter (Unsalted): 2 tbsp. (For toasting buns.)
- Mixing Bowl: For preparing the patty mixture.
- Grill or Cast Iron Skillet: For cooking the patties. (A cast iron skillet provides an excellent sear.)
- Spatula: Sturdy, for flipping burgers.
- Meat Thermometer (Optional but recommended): For checking internal temperature.
- Basting Brush (Optional): For buttering buns.
Prep Time & Cooking Schedule
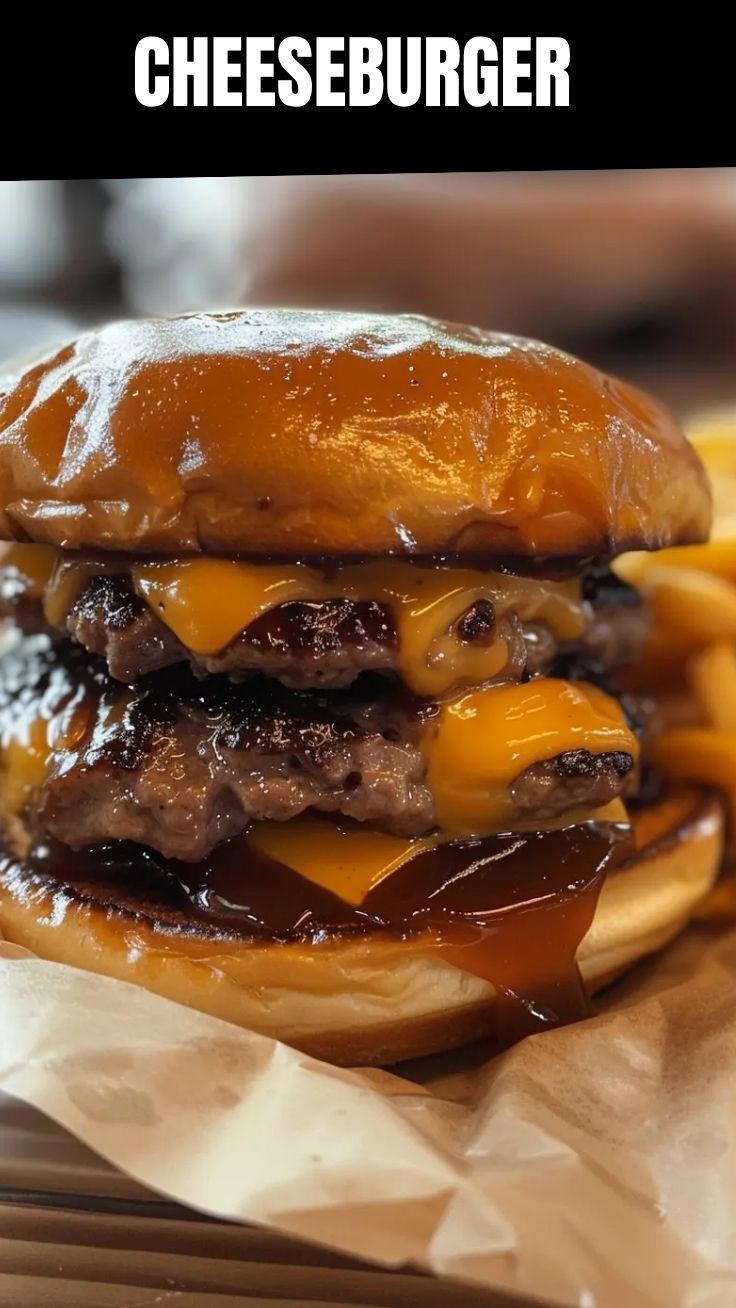
- Prep Time: 15 minutes (Includes shaping patties, slicing veggies, and gathering condiments.)
- Cook Time: 10-15 minutes (Per batch of patties, depending on desired doneness.)
- Resting Time: 5 minutes (Crucial for juices to redistribute, ensuring a tender burger.)
Start by removing your ground beef from the refrigerator approximately 20-30 minutes before cooking. This allows the meat to come closer to room temperature, promoting more even cooking. While the meat rests, prepare your toppings and sauces so everything is ready to go as soon as the patties are cooked.
Step-by-Step Instructions
1. Prepare Your Patties: In a large mixing bowl, gently combine the ground beef with salt and freshly ground black pepper. Avoid overworking the meat, as this can lead to a tough burger. Form the mixture into 4-6 patties, about ¾ inch thick, making a slight indentation in the center of each patty with your thumb. This prevents the burger from bulging in the middle during cooking. For a truly mouthwatering Cheeseburger, ensure your patties are uniform for even cooking.
2. Preheat Your Cooking Surface: Heat your grill to medium-high heat (around 400-450°F) or place a cast iron skillet over medium-high heat until it just begins to smoke. A hot surface is key to developing that delicious, crusty sear on your patty.
3. Toast the Buns: While your cooking surface heats, lightly butter the cut sides of your burger buns. Grill or pan-fry them for 1-2 minutes until golden brown and slightly crisp. Set aside.
4. Cook the Burgers: Place your patties on the hot grill or skillet. Cook for 3-4 minutes per side for medium-rare (135°F), 4-5 minutes per side for medium (140°F), and 5-6 minutes per side for medium-well (150°F). Resist the urge to press down on the patties with your spatula, as this squeezes out the precious juices. For a perfect Hamburger, ensure the internal temperature is reached.
5. Melt the Cheese: During the last minute of cooking, place a slice of cheese on top of each patty. If grilling, close the lid to help the cheese melt. If using a skillet, you can cover it briefly with a lid.
6. Rest the Patties: Once cooked to your desired doneness, remove the patties from the heat and let them rest on a cutting board or plate for 5 minutes. This allows the juices to redistribute throughout the meat, resulting in a juicier, more tender burger.
7. Assemble Your Burgers: Place a cooked patty on the toasted bottom bun. Layer with your preferred toppings and condiments, then crown with the top bun. Serve immediately and enjoy your culinary masterpiece!
Nutritional Benefits & Advantages
Crafting your own burgers offers significant nutritional advantages. By choosing lean ground beef (if desired, though 80/20 is recommended for flavor) or even opting for ground turkey or chicken, you can control fat content. The inclusion of fresh vegetables like lettuce, tomatoes, and onions adds essential vitamins, minerals, and dietary fiber. Customizing toppings allows you to avoid excessive sugars and preservatives often found in store-bought sauces and processed cheeses, making for a healthier, more wholesome meal.
Tips, Variations & Cooking Advice
- Flavor Boosts: Mix in finely minced garlic, a dash of Worcestershire sauce, or a pinch of smoked paprika into your ground beef mixture for added depth.
- Vegetarian/Vegan Option: Substitute the meat patty with a portobello mushroom cap, black bean burger, or plant-based patty.
- Buns: Experiment with pretzel buns, ciabatta rolls, or even lettuce wraps for a low-carb alternative.
- Cheese: Go wild with blue cheese, provolone, gouda, or pepper jack for a spicy kick.
- Toppings: Beyond the classics, consider caramelized onions, sautéed mushrooms, avocado slices, bacon, or even a fried egg.
- Cooking Method: While grilling and pan-frying are popular, you can also bake burgers in the oven (at 400°F for 20-25 minutes, flipping halfway) for a hands-off approach.
Common Mistakes to Avoid
- Overworking the Meat: This leads to dense, tough patties. Be gentle when mixing and shaping.
- Pressing Down on Patties: This expels juices, resulting in a dry, less flavorful burger. Just let them cook!
- Not Seasoning Enough: Bland meat equals a disappointing burger. Don’t be shy with salt and pepper.
- Skipping the Rest: Resting allows the meat’s juices to redistribute, preventing a dry patty.
- Cold Meat Straight from the Fridge: This can lead to unevenly cooked burgers, with the outside done before the inside.
Storage & Meal Prep Tips
Leftover cooked patties can be stored in an airtight container in the refrigerator for up to 3-4 days. For best results, reheat gently in a skillet over medium heat or in the oven at 300°F until warmed through, being careful not to overcook. You can also freeze uncooked formed patties for up to 3 months. Place parchment paper between each patty before freezing to prevent them from sticking. Thaw in the refrigerator overnight before cooking. Toppings are best prepared fresh, but sliced onions and tomatoes can be prepped a day in advance and stored in separate containers.
Conclusion
There you have it – the definitive guide to crafting the perfect Cheeseburger at home. By following these easy steps and incorporating our expert tips, you’re not just making a meal; you’re creating an experience. The unparalleled flavor and satisfaction of a homemade Hamburger truly sets it apart. We encourage you to try this recipe, experiment with your favorite variations, and share your delicious creations with us! Happy cooking!
FAQs
Q1: What’s the best type of ground beef for a juicy burger?
A1: An 80/20 lean-to-fat ratio is generally considered ideal for flavor and juiciness. The fat renders during cooking, keeping the patty moist.
Q2: How do I prevent my burgers from shrinking too much?
A2: Making a slight indentation in the center of the patty before cooking helps prevent it from bulging and shrinking excessively in diameter. Also, avoid overworking the meat.
Q3: Can I bake these burgers instead of grilling or pan-frying?
A3: Yes! Place patties on a lightly greased baking sheet and bake in a preheated oven at 400°F (200°C) for 20-25 minutes, flipping halfway, or until desired doneness.
Q4: How can I make a gluten-free burger?
A4: Simply substitute traditional buns with gluten-free buns or serve your burger on a bed of lettuce (a “burger bowl”). Ensure your condiments are also gluten-free.
Q5: What’s the secret to a perfectly melted cheese?
A5: Place the cheese on the patty during the last minute of cooking. If using a grill, close the lid. If using a skillet, cover it briefly to create a steamy environment that melts the cheese beautifully without drying out the burger.