Craft the Perfect Caramel Apples at Home: A Guide to Sweet Perfection
Have you ever bitten into a perfectly crisp apple, enrobed in a rich, buttery caramel, and thought, “I wish I could make these at home?” Well, you’re in luck! Crafting homemade Caramel Apples isn’t just a delightful culinary adventure; it’s an opportunity to create a treat that surpasses any store-bought version in freshness and flavor. This guide will walk you through every step to achieve that ideal balance of sweet and tart, ensuring your homemade creations become a cherished tradition. For those seeking even more inspiration, exploring various Caramel Apple Recipes can open up a world of delightful possibilities for this classic dessert.
Ingredients & Kitchen Tools
To embark on your Caramel Apples journey, gather these essentials:
- 10-12 Medium Firm Apples: Granny Smith (tartness balances caramel), Honeycrisp, or Fuji (crisp and sweet). Choose organic for best flavor.
- 2 Cups Granulated Sugar: Provides the primary sweetness for the caramel.
- 1 Cup Light Brown Sugar (packed): Adds depth and a hint of molasses flavor.
- 1 Cup Heavy Cream: Essential for a rich, smooth, and creamy caramel texture.
- 1/2 Cup Unsalted Butter: Contributes to the luxurious butter notes and helps prevent crystallization.
- 1/4 Teaspoon Salt: Balances the sweetness and enhances the overall flavor profile.
- 1 Teaspoon Vanilla Extract: Adds a warm, aromatic finish to the caramel.
- Wooden Skewers or Popsicle Sticks: For easy handling and dipping.
- Candy Thermometer: Crucial for precise temperature control, ensuring perfect caramel consistency.
- Heavy-Bottomed Saucepan (3-4 quart): Prevents scorching and allows for even heat distribution.
- Parchment Paper or Silicone Mat: For setting the caramel apples without sticking.
- Baking Sheet: To hold the parchment paper and dipped apples.
- Pastry Brush (optional): To brush down sugar crystals from the sides of the pan.
Prep Time & Cooking Schedule
- Prep Time: 20-30 minutes (washing apples, inserting sticks, gathering ingredients)
- Cook Time: 20-30 minutes (caramel preparation)
- Cooling/Setting Time: 30-60 minutes (for caramel to firm up)
- Total Time: Approximately 1.5 – 2 hours
Plan your schedule to allow ample time for the caramel to cook slowly and achieve the perfect temperature. This isn’t a hasty recipe, but the wait is well worth the reward!
Step-by-Step Instructions
1. Prepare the Apples: Wash and thoroughly dry your apples. Remove any stems. Insert a wooden skewer or popsicle stick firmly into the core of each apple, about two-thirds of the way down. This provides a sturdy handle.
2. Make the Caramel: In your heavy-bottomed saucepan, combine the granulated sugar, brown sugar, heavy cream, butter, and salt. Cook over medium heat, stirring constantly until the sugars dissolve and the butter melts.
3. Boil and Heat: Once simmering, stop stirring. Insert your candy thermometer. Allow the mixture to boil gently, reaching precisely 245°F (118°C), the “firm ball” stage. This can take 15-20 minutes. If sugar crystals form on the sides of the pan, brush them down with a wet pastry brush. This precise temperature is key to perfect Caramel Apples.
4. Finish the Caramel: Remove the saucepan from the heat immediately when it reaches 245°F. Stir in the vanilla extract. Be careful, as the mixture will be very hot.
5. Dip the Apples: Working quickly, hold an apple by its stick and dip it into the hot caramel, tilting the pan and rotating the apple to ensure full coverage. Scrape off any excess caramel from the bottom against the rim of the pan.
6. Set the Caramel: Place the dipped apples on a baking sheet lined with parchment paper or a silicone mat. Let them set at room temperature for 30-60 minutes, or refrigerate for 15-20 minutes, until the caramel is firm. For inspiration on various toppings and presentations, exploring different Caramel Apple Recipes can provide creative ideas.
Nutritional Benefits & Advantages
While a treat, Caramel Apples still offer some advantages. Apples themselves are rich in fiber, vitamin C, and antioxidants, contributing to digestive health and immune support. Making them at home gives you control over the quality of ingredients, allowing you to choose fresh, organic apples and real butter and cream, avoiding artificial flavors and preservatives often found in commercial versions.
Tips, Variations & Cooking Advice
- Apple Choice: Granny Smith apples are excellent for a tart contrast, but Honeycrisp or Fuji offer a sweeter, crispier bite.
- Temperature Matters: The candy thermometer is your best friend. Don’t eyeball it! A few degrees off can result in caramel that’s too soft or too hard.
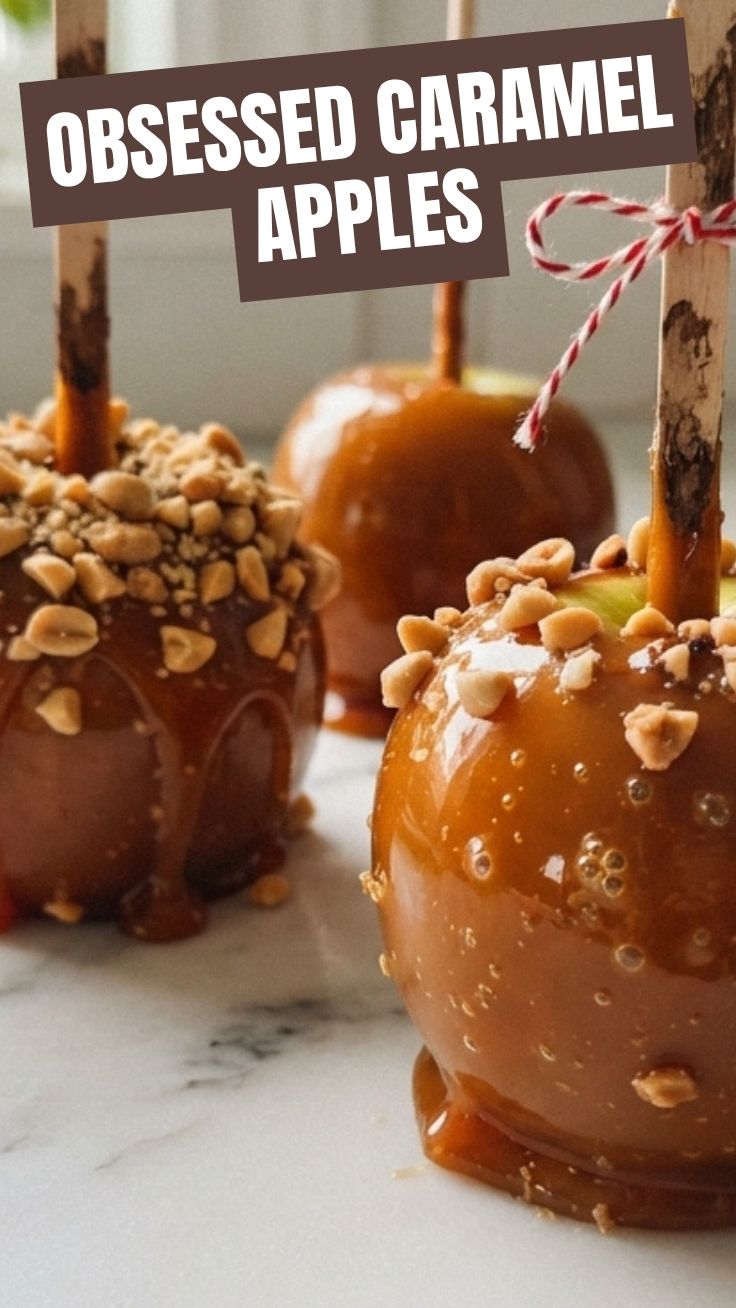
- Toppings Galore: Roll dipped apples in chopped nuts (peanuts, pecans, walnuts), mini chocolate chips, sprinkles, shredded coconut, or crushed cookies for an extra layer of flavor and texture.
- Spice It Up: Add a pinch of cinnamon or apple pie spice to your caramel for a warm, autumnal twist.
- Dietary Adaptations: For a dairy-free version, consider using full-fat coconut cream and a plant-based butter substitute, though the texture may vary slightly.
Common Mistakes to Avoid
- Not Drying Apples Thoroughly: Any moisture on the apples will prevent the caramel from adhering properly, leading to a runny or sliding coating.
- Over-Stirring Caramel During Boil: Once the caramel mixture starts boiling, vigorous stirring can cause sugar crystals to form on the sides of the pan, making your caramel grainy.
- Incorrect Caramel Temperature: Too low, and your caramel will be too sticky and slide off the apple. Too high, and it will be brittle and hard to eat.
- Forgetting to Scrape Excess Caramel: Too much caramel at the base of the apple creates a puddle and a less elegant finish.
Storage & Meal Prep Tips
Store Caramel Apples individually in airtight containers in the refrigerator for up to 3-5 days. While they can last longer, the apples soften over time. For optimal enjoyment, bring them to room temperature for about 15-20 minutes before serving. Freezing is not recommended as it changes the texture of both the apple and the caramel.
Conclusion
Crafting your own Caramel Apples is a rewarding experience, yielding a treat that’s far superior to anything store-bought. By following these detailed instructions and paying attention to key culinary principles, you’ll achieve that perfect balance of crisp apple and rich, buttery caramel every time. Don’t be afraid to experiment with different apple varieties or delicious toppings, and remember, the best treats are the ones shared. We encourage you to try this recipe, impress your friends and family, and perhaps even dip into exploring more Caramel Apple Recipes for endless dessert inspiration. Share your beautiful creations in the comments below!
FAQs
Q1: My caramel is too sticky and slides off the apple. What went wrong?
A1: This usually indicates the caramel didn’t reach a high enough temperature. Ensure your candy thermometer is accurate and the caramel reaches precisely 245°F (118°C). Also, make sure your apples are completely dry before dipping.
Q2: Can I use pre-made caramel instead of making my own?
A2: While you can, homemade caramel offers superior flavor and texture. If using pre-made, choose a thick, high-quality caramel sauce and heat it gently until dippable, but be aware it might not set as firmly as homemade.
Q3: How do I prevent the caramel from turning grainy?
A3: Avoid over-stirring once the mixture boils. Use a damp pastry brush to wipe down any sugar crystals that form on the sides of the pan during cooking.
Q4: What’s the best way to clean sticky caramel from my pan?
A4: Fill the pan with hot water and let it soak for an hour or two. The caramel will dissolve, making cleanup much easier.
Q5: Can I add nuts or other toppings to my caramel apples?
A5: Absolutely! After dipping the apple in caramel and before it fully sets, roll it in your chosen toppings like chopped nuts, mini chocolate chips, or sprinkles.