The Ultimate Guide to Crafting the Perfect Homemade Banana Bread
Tired of store-bought imposters that frankly, just don’t hit the same? Imagine a warm, fragrant slice of perfectly baked Banana Bread, made right in your own kitchen, filling your home with that comforting, sweet aroma. Preparing your own Recipe for this classic treat isn’t just about baking; it’s about creating a moment of pure, unadulterated joy. There’s an unparalleled satisfaction in transforming simple ingredients into a masterpiece, especially when that masterpiece is a delicious, moist loaf of Banana Bread. This comprehensive guide will walk you through every step of this delightful Recipe, ensuring your success.
Ingredients & Kitchen Tools
Crafting the perfect loaf requires quality ingredients and the right tools.
- Ripe Bananas (3 large or 4 medium): The browner and spottier, the better! These provide natural sweetness and moisture. Avoid green bananas.
- All-Purpose Flour (1 ½ cups): Provides structure. For a lighter texture, you can use cake flour.
- Granulated Sugar (½ cup): Sweetens the loaf. Adjust to your sweetness preference. Brown sugar can be substituted for a deeper, molasses-like flavor.
- Eggs (2 large): Binds the ingredients and adds richness. Room temperature is best.
- Unsalted Butter (½ cup, melted): Adds moisture and flavor. Salted butter can be used, but reduce added salt.
- Baking Soda (1 teaspoon): A leavening agent that helps the bread rise.
- Salt (½ teaspoon): Balances sweetness and enhances other flavors.
- Vanilla Extract (1 teaspoon): Adds a comforting aroma and flavor depth.
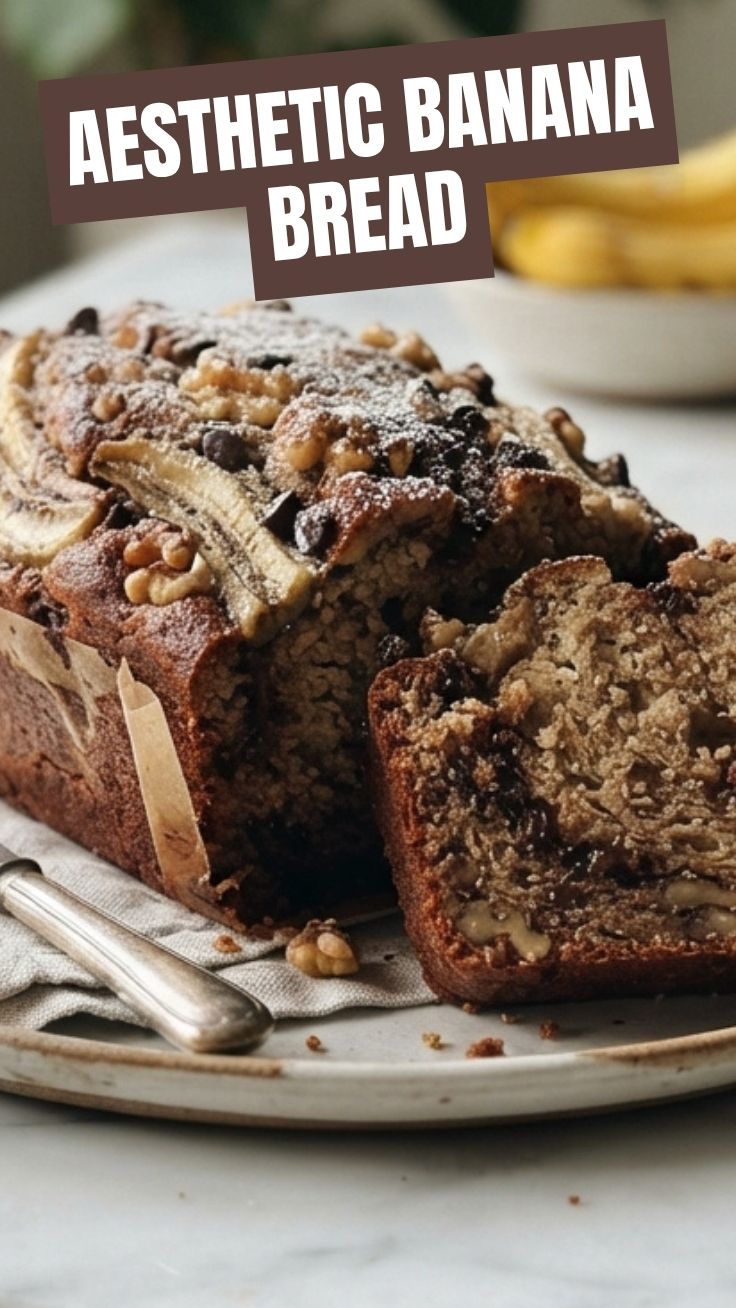
- Optional Mix-ins: Chocolate chips (½ cup), chopped walnuts or pecans (½ cup), shredded coconut (¼ cup).
- Large Mixing Bowl: For combining ingredients.
- Whisk or Electric Mixer: For blending.
- Measuring Cups and Spoons: For accurate ingredient portions.
- Rubber Spatula: For scraping the bowl and folding ingredients.
- 9×5-inch Loaf Pan: The ideal bread pan size.
- Parchment Paper: For easy removal and cleanup (optional, but highly recommended).
Prep Time & Cooking Schedule
- Prep Time: 15-20 minutes
- Cook Time: 50-60 minutes
- Resting Time: 15-20 minutes (before slicing)
Allowing the bread to cool in the pan for a few minutes before transferring to a wire rack lets it firm up, preventing it from crumbling when sliced. The total process, from start to slice, takes about 1 hour and 30 minutes, making it a perfect weekend baking project or a quick evening treat.
Step-by-Step Instructions
Follow these detailed steps to achieve the perfect loaf of a Banana Bread, ensuring every crumb is delightful. This precise Recipe is designed for success.
1. Preheat Oven & Prepare Pan: Preheat your oven to 350°F (175°C). Grease and flour a 9×5-inch loaf pan, or line it with parchment paper, leaving an overhang on the longer sides for easy lifting.
2. Mash Bananas: In a large bowl, mash the ripe bananas with a fork until mostly smooth, with a few small lumps remaining for texture.
3. Combine Wet Ingredients: Add the melted butter, granulated sugar, beaten eggs, and vanilla extract to the mashed bananas. Whisk until well combined.
4. Combine Dry Ingredients: In a separate medium bowl, whisk together the all-purpose flour, baking soda, and salt.
5. Fold Wet into Dry: Gradually add the dry ingredients to the wet ingredients, mixing with a rubber spatula until just combined. Be careful not to overmix; overmixing can lead to a tough Banana Bread. A few streaks of flour are acceptable.
6. Add Mix-ins (Optional): If using, gently fold in chocolate chips, nuts, or shredded coconut.
7. Pour & Bake: Pour the batter into the prepared loaf pan and spread evenly. Bake for 50-60 minutes, or until a wooden skewer or toothpick inserted into the center comes out clean.
8. Cool: Let the Recipe cool in the pan for 10-15 minutes before carefully transferring it to a wire rack to cool completely.
Nutritional Benefits & Advantages
Beyond its comforting taste, homemade Banana Bread offers several nutritional perks. Bananas are a fantastic source of potassium, which is crucial for heart health and blood pressure regulation. They also provide dietary fiber, aiding digestion and promoting satiety. By making it at home, you control the amount of sugar and fat, allowing for healthier substitutions like whole wheat flour or reducing sugar content.
Tips, Variations & Cooking Advice
- Browning Ripe Bananas Quickly: If your bananas aren’t ripe enough, bake them unpeeled on a baking sheet at 300°F (150°C) for 15-30 minutes until their skins are black and shiny.
- Flavor Boosts: Add a pinch of cinnamon or nutmeg for a warming spice note. A tablespoon of orange zest brightens the flavor profile.
- Gluten-Free Option: Substitute regular flour with a 1:1 gluten-free baking blend.
- Dairy-Free Option: Use plant-based butter or coconut oil instead of regular butter.
- Mini Loaves/Muffins: Adjust baking time. Mini loaves take about 30-35 minutes, muffins 20-25 minutes.
Common Mistakes to Avoid
- Under-ripe Bananas: Green or yellow bananas lack the sweetness and moisture needed for a truly delicious loaf.
- Overmixing the Batter: This develops the gluten too much, resulting in a tough, dense bread instead of a tender, moist one.
- Opening the Oven Door Too Early: Resist the urge to check frequently, especially during the first 30 minutes, as this can cause the bread to sink.
- Not Cooling Completely: Slicing warm bread can cause it to crumble, and the flavors haven’t fully set.
Storage & Meal Prep Tips
Once your Banana Bread is completely cool, store it at room temperature in an airtight container or wrapped tightly in plastic wrap for up to 3-4 days. For longer storage, slice the cooled loaf and freeze individual slices for up to 3 months. Wrap each slice in plastic wrap and then place them in a freezer-safe bag or container. To reheat, simply thaw slices at room temperature or warm them gently in a toaster oven or microwave.
Conclusion
There’s something uniquely comforting and deeply satisfying about creating a perfect loaf of Banana Bread from scratch. This detailed Recipe provides all the tools and knowledge you need to bake a moist, flavorful, and truly exceptional loaf every time. Don’t let those overripe bananas go to waste – transform them into a culinary delight that will fill your home with warmth and your belly with happiness. We encourage you to try this Banana Bread Recipe, experiment with variations, and share your delicious results with friends and family!
FAQs
Q1: Can I use frozen bananas for this recipe?
A1: Yes, absolutely! Thaw them completely and drain any excess liquid before mashing. The texture will be softer, making them even easier to incorporate.
Q2: My banana bread always comes out too dry. What am I doing wrong?
A2: This usually points to overmixing the batter or overbaking. Ensure you only mix until just combined and check for doneness using the toothpick test.
Q3: How can I make my banana bread healthier?
A3: Reduce the sugar by a quarter, use whole wheat flour for half of the all-purpose flour, or swap butter for a healthier alternative like unsweetened applesauce (¼ cup for every ½ cup of butter).
Q4: Can I add nuts or chocolate chips?
A4: Yes! This recipe welcomes mix-ins. For best results, toss nuts or chocolate chips lightly in a tablespoon of flour before adding them to the batter. This helps prevent them from sinking to the bottom.
Q5: My bread is browning too quickly on top but isn’t cooked through interiorly. What should I do?
A5: Loosely tent the top of the loaf with aluminum foil to prevent further browning while allowing the inside to continue baking.