The Secret to the Perfect Slice: Unveiling Mom’s Classic Homemade Apple Pie
Ever wondered what makes a truly unforgettable dessert? Isn’t there something magical about a warm, fragrant slice of apple pie, its flaky crust giving way to a sweet, spiced apple filling? Mastering the art of homemade Apple Pie isn’t just about following a recipe; it’s about crafting an experience. In a world saturated with quick fixes, the act of Baking from scratch offers a profound connection to tradition, a valuable skill, and ultimately, a dish that nourishes the soul. This comprehensive guide will equip you with everything you need to create a truly exceptional apple pie, demystifying the process and empowering you to bake with confidence. Let’s delve into the culinary journey of making this iconic dessert a reality in your own kitchen!
Ingredients & Kitchen Tools
Crafting the perfect apple pie requires a thoughtful selection of ingredients and the right tools. Here’s what you’ll need:
- For the Pie Crust (Double Crust):
* 2 ½ cups all-purpose flour: The foundation of a flaky crust.
* 1 teaspoon salt: Enhances flavor and balances sweetness.
* 1 cup (2 sticks) unsalted butter, very cold and cut into ½-inch cubes: Crucial for flakiness; cold butter prevents gluten development.
* ½ cup ice water (plus more if needed): Binds the dough without making it tough.
- For the Apple Filling:
* 6-8 medium baking apples (e.g., Granny Smith, Honeycrisp, Braeburn – a mix offers best flavor and texture): Firm, slightly tart apples hold their shape and provide balance.
* ½ cup granulated sugar: Sweetens the filling.
* ¼ cup packed light brown sugar: Adds depth and a caramel-like note.
* 2 tablespoons all-purpose flour or cornstarch: Thickens the filling.
* 1 teaspoon ground cinnamon: Classic warming spice.
* ¼ teaspoon ground nutmeg: Adds aromatic complexity.
* ⅛ teaspoon ground cloves (optional): A hint for a bolder spice profile.
* 1 tablespoon fresh lemon juice: Brightens the flavor and prevents apple browning.
* 2 tablespoons unsalted butter, cut into small pieces: Adds richness to the filling.
- For the Egg Wash (Optional):
* 1 large egg, beaten with 1 tablespoon water: Creates a golden, glossy crust.
- Kitchen Tools:
* 9-inch pie plate: The standard for most pie recipes.
* Large mixing bowls: For dough and filling preparation.
* Pastry blender or food processor: For cutting butter into flour (food processor for speed).
* Rolling pin: Essential for shaping the crust.
* Measuring cups and spoons: For accurate ingredient quantities.
* Paring knife or apple peeler/corer: For preparing apples.
* Whisk: For combining dry ingredients.
* Baking sheet: To catch any drips and ensure even baking.
Prep Time & Cooking Schedule
Planning your pie-making journey is key to a stress-free experience.
- Prep Time: 45 minutes (includes making dough and preparing apples)
- Chilling Time for Dough: 1 hour (minimum), or up to 2 days. This is crucial for gluten relaxation and easy rolling.
- Cook Time: 50-60 minutes
- Resting Time: At least 2-3 hours after baking. This allows the filling to set and prevents a soupy slice. Resist the urge to cut it too soon!
Step-by-Step Instructions
Follow these detailed steps to achieve apple pie perfection:
1. Prepare the Pie Dough: In a large bowl, whisk together flour and salt. Cut in the very cold butter using a pastry blender or your fingertips until the mixture resembles coarse meal with some pea-sized butter chunks. Gradually add ice water, one tablespoon at a time, mixing just until the dough comes together. Do not overmix. Divide the dough into two equal halves, flatten into disks, wrap in plastic, and refrigerate for at least 1 hour.
2. Prepare the Apple Filling: Peel, core, and slice the apples about ¼-inch thick. In a large bowl, combine the sliced apples with granulated sugar, brown sugar, flour (or cornstarch), cinnamon, nutmeg, and lemon juice. Toss gently to coat evenly.
3. Assemble the Pie: On a lightly floured surface, roll out one disk of dough into a 12-inch circle. Carefully transfer it to your 9-inch pie plate. Trim the edges, leaving about a ½-inch overhang. Pour the apple filling into the pie crust, mounding it slightly in the center. Dot the top of the filling with the small pieces of butter.
4. Add the Top Crust: Roll out the second dough disk into a 12-inch circle. Place it over the apple filling. Trim the top crust, leaving about a ½-inch overhang. Crimp the top and bottom crusts together to seal, creating a decorative edge. Cut several slits in the top crust for steam to escape during Baking.
5. Bake the Apple Pie: If using, brush the top crust with egg wash. Place the pie on a baking sheet to catch any drips. Bake in a preheated oven at 425°F (220°C) for 15 minutes, then reduce the temperature to 375°F (190°C) and continue to bake for another 35-45 minutes, or until the crust is golden brown and the filling is bubbly. If the crust browns too quickly, cover the edges loosely with aluminum foil.
Nutritional Benefits & Advantages
Beyond its comforting taste, homemade apple pie offers several advantages. Apples are a good source of dietary fiber, supporting digestive health and promoting satiety. They also contain essential vitamins and antioxidants. Compared to store-bought versions, making your own pie allows you to control sugar levels and use fresh, high-quality ingredients, avoiding artificial flavors and preservatives.
Tips, Variations & Cooking Advice
- Flavor Variations: Add a splash of bourbon or brandy to the apple filling for an adult twist. Incorporate a pinch of allspice or cardamom for a different spice profile.
- Crust Alternatives: For a richer crust, substitute half the butter with shortening. For a nutty flavor, try a whole wheat pastry flour crust.
- Dietary Adaptations: Utilize a gluten-free pie crust mix for a gluten-free version. To make it dairy-free, use a plant-based butter substitute in both the crust and filling.
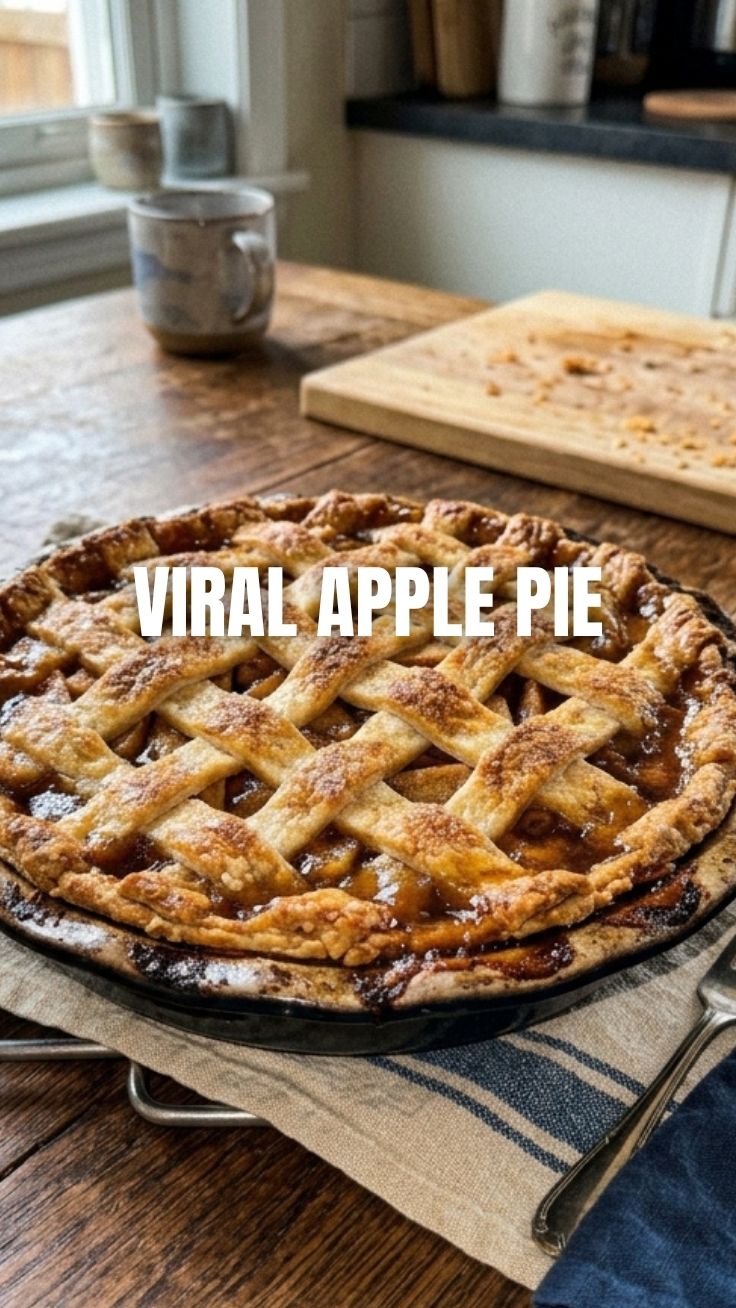
- Lattice Top: For a professional look, create a lattice top crust instead of a solid one.
Common Mistakes to Avoid
- Overworking the Dough: This develops gluten, leading to a tough crust. Handle the dough as little as possible.
- Not Chilling the Dough Enough: Insufficient chilling makes the dough difficult to roll and can result in a less flaky crust.
- Cutting the Pie While Hot: The filling needs time to set. Cutting it too soon will result in a runny, messy slice.
- Using the Wrong Apples: Soft apples turn to mush. Stick with firm, tart varieties.
Storage & Meal Prep Tips
Leftover apple pie can be stored at room temperature, loosely covered, for up to two days. For longer storage, refrigerate for up to 5 days. Wrap tightly in plastic wrap or aluminum foil. For freezing, slice and wrap individual pieces in plastic wrap, then place in an airtight container for up to 3 months. Thaw at room temperature or reheat gently in the oven for best texture.
Conclusion
Crafting a homemade Apple Pie is a rewarding culinary endeavor that brings warmth, comfort, and an unmatched sense of accomplishment to your kitchen. By following these steps and incorporating the nuanced art of Baking, you’re not just making a dessert; you’re creating a cherished memory. We encourage you to try this recipe, experiment with the variations, and share the delightful results with your loved ones. There’s truly nothing quite like a slice of pie made with love.
FAQs
1. Can I use pre-made pie crust?
Yes, you can use store-bought refrigerated pie crusts for convenience. Just follow the package directions for preparation.
2. How do I prevent the bottom crust from getting soggy?
Ensure your apples are not too wet; toss them thoroughly with the thickeners (flour or cornstarch). Some bakers sprinkle a thin layer of breadcrumbs or crushed cornflakes on the bottom crust before adding the filling.
3. What if my pie crust is browning too quickly?
Loosely cover the edges of the pie with aluminum foil during baking to prevent over-browning. You can buy pie shields for this purpose as well.
4. Can I prepare the pie ahead of time?
You can assemble the pie up to 24 hours in advance and refrigerate it. Some experts even recommend freezing the assembled, unbaked pie, then baking from frozen (adding extra baking time).
5. How do I know when the apples are cooked through?
Gently insert a thin knife or skewer through one of the slits in the top crust into the filling. If it goes in easily, the apples are tender. The bubbling filling is also a good indicator.