The Secret to Perfectly Soft & Irresistible Chewy Cookies: Your Ultimate Guide!
Ever bitten into a cookie that’s crispy on the outside, yet wonderfully soft and yielding within? That’s the magic of a truly Chewy Cookie, and today, we’re unlocking the secrets to achieving that coveted texture right in your own kitchen! Forget dry, crumbly disappointments. Preparing these delightful treats at home not only fills your space with an intoxicating aroma but also allows for complete control over ingredients, ensuring a wholesome and utterly satisfying experience. Whether you’re a seasoned baker or a curious novice, this comprehensive guide will equip you with everything you need to master these phenomenal cookie recipes.
Ingredients & Kitchen Tools
Here’s what you’ll need to create these delectable treats, along with some helpful notes:
- All-Purpose Flour (2 ¼ cups): The structural backbone of our cookies. Sifting isn’t strictly necessary but can help achieve a lighter texture.
- Baking Soda (1 teaspoon): Our leavening agent, responsible for that characteristic chewiness. Don’t confuse it with baking powder!
- Salt (½ teaspoon): Enhances all the other flavors and balances the sweetness.
- Unsalted Butter (1 cup, 2 sticks, softened): Crucial for richness and texture. Ensure it’s truly softened, not melted, for proper creaming.
- Granulated Sugar (¾ cup): Provides sweetness and contributes to spread.
- Brown Sugar (¾ cup, packed): Key to chewiness and a deeper, more caramel-like flavor. Make sure it’s firmly packed into the measuring cup.
- Large Eggs (2): Act as a binder and add moisture. Ensure they’re at room temperature.
- Vanilla Extract (1 teaspoon): Essential for a classic, comforting flavor. Good quality vanilla makes a difference.
- Chocolate Chips or Chunks (1 ½ cups): Your choice! Semisweet or milk chocolate are popular, but feel free to experiment.
- Large Mixing Bowls (2): For wet and dry ingredients.
- Electric Mixer (stand or handheld): For creaming butter and sugar effectively.
- Rubber Spatula: For scraping bowls and folding ingredients.
- Baking Sheets: Heavy-duty ones prevent scorching.
- Parchment Paper or Silicone Baking Mats: For easy release and cleanup.
- Wire Rack: For cooling the cookies evenly.
Prep Time & Cooking Schedule
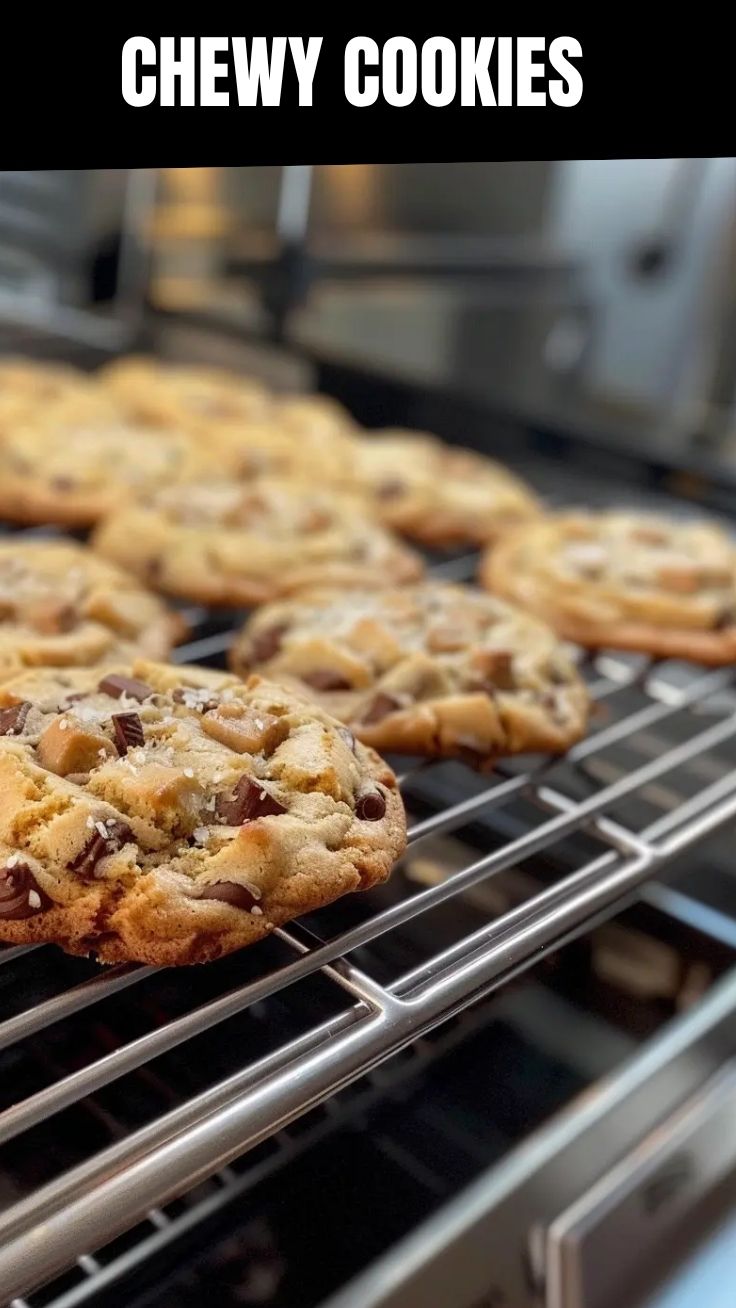
- Prep Time: 20 minutes
- Chilling Time: 30 minutes (minimum, but longer is better for texture!)
- Bake Time: 10-12 minutes per batch
- Resting Time (after baking): 5 minutes on the baking sheet
Allowing for the chilling time is crucial for developing flavor and preventing excessive spread. Plan to start your dough at least an hour before you want to bake, or even the day before for best results.
Step-by-Step Instructions
1. Preheat & Prep: Preheat your oven to 375°F (190°C). Line two baking sheets with parchment paper or silicone baking mats.
2. Combine Dry Ingredients: In a medium bowl, whisk together the flour, baking soda, and salt. Set aside.
3. Cream Wet Ingredients: In a large mixing bowl, using an electric mixer, cream together the softened unsalted butter, granulated sugar, and packed brown sugar on medium speed until light and fluffy (about 2-3 minutes). This aeration is critical for a light, tender crumb in your Chewy Cookie.
4. Add Eggs & Vanilla: Beat in the eggs, one at a time, mixing well after each addition. Stir in the vanilla extract until just combined.
5. Gradually Add Dry to Wet: With the mixer on low speed, gradually add the dry ingredient mixture to the wet ingredients, mixing until just combined. Be careful not to overmix, as this can lead to tough cookies.
6. Fold in Chocolate: Gently fold in the chocolate chips or chunks with a rubber spatula until evenly distributed.
7. Chill the Dough: Cover the bowl with plastic wrap and refrigerate the dough for at least 30 minutes. Chilling firms the butter, preventing the cookies from spreading too much and deepening the flavors, essential for exceptional cookie recipes.
8. Scoop & Bake: Drop rounded tablespoons of dough onto the prepared baking sheets, leaving about 2 inches between each.
9. Bake: Bake for 10-12 minutes, or until the edges are golden brown and the centers are still slightly soft. They will continue to set as they cool. Do not overbake!
10. Cool: Remove the baking sheets from the oven and let the cookies cool on the sheets for 5 minutes before transferring them to a wire rack to cool completely.
Nutritional Benefits & Advantages
These cookies, while a delightful indulgence, offer some surprising benefits. Dark chocolate, if chosen, provides antioxidants. Butter offers healthy fats in moderation. Baking at home means you control the sugar content and can opt for whole wheat flour for added fiber, if desired. The primary advantage, however, lies in the sheer joy and satisfaction derived from creating something delicious from scratch, fostering mental well-being and a sense of accomplishment.
Tips, Variations & Cooking Advice
- Sea Salt Sprinkles: A sprinkle of flaky sea salt on top before baking enhances the chocolate flavor beautifully.
- Nutty Additions: Fold in chopped walnuts, pecans, or almonds for extra crunch and flavor.
- Extract Explorations: Try almond extract, peppermint extract, or orange zest for different flavor profiles.
- Brown Butter: For a rich, nutty depth, brown your butter before creaming it with the sugars. Cool it slightly before use.
- Gluten-Free: Substitute all-purpose flour with a 1:1 gluten-free baking flour blend.
- Dairy-Free: Use plant-based butter and dairy-free chocolate chips.
- Portion Control: Use a small ice cream scoop for uniform cookies.
Common Mistakes to Avoid
- Overmixing the Dough: Leads to gluten development, resulting in tough, cake-like cookies instead of chewy ones. Mix until just combined.
- Warm Butter: Using melted or overly soft butter will cause the cookies to spread excessively and become thin and crispy.
- Skipping the Chill Time: This is often overlooked but crucial for preventing spread and developing flavor.
- Overbaking: The most common mistake! Pull the cookies out when the edges are golden, and the centers still look slightly underbaked. They’ll finish cooking on the hot baking sheet.
- Incorrect Oven Temperature: An oven thermometer is a baker’s best friend. Inaccurate temperatures can ruin your bake.
Storage & Meal Prep Tips
Once completely cooled, store your Chewy Cookies in an airtight container at room temperature for up to 3-4 days. To keep them extra fresh, you can add half a slice of bread to the container; it will absorb excess moisture and keep the cookies soft. For longer storage, the baked cookies can be frozen for up to 2-3 months. Thaw at room temperature. You can also freeze portions of unbaked cookie dough for quick, freshly baked treats anytime – just add a few extra minutes to the baking time.
Conclusion
There you have it – the definitive guide to baking the most delightful, perfectly Chewy Cookies! Armed with these tips, techniques, and insights, you’re ready to transform simple ingredients into an extraordinary treat. Remember, the key to truly exceptional cookie recipes lies in understanding the science behind the bake and having the confidence to experiment. So, preheat your oven, gather your ingredients, and prepare to fill your home with the irresistible aroma of freshly baked goodness. We’d love to hear about your baking adventures and see your delicious creations in the comments below!
FAQs
Q1: Why are my cookies spreading too much?
A1: This is often due to butter being too soft or melted, or the dough not being properly chilled. Ensure your butter is softened but still cool to the touch, and don’t skip the chilling step!
Q2: Can I substitute granulated sugar for brown sugar?
A2: While you can, it will significantly alter the texture. Brown sugar adds moisture and acidity, which contributes largely to the chewy texture. Swapping it out will result in a crispier cookie.
Q3: How do I know when the cookies are done?
A3: Look for golden-brown edges. The centers should still appear slightly soft and set as they cool. Err on the side of underbaking rather than overbaking for chewiness.
Q4: Can I freeze the cookie dough?
A4: Absolutely! Scoop portions onto a parchment-lined baking sheet and freeze until solid. Then transfer to an airtight freezer bag. Bake from frozen, adding an extra 2-4 minutes to the bake time.
Q5: My cookies are hard and crunchy, not chewy. What went wrong?
A5: This usually indicates overbaking or overmixing the dough, which develops too much gluten. For future batches, watch your baking time carefully and mix the dry ingredients into the wet until just combined.