Master the Festive Table: Your Guide to the Ultimate Homemade Pumpkin Pie
Ever wonder how to truly elevate your holiday spread from simply delicious to absolutely unforgettable? The secret often lies in the star of the show, a homemade Pumpkin Pie that embodies warmth, tradition, and pure culinary delight. Beyond convenience, preparing this classic Thanksgiving Dessert from scratch offers unparalleled satisfaction and control over ingredients, ensuring a wholesome and truly personal touch for your loved ones. This comprehensive guide will walk you through every step, transforming you into a pie-making maestro, guaranteeing that rich, creamy texture and those iconic autumnal spices that everyone craves.
Ingredients & Kitchen Tools
Crafting the perfect pie begins with the right components. Here’s what you’ll need:
- For the Crust:
* 1 ½ cups all-purpose flour: The base for a flaky, tender crust. You can use gluten-free flour for an alternative.
* ½ teaspoon salt: Enhances flavor and works with the butter.
* ½ cup (1 stick) unsalted butter, very cold and cubed: Essential for flakiness, creating steam pockets during baking.
* ¼ cup ice water: Binds the dough without overworking the gluten.
- For the Filling:
* 1 (15-ounce) can pumpkin puree: Ensure it’s 100% pumpkin, not pumpkin pie filling.
* 1 (14-ounce) can sweetened condensed milk: Provides sweetness and creamy texture.
* 2 large eggs: Binders for the filling.
* 1 teaspoon ground cinnamon: Classic warm spice.
* ½ teaspoon ground ginger: Adds a zesty, aromatic note.
* ¼ teaspoon ground nutmeg: Another essential warm spice for depth.
* ⅛ teaspoon ground cloves: A tiny pinch for rich, complex flavor.
* ½ teaspoon salt: Balances sweetness and enhances other flavors.
- Kitchen Tools:
* 9-inch pie plate: The standard size for this recipe.
* Large mixing bowls (2): For crust ingredients and filling ingredients.
* Pastry blender or food processor: For cutting butter into flour.
* Rolling pin: For shaping the pie crust.
* Whisk: For combining filling ingredients smoothly.
* Measuring cups and spoons: For precise ingredient amounts.
* Parchment paper and pie weights (optional): For blind baking.
Prep Time & Cooking Schedule
Planning is key to a stress-free baking experience.
- Crust Prep Time: 15 minutes active, 30 minutes chilling.
- Filling Prep Time: 10 minutes.
- Baking Time: 50-60 minutes.
- Cooling/Resting Time: At least 2-3 hours (preferably overnight). This allows the filling to set completely, ensuring clean slices. Begin preparing at least four hours before serving, or the day before for best results.
Step-by-Step Instructions
Let’s embark on the journey to a perfect Pumpkin Pie.
1. Prepare the Pie Crust (Day Before or 2 hours ahead): In a large bowl, whisk flour and salt. Cut in the cold, cubed butter using a pastry blender or your fingertips until the mixture resembles coarse crumbs with some pea-sized butter pieces. Gradually add ice water, one tablespoon at a time, mixing until the dough just comes together. Do not overmix. Form into a disc, wrap in plastic, and refrigerate for at least 30 minutes, or up to 2 days.
2. Roll and Blind Bake the Crust: On a lightly floured surface, roll out the chilled dough into a 12-inch circle. Carefully transfer to your 9-inch pie plate, trimming and crimping the edges as desired. Prick the bottom with a fork several times. For a crispier crust, blind bake: line the crust with parchment paper, fill with pie weights or dried beans, and bake at 375°F (190°C) for 15 minutes. Remove weights and parchment, then bake for another 5-10 minutes until lightly golden. Allow to cool slightly.
3. Prepare the Filling: In a large bowl, whisk together the pumpkin puree, sweetened condensed milk, eggs, cinnamon, ginger, nutmeg, cloves, and salt until completely smooth.
4. Assemble and Bake: Pour the pumpkin filling into the pre-baked pie crust. Carefully transfer the pie to the oven. Bake at 375°F (190°C) for 15 minutes, then reduce the oven temperature to 350°F (175°C) and continue baking for 35-45 minutes more, or until the edges are set and the center jiggles only slightly when gently shaken. If the crust edges brown too quickly, loosely cover them with foil.
5. Cool Completely: Remove the pie from the oven and place it on a wire rack to cool completely for at least 2-3 hours. This crucial step allows the custard-like filling to set properly, ensuring a perfect slice of this wonderful Thanksgiving Dessert.
Nutritional Benefits & Advantages
Beyond its deliciousness, homemade pumpkin pie offers several advantages. Pumpkin is rich in beta-carotene, an antioxidant that the body converts to Vitamin A, vital for vision and immune function. It’s also a good source of fiber, supporting digestive health. By making it yourself, you control sugar levels and avoid artificial ingredients found in many store-bought options, opting for natural spices and wholesome pumpkin.
Tips, Variations & Cooking Advice
- Spice it Up: For an extra kick, add a pinch of black pepper or a dash of cardamom to your filling.
- Crust Variations: Experiment with a graham cracker or gingersnap crust for a different flavor profile.
- Dietary Adaptations: For a dairy-free version, use coconut cream instead of sweetened condensed milk (adjusting sugar to taste) and a dairy-free pie crust. Gluten-free flour can easily replace all-purpose flour for the crust.
- Don’t Overbake: Overbaking can lead to cracks in the filling and a tougher texture. The slight jiggle in the center is key.
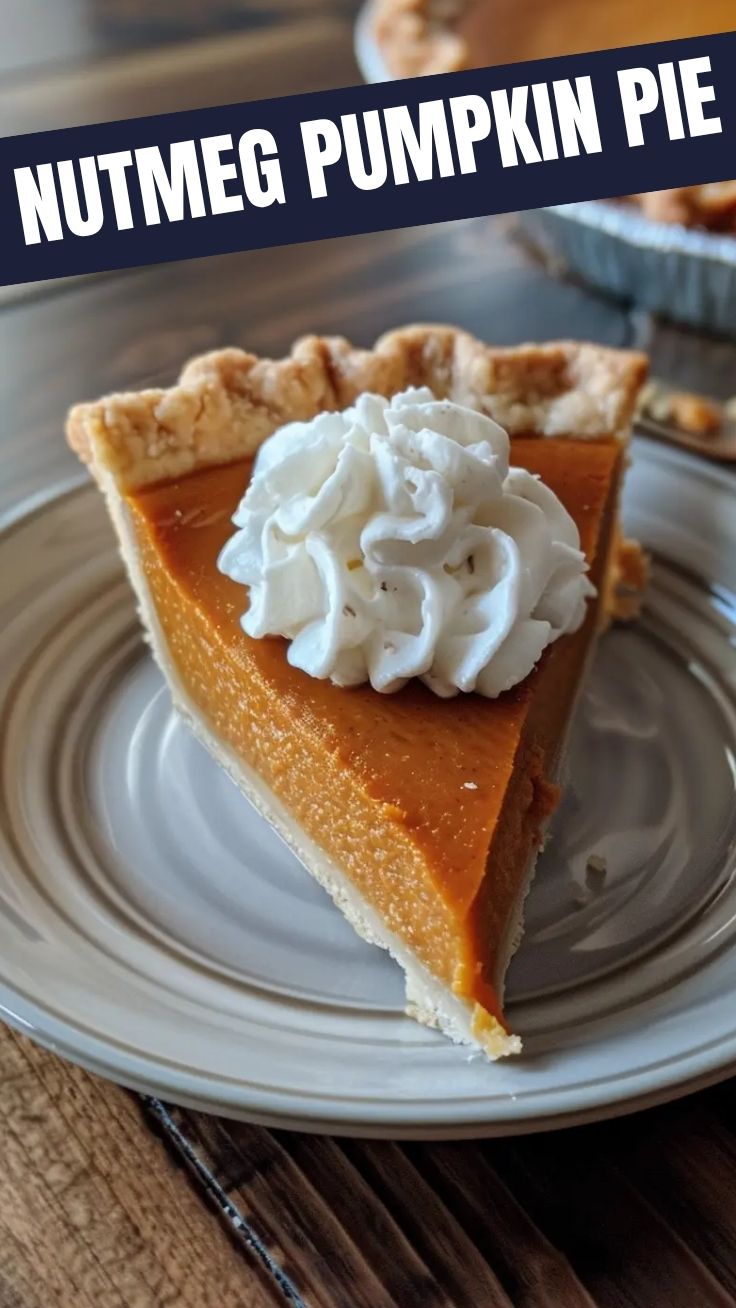
- Garnish: A dollop of freshly whipped cream, a sprinkle of cinnamon, or candied pecans make for an elegant finish.
Common Mistakes to Avoid
- Overworking the Crust Dough: Leads to a tough, dense crust instead of a flaky one. Handle it as little as possible.
- Not Blind Baking: Results in a soggy bottom crust, especially with a wet filling like pumpkin.
- Overbaking the Filling: Causes the filling to crack and become dry or crumbly. Watch for the slight jiggle.
- Slicing Before Cooling: The pie needs time to set completely, otherwise, it will be messy and fall apart.
Storage & Meal Prep Tips
Leftover pumpkin pie should be stored in the refrigerator, covered with plastic wrap or foil. It will stay fresh for 3-4 days. While safe to freeze, the texture of the filling might change slightly upon thawing. To reheat, you can gently warm individual slices in the microwave for a few seconds, or in a low oven for 10-15 minutes, though most prefer it chilled.
Conclusion
There’s nothing quite like the aroma and taste of a homemade Pumpkin Pie, a true culinary icon that evokes comfort and celebration. With this detailed guide, you’re now equipped to create a masterpiece that will undoubtedly be the highlight of any gathering. Mastering this Thanksgiving Dessert is an achievement in itself, offering a rewarding experience and a delicious outcome. So, roll up your sleeves, embrace the spices, and transform your kitchen into a haven of autumnal goodness. We encourage you to try this recipe, share your creations, and savor every exquisite bite!
FAQs
Q1: Can I use store-bought pie crust?
A1: Yes, absolutely! A pre-made pie crust is a great time-saver. Just follow the package instructions for blind baking, if recommended.
Q2: My pumpkin pie cracked after baking, what happened?
A2: This usually happens from overbaking or too high a temperature. The filling cooks too quickly and shrinks, causing cracks. Ensure you don’t overbake and let it cool gradually.
Q3: Can I make this pie ahead of time?
A3: Yes, pumpkin pie keeps well in the refrigerator for 3-4 days, making it an excellent make-ahead dessert for holidays.
Q4: How do I know when the pie is fully cooked?
A4: The edges of the filling should be set, but the very center (about a 1-inch circle) should still have a slight jiggle. It will continue to set as it cools.
Q5: What’s the difference between pumpkin puree and pumpkin pie filling?
A5: Pumpkin puree is 100% cooked, mashed pumpkin. Pumpkin pie filling includes spices and sweeteners already mixed in. For this recipe, ensure you use pure pumpkin puree.