Unlock the Secret to the Juiciest Turkey Ever: Your Guide to a Perfect Brined Turkey!
Ever wondered how some home cooks manage to achieve that impossibly tender, incredibly flavorful turkey, year after year? The secret often lies in the magical art of brining. Forget dry, bland poultry – preparing a magnificent Brined Turkey at home isn’t just about a meal; it’s about transforming a simple ingredient into a culinary masterpiece that will impress everyone at your table. This comprehensive guide will walk you through everything you need to know about mastering the technique, especially focusing on effective Wet Brining, ensuring your holiday feast or Sunday dinner is unforgettable.
Ingredients & Kitchen Tools
Crafting the perfect brined bird requires a few essential items. Here’s what you’ll need:
- Whole Turkey (12-16 lbs): Fresh or fully thawed. Choose a high-quality bird for the best results.
- Kosher Salt (1 cup): Essential for the brine; significantly enhances moisture retention and flavor.
- Brown Sugar (1/2 cup): Adds a subtle sweetness and helps with browning.
- Peppercorns (2 tablespoons): For aromatic depth. Black peppercorns are ideal.
- Bay Leaves (4-5): Contributes an earthy, herbal note.
- Fresh Rosemary Sprigs (4-5): Infuses a fragrant, piney aroma.
- Fresh Thyme Sprigs (4-5): Adds a delicate, savory herb flavor.
- Oranges (2, quartered): Provides a citrusy brightness that complements poultry beautifully.
- Garlic (1 head, halved horizontally): Adds a pungent, savory base note.
- Water (2 gallons): The primary liquid for your brine solution.
- Ice (1-2 bags): Crucial for rapidly chilling the brine.
- Large Brining Bag or Food-Grade Bucket (5-gallon capacity): To safely submerge the turkey in the brine.
- Roasting Pan with Rack: For even cooking and crispy skin.
- Meat Thermometer: Indispensable for ensuring the turkey is cooked to a safe internal temperature (165°F).
- Twine (optional): To tie the legs together for a more compact roast.
- Basting Brush (optional): For applying butter or pan drippings during roasting.
Prep Time & Cooking Schedule
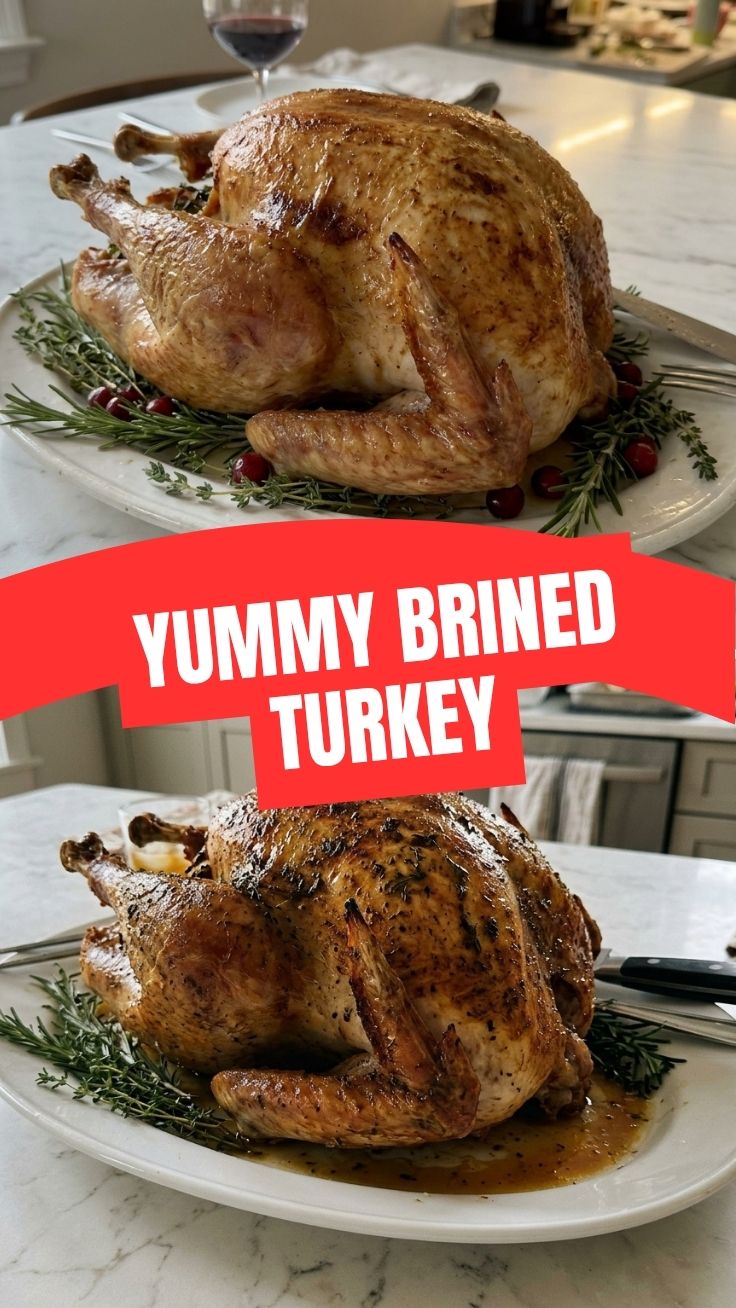
Planning is key for a stress-free turkey experience!
- Brine Preparation: 20-30 minutes (active) + 1-2 hours (cooling)
- Pre-Roast Drying: 1-2 hours (uncovered in the fridge, optional but recommended for crispy skin)
- Roast Time: Approximately 3-4 hours for a 12-16 lb turkey (about 13-15 minutes per pound)
- Resting Time: 30-45 minutes
Step-by-Step Instructions
Follow these clear steps to achieve a perfectly moist and flavorful Brined Turkey:
1. Prepare the Brine: In a large stockpot, combine 1 gallon of water, Kosher salt, brown sugar, peppercorns, bay leaves, rosemary, thyme, quartered oranges, and halved garlic head. Bring to a boil, stirring until the salt and sugar dissolve completely. Remove from heat.
2. Cool the Brine: Add the remaining 1 gallon of cold water and the bags of ice to the hot brine mixture. Stir well. It is absolutely crucial that the brine is completely chilled (below 40°F / 4°C) before you add the turkey. This rapid cooling is essential for food safety, as you’re preparing for effective Wet Brining.
3. Prepare the Turkey: Remove the turkey from its packaging. Remove the giblets and neck from the cavities and discard or save for gravy. Rinse the turkey thoroughly inside and out under cold running water and pat it completely dry with paper towels.
4. Brine the Turkey: Carefully place the dried turkey into a large brining bag or food-grade bucket. Pour the completely chilled brine over the turkey, ensuring it is fully submerged. If using a bag, squeeze out as much air as possible and seal it tightly. If using a bucket, place a plate or a weighted object on top of the turkey to keep it submerged, then cover the bucket.
5. Refrigerate: Place the brining turkey in the refrigerator for 12-24 hours. Do not brine for longer than 24 hours as the turkey can become too salty.
6. Rinse and Dry: After brining, remove the turkey from the brine. Discard the brine. Rinse the turkey thoroughly under cold running water, both inside and out, to remove excess salt. Pat the turkey completely dry with paper towels. For extra crispy skin, place the turkey uncovered on a rack in a roasting pan in the refrigerator for 1-2 hours (or even overnight) to dry out the skin.
7. Preheat Oven & Season: Preheat your oven to 425°F (220°C). Place the dried turkey on a rack in a roasting pan. Loosely fill the cavity with aromatic vegetables like onion, celery, and more herbs (optional). Rub the outside of the turkey with butter or olive oil and season lightly with black pepper (no need for more salt after brining!).
8. Roast: Place the turkey in the preheated oven. Roast at 425°F (220°C) for 30 minutes to crisp the skin, then reduce the oven temperature to 350°F (175°C) and continue roasting.
9. Monitor & Finish: Roast until a meat thermometer inserted into the thickest part of the thigh (without touching bone) registers 165°F (74°C). Basting every hour is optional but can help with browning. If the skin is browning too quickly, loosely tent with foil.
10. Rest: Once cooked, remove the turkey from the oven, transfer it to a cutting board, and let it rest, loosely tented with foil, for at least 30-45 minutes. This allows the juices to redistribute, resulting in a more tender and moist turkey.
11. Carve & Serve: Carve the turkey and serve warm with your favorite sides.
Nutritional Benefits & Advantages
Brining a turkey isn’t just about flavor; it also offers some excellent benefits. Turkey itself is a lean protein source, rich in essential amino acids, B vitamins (like B6 and B12), and minerals such as selenium and zinc, which are vital for immune function and thyroid health. The brining process, particularly Wet Brining, helps the meat absorb moisture and sodium, leading to a significantly juicier final product. This prevents the lean meat from drying out during cooking, a common issue with unbrined turkey. Furthermore, the herbs and spices used in the brine infuse the meat with antioxidants and additional flavorful compounds.
Tips, Variations & Cooking Advice
- Flavor Variations: Experiment with different aromatics in your brine: apple slices, star anise, cinnamon sticks, or even a splash of apple cider or white wine can add unique dimensions.
- Herbs: Don’t be afraid to add extra bundles of fresh sage, marjoram, or any combination you love to the brine.
- Smoked Turkey: If you have a smoker, a brined turkey smokes beautifully, picking up incredible smoky notes while remaining incredibly moist.
- Spatchcocking: For a faster, more even cook, consider spatchcocking (butterflying) your turkey after brining. This flattens the bird, allowing for better air circulation and reducing cooking time.
- Dry Brine Alternative: While this guide focuses on Wet Brining, a dry brine (rubbing salt and seasonings directly onto the turkey) is another excellent method for flavor and moisture, though it requires different ratios.
Common Mistakes to Avoid
- Not Cooling the Brine: Adding a turkey to warm or hot brine creates a food safety hazard. Always ensure your brine is completely chilled.
- Over-Brining: Brining for too long can result in an overly salty or mushy turkey. Stick to the recommended 12-24 hour window.
- Not Rinsing: Failing to thoroughly rinse the turkey after brining will leave residual salt on the surface, making the final dish too salty.
- Skipping the Rest: Resting the turkey after cooking is non-negotiable. Without it, juices will escape when you carve, leaving you with dry meat.
- Wing Tips Burning: If your wing tips start to darken too much, cover them with small pieces of foil to prevent burning.
Storage & Meal Prep Tips
Leftover Brined Turkey is a gift that keeps on giving!
- Refrigeration: Store carved turkey in an airtight container in the refrigerator for up to 3-4 days.
- Freezing: For longer storage, freeze carved turkey in a freezer-safe bag or container for up to 2-3 months. Thaw overnight in the refrigerator before reheating.
- Reheating: To maintain moisture, reheat turkey gently. Microwaving on low power, or baking in a covered dish with a splash of broth at 275°F (135°C) until warm, are good options. Avoid high heat, which can dry it out.
- Meal Prep Uses: Use leftover turkey in sandwiches, soups, chili, salads, quesadillas, or pot pies.
Conclusion
Mastering the art of a perfectly juicy, flavorful Brined Turkey is a game-changer for any home cook. By following these detailed steps, especially focusing on proper Wet Brining techniques, you’re not just preparing a meal, you’re creating a culinary experience that’s rich in flavor and moisture. Don’t be intimidated; the results are well worth the effort. Give this recipe a try, and prepare to delight your taste buds and impress your guests with the most succulent turkey they’ve ever tasted! Share your triumphs in the comments below!
FAQs
Q1: Can I brine a frozen turkey?
A1: Yes, but you must ensure the turkey is completely thawed before beginning the brining process. Brining a partially frozen turkey can lead to uneven salt absorption and food safety issues.
Q2: What if I don’t have a large enough container for brining?
A2: A heavy-duty brining bag inserted into a large cooler works well. You’ll need to keep the cooler very cold by adding ice packs to the cooler itself (not directly into the brine) to maintain a safe temperature.
Q3: Can I reuse the brine?
A3: No, the brine should never be reused. It comes into contact with raw poultry and can harbor bacteria. Always discard brine immediately after use.
Q4: How does brining prevent dry turkey?
A4: Brining works through osmosis. The salty solution penetrates the turkey’s muscle fibers, causing them to absorb extra moisture. The salt also denatures some of the proteins, making them less likely to contract and expel moisture during cooking, resulting in a juicier bird.
Q5: Do I need to rinse the turkey after brining?
A5: Yes, absolutely! Rinsing the turkey thoroughly after brining and patting it dry helps remove any excess salt from the surface, preventing the exterior from becoming too salty, while still retaining the brining benefits inside.