Master the Art of the Perfect Homemade Pulled Sandwich
Ever found yourself craving that irresistibly tender, smoky, and sensationally seasoned Pulled Sandwich you get at your favorite BBQ joint, but wished you could recreate that magic at home? The good news is, you absolutely can! Crafting this classic in your own kitchen isn’t just about saving money; it’s about customizing flavors to your exact preference and experiencing the unparalleled satisfaction of a home-cooked masterpiece. Today, we’re diving deep into making a mouthwatering pulled meat sandwich that will impress everyone, discussing everything from the perfect meat choice to the zesty Sandwich Spreads that elevate it.
Ingredients & Kitchen Tools
To embark on this culinary adventure, gather the following:
- Pork Shoulder (Boston Butt): (3-4 lbs) This cut is ideal for pulling due to its high fat content and connective tissue, which breaks down beautifully during slow cooking, yielding incredibly tender results.
- BBQ Rub: (1/4 cup) A blend of paprika, brown sugar, salt, pepper, garlic powder, and onion powder. You can buy pre-made or craft your own for a personalized touch.
- Apple Cider Vinegar: (1/2 cup) Adds a tangy counterpoint and helps tenderize the meat.
- Chicken Broth or Water: (1 cup) Provides moisture for slow cooking.
- Your Favorite BBQ Sauce: (1-2 cups) The star of your flavor profile! Choose a smoky, sweet, or spicy variety.
- Burger Buns or Brioche Buns: (6-8) Opt for sturdy buns that can hold up to the juicy pulled meat.
- Coleslaw (optional): For a classic crunchy topping.
- Large Roasting Pan or Slow Cooker: Essential for slow cooking.
- Meat Claws or Two Forks: For effortless shredding.
- Sharp Knife & Cutting Board: For trimming excess fat.
- Measuring Cups & Spoons: For accurate ingredient portions.
Prep Time & Cooking Schedule
- Prep Time: 15-20 minutes (includes seasoning and initial searing)
- Cook Time: 6-8 hours on low setting in a slow cooker, or 3-4 hours in a conventional oven at 300°F (150°C) until fork-tender.
- Resting Time: 15-20 minutes (crucial for juiciness after cooking and before pulling).
Planning is key! Start your cooking early in the day for a dinner-time feast, allowing ample time for the meat to truly become fall-apart tender.
Step-by-Step Instructions
1. Prepare the Pork: Pat the pork shoulder dry with paper towels. Trim any excessive fat, leaving a thin layer for flavor and moisture.
2. Apply the Rub: Generously coat the entire pork shoulder with your BBQ rub, pressing it in to ensure it adheres well. For deeper flavor, you can let it marinate in the fridge for 2-4 hours or even overnight.
3. Sear (Optional, but Recommended): In a large, oven-safe pan over medium-high heat, sear the pork on all sides until nicely browned. This develops a beautiful crust and adds depth of flavor. Transfer the seared pork to your slow cooker or roasting pan.
4. Add Liquids & Cook: Pour the apple cider vinegar and chicken broth around the pork (not directly over the rub). Cover the slow cooker and cook on low for 6-8 hours, or in a covered roasting pan in the oven at 300°F (150°C) for 3-4 hours, or until the internal temperature reaches 200-205°F (93-96°C) and the meat is easily shredded with a fork.
5. Rest & Pull: Once cooked, carefully remove the pork from the liquid (reserve the liquid!). Place it on a large cutting board and tent it loosely with foil. Let it rest for 15-20 minutes. This allows the juices to redistribute, resulting in a more succulent Pulled Sandwich. Using meat claws or two forks, shred the pork into desired consistency. Discard any large pieces of fat.
6. Sauce It Up: Return the shredded pork to the slow cooker or roasting pan. Add your favorite BBQ sauce and a few splashes of the reserved cooking liquid to moisten. Stir well to coat all the meat thoroughly. Simmer on low for another 15-30 minutes to allow the flavors to meld.
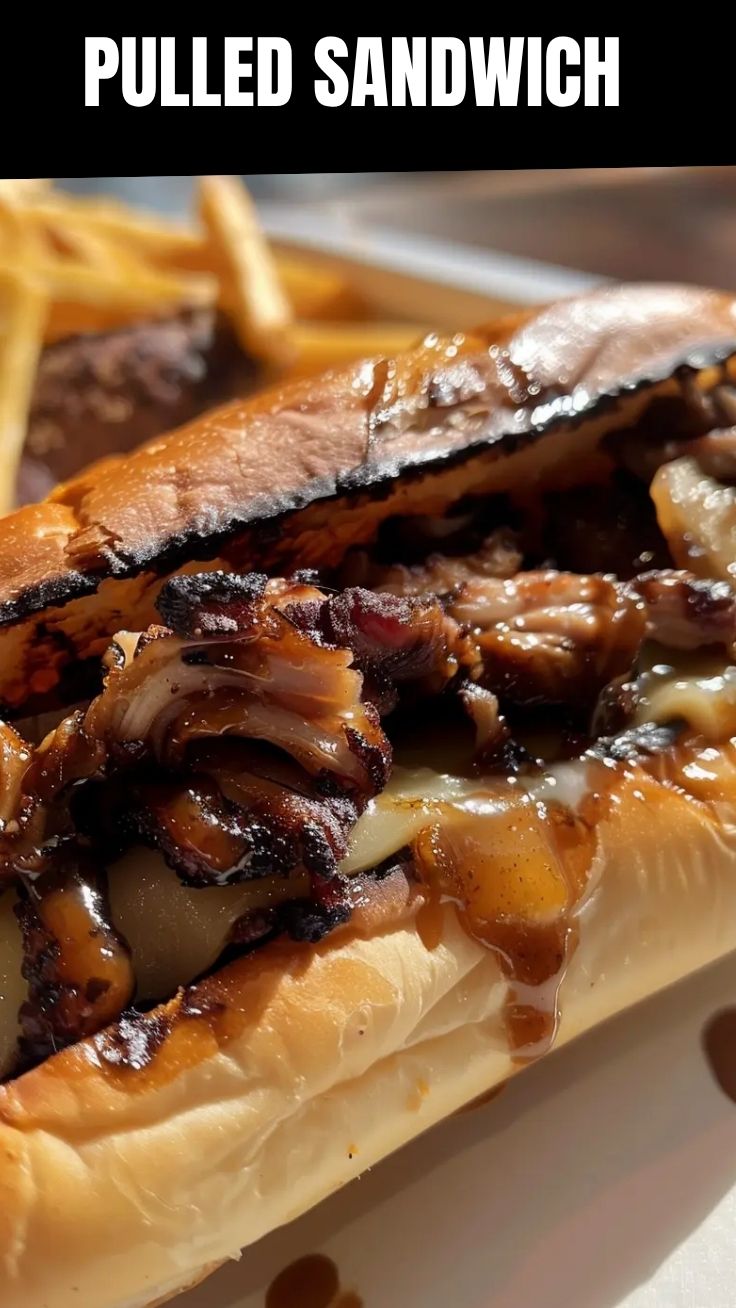
7. Assemble Your Sandwich: Toast your burger buns lightly. Pile a generous amount of the saucy pulled pork onto the bottom bun. Top with fresh coleslaw, pickles, or your chosen Sandwich Spreads. Place the top bun and serve immediately!
Nutritional Benefits & Advantages
Pork shoulder, while often associated with indulgence, provides a significant amount of protein, essential for muscle repair and growth. When slow-cooked, its collagen breaks down into gelatin, which can support gut health. Opting for homemade means you control the sodium content and can choose healthier BBQ sauces or use fresh, whole ingredients for your sides and rubs. This dish also offers a good source of B vitamins, crucial for energy metabolism.
Tips, Variations & Cooking Advice
- Spice It Up: Add a pinch of cayenne pepper or a dash of hot sauce to your rub or BBQ sauce for a fiery kick.
- Smoked Paprika: Elevate the smoky flavor in your rub with quality smoked paprika.
- Beer Braise: Replace some of the broth with a dark beer like stout or porter for an extra layer of flavor.
- Vegetarian Option: Use jackfruit as a plant-based alternative. It shreds beautifully and absorbs flavors well.
- Slow Cooker Pro-Tip: Don’t lift the lid too often! Each time you do, you lose heat and extend the cooking time.
- Oven Roasting: If using an oven, ensure your roasting pan is tightly covered to prevent the meat from drying out.
Common Mistakes to Avoid
- Not resting the meat: Skipping this step leads to dry, less flavorful pulled pork.
- Over-trimming fat: A little fat is essential for moisture and flavor during the long cooking process.
Undercooking: The meat must* be fall-apart tender to pull easily. If it’s tough, it needs more cooking time.
- Too much liquid: Don’t drown the meat; just enough for moisture and braising.
- Skimping on the rub: A good rub is the foundation of flavor for any pulled meat.
Storage & Meal Prep Tips
Leftover pulled meat stores beautifully. Once cooled, transfer it to an airtight container and refrigerate for up to 3-4 days. For longer storage, freeze it in freezer-safe bags or containers for up to 2-3 months. Thaw overnight in the refrigerator, then reheat gently on the stovetop or in the microwave, adding a splash of broth or extra BBQ sauce to prevent drying out. This recipe is fantastic for meal prepping; make a large batch and enjoy ready-to-eat sandwiches throughout the week or use the pulled meat in tacos, nachos, or even on baked potatoes.
Conclusion
There you have it – a comprehensive guide to mastering the ultimate homemade Pulled Sandwich! This recipe isn’t just about feeding yourself; it’s about creating a memorable culinary experience, rich in flavor and tradition. By following these steps and experimenting with your favorite Sandwich Spreads, you’ll be able to recreate that BBQ joint magic right in your own kitchen. Don’t be afraid to personalize it, share your creations, and let us know your favorite tweaks in the comments below! Happy cooking!
FAQs
- Q: Can I use chicken or beef instead of pork?
A: Absolutely! Chicken thighs work well for pulled chicken, and beef chuck roast is excellent for pulled beef. Adjust cooking times as needed, ensuring they are fork-tender.
- Q: How do I make my own BBQ rub?
A: A basic rub includes equal parts brown sugar, paprika, salt, and black pepper, plus half parts garlic powder and onion powder. Feel free to add chili powder, cayenne, or cumin.
- Q: My pulled meat is dry. What went wrong?
A: This usually happens from undercooking (not breaking down tough fibers) or not having enough liquid during cooking. Ensure proper rest time and add reserved cooking liquid or extra BBQ sauce when reheating.
- Q: Can I cook this on a grill or smoker?
A: Yes, pulled pork is traditionally smoked! Follow your smoker’s instructions for pork shoulder, aiming for a consistent low temperature (around 225-250°F / 107-121°C) until it reaches the target internal temperature of 200-205°F.