Unlock the Secret to Irresistible, Guilt-Free Snacking: Your Guide to Perfect Roasted Chickpeas!
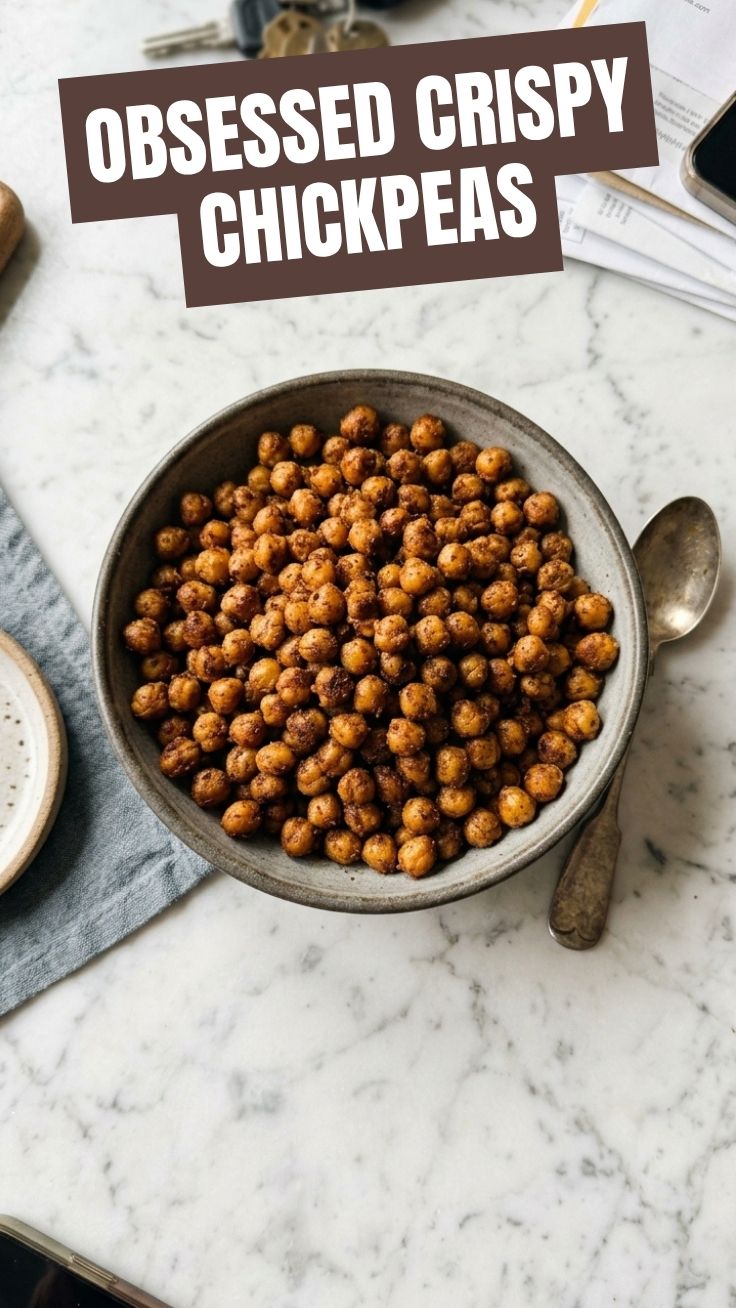
Are you tired of bland, uninspiring snacks that leave you feeling unsatisfied? Imagine sinking your teeth into a crunchy, savory bite that’s not only bursting with flavor but also packed with nutrients. The journey to perfectly seasoned, homemade Crispy Chickpeas (Roasted) begins in your own kitchen! Forget overpriced, preservative-laden store-bought versions. Preparing them yourself allows for complete control over ingredients, guaranteeing a wholesome and delicious treat every time. This comprehensive guide will equip you with the knowledge and techniques to create healthy snacks that will revolutionize your snacking habits and impress everyone who tries them.
Ingredients & Kitchen Tools
To embark on your crispy chickpea adventure, gather these essentials:
- 1 (15-ounce) can chickpeas (garbanzo beans): Drained, rinsed thoroughly, and patted completely dry. This step is crucial for crispiness.
- 1 tablespoon olive oil: Or any neutral oil like avocado oil, for even coating.
- ½ teaspoon salt: Enhances flavor. Adjust to your taste.
- ¼ teaspoon black pepper: Adds a subtle kick.
- Optional seasonings (choose your favorites!):
* Sweet: ½ teaspoon cinnamon + 1 tablespoon maple syrup (add after roasting)
* Spicy: ½ teaspoon chili powder + ¼ teaspoon cayenne pepper
* Savory: ½ teaspoon garlic powder + ½ teaspoon onion powder + 1 tablespoon nutritional yeast for a cheesy flavor.
* Mediterranean: ½ teaspoon dried oregano + ½ teaspoon smoked paprika
- Baking sheet: Large enough to spread chickpeas in a single layer.
- Parchment paper: Prevents sticking and makes cleanup a breeze.
- Large mixing bowl: For tossing chickpeas with oil and seasonings.
- Colander: For rinsing chickpeas.
- Clean kitchen towel or paper towels: For thoroughly drying the chickpeas.
Prep Time & Cooking Schedule
- Prep time: 10 minutes (primarily for drying the chickpeas).
- Cook time: 20-30 minutes, depending on your oven and desired crispness.
- Resting time: 5 minutes (allows them to continue crisping as they cool).
Plan for around 45 minutes from start to finish. The bulk of the time is hands-off cooking, making this a perfect quick snack or addition to meals.
Step-by-Step Instructions
1. Preheat Oven & Prep Chickpeas: Preheat your oven to 400°F (200°C). Line a large baking sheet with parchment paper. Drain and rinse your can of chickpeas thoroughly under cold water. This removes the aquafaba (chickpea liquid) which can hinder crispiness.
2. Dry, Dry, Dry! This is the single most important step for achieving truly crispy chickpeas. Spread the rinsed chickpeas on a clean kitchen towel or several layers of paper towels. Gently roll and pat them dry, ensuring there’s no visible moisture. You can even let them air dry for 10-15 minutes for extra assurance.
3. Season & Toss: Transfer the very dry chickpeas to a large mixing bowl. Drizzle with olive oil and toss until evenly coated. Add your salt, pepper, and any desired optional seasonings. Toss again to ensure every chickpea is well-seasoned. For truly flavorful Crispy Chickpeas (Roasted), don’t be shy with your spice blend!
4. Roast to Perfection: Spread the seasoned chickpeas in a single layer on the prepared baking sheet. Avoid overcrowding, as this will steam them instead of roast them.
5. Bake: Roast for 20-30 minutes, stirring halfway through, until golden brown and firm to the touch. The exact time will vary based on your oven and how dry your chickpeas were initially. For optimal healthy snacks, keep an eye on them towards the end to prevent burning. They should sound somewhat hollow when tapped.
6. Cool & Enjoy: Remove from the oven and let them cool on the baking sheet for at least 5 minutes. They will continue to crisp up as they cool.
Nutritional Benefits & Advantages
Chickpeas are a nutritional powerhouse! They are an excellent source of plant-based protein and dietary fiber, which promotes satiety, aids digestion, and helps regulate blood sugar levels. They also contain vital minerals like iron, folate, and manganese. Opting for homemade roasted chickpeas over processed snacks means you’re avoiding unhealthy fats, excessive sodium, and artificial ingredients, making them a truly beneficial addition to any diet.
Tips, Variations & Cooking Advice
- For extreme crispiness: After thoroughly drying, you can gently rub the chickpeas between two kitchen towels to remove some of the outer skins. This step is optional but can contribute to a more uniform crunch.
Flavor Boost Post-Roast: For certain seasonings like maple syrup, nutritional yeast, or fresh herbs (like rosemary or thyme), it’s best to add them immediately after* roasting while the chickpeas are still warm. This prevents burning and preserves delicate flavors.
- Air Fryer Method: For a quicker option, preheat your air fryer to 375°F (190°C). Cook for 15-20 minutes, shaking the basket every 5 minutes, until golden and crispy.
- Sweet & Savory Combo: Try a pinch of sugar or a drizzle of good quality balsamic vinegar with savory spices at the end for an intriguing flavor profile.
- Dietary Adaptations: Naturally vegan and gluten-free! Ensure your seasonings are also gluten-free if needed.
Common Mistakes to Avoid
- Wet Chickpeas: The cardinal sin! Any moisture will lead to steamed, not crispy, chickpeas. Dry them thoroughly.
- Overcrowding the Pan: This generates steam, preventing the crisping process. Use two baking sheets if necessary.
- Uneven Roasting: Stirring halfway through ensures all sides get golden and crunchy.
- Impatience: Don’t pull them out too early! They need sufficient time to become truly crisp. They will firm up more as they cool.
- Skipping the Oil: A little oil is essential for helping the seasonings adhere and for achieving that desirable golden-brown exterior.
Storage & Meal Prep Tips
Store cooled Crispy Chickpeas (Roasted) in an airtight container at room temperature for up to 3-4 days. To maintain crispness, avoid refrigerating them, as moisture will make them soft. If they lose some crunch, you can re-crisp them in a preheated oven at 375°F (190°C) for 5-10 minutes. They’re excellent for meal prep as a portable snack, salad topping, or soup garnish.
Conclusion
Mastering the art of making Crispy Chickpeas (Roasted) is a game-changer for anyone seeking delicious and nutritious healthy snacks. By following these simple yet crucial steps, you can create a versatile, flavor-packed treat that satisfies cravings without compromising your health goals. So go ahead, experiment with your favorite seasonings, and elevate your snacking experience. We encourage you to try this recipe today and share your crunchy creations with us!
FAQs
Q1: Why aren’t my chickpeas getting crispy?
A1: The most common reasons are not drying them thoroughly enough before roasting, or overcrowding the baking sheet, which causes them to steam instead of roast.
Q2: Can I use different types of beans?
A2: While chickpeas work best for this method due to their texture, you can experiment with cannellini beans or black beans, though the crispness level might vary.
Q3: How can I make them spicier?
A3: Add more cayenne pepper, a pinch of red pepper flakes, or a dash of hot sauce (added after roasting) to your seasoning blend.
Q4: Can I freeze roasted chickpeas?
A4: Freezing is not recommended as it will cause them to lose their crisp texture and become mushy upon thawing. They are best enjoyed fresh or stored at room temperature.
Q5: What are some creative ways to use crispy chickpeas?
A5: Beyond snacking, they’re fantastic on salads, sprinkled into soups, added to grain bowls for extra protein and crunch, or even as a topping for yogurt and eggs (savory varieties).