The Ultimate Guide to Crafting Perfect Oatmeal Raisin Cookies at Home
Ever wonder what makes a truly exceptional Oatmeal Raisin Cookies? Is it the chewy texture, the warm spices, or the burst of sweet raisins? We’re diving deep into the art of creating these nostalgic treats right in your own kitchen. There’s something uniquely satisfying about baking homemade goods, and mastering this classic means you’ll have a delightful dessert ready for any occasion. Forget store-bought imitations; preparing these at home ensures you control every ingredient, resulting in a healthier, fresher, and undeniably more delicious treat that will have everyone asking for your secret cookie recipes.
Ingredients & Kitchen Tools
To embark on your baking adventure, gather these essential items:
- Unsalted Butter (1 cup, softened): Provides richness and tenderness. Unsalted allows you to control the total sodium content.
- Granulated Sugar (½ cup): Adds sweetness and contributes to browning.
- Brown Sugar (1 cup, packed): Imparts moisture and a deeper, caramel-like flavor. Packed ensures accurate measurement.
- Eggs (2 large): Act as a binder, adding structure and moisture. Room temperature eggs emulsify better.
- Vanilla Extract (2 teaspoons): Enhances overall flavor. Use pure vanilla for best results.
- All-Purpose Flour (1½ cups): The primary dry ingredient, providing structure.
- Rolled Oats (3 cups): The star of our cookies, offering a chewy texture and nutty flavor. Also known as old-fashioned oats. Do not use instant oats.
- Baking Soda (1 teaspoon): A leavening agent that helps the cookies spread and become tender.
- Cinnamon (1 teaspoon): Adds warmth and classic spice notes that complement the oats and raisins.
- Salt (½ teaspoon): Balances sweetness and enhances other flavors.
- Raisins (1½ cups): The sweet, chewy counterpart to the oats. You can opt for golden raisins for a milder flavor.
Kitchen Tools:
- Large Mixing Bowls (2): For dry and wet ingredients.
- Electric Mixer (stand or hand-held): For creaming butter and sugars, ensuring a smooth batter.
- Rubber Spatula: For scraping down bowls and folding ingredients.
- Baking Sheets: Non-stick or lined with parchment paper for easy release and even baking.
- Parchment Paper or Silicone Mats: Prevents sticking and makes cleanup a breeze.
- Cookie Scoop (1.5-2 tablespoon size): Ensures uniform cookie size for even baking.
- Wire Rack: For cooling baked cookies.
Prep Time & Cooking Schedule
- Prep time: 20 minutes
- Chilling time: 30 minutes (optional, but recommended for thicker cookies)
- Cook time: 10-12 minutes per batch
- Total time: Approximately 1 hour (plus chilling)
Allowing the dough to chill for at least 30 minutes solidifies the butter, which prevents the cookies from spreading too much during baking, resulting in a chewier, more substantial cookie. Plan your baking session accordingly, keeping in mind that you’ll likely bake in batches.
Step-by-Step Instructions
1. Preheat & Prepare: Preheat your oven to 350°F (175°C). Line two baking sheets with parchment paper or silicone baking mats. This is crucial for preventing sticking and ensuring even heat distribution.
2. Combine Dry Ingredients: In a medium bowl, whisk together the flour, baking soda, cinnamon, and salt. Set aside. This ensures all dry ingredients are evenly distributed.
3. Cream Butter and Sugars: In a large mixing bowl, using an electric mixer, cream together the softened butter, granulated sugar, and brown sugar on medium speed until light and fluffy, about 2-3 minutes. Scrape down the sides of the bowl as needed to ensure everything is well combined.
4. Add Wet Ingredients: Beat in the eggs one at a time, ensuring each is fully incorporated before adding the next. Stir in the vanilla extract. The mixture might look slightly curdled at this point, which is normal.
5. Gradually Add Dry to Wet: Slowly add the dry ingredient mixture to the wet ingredients, mixing on low speed until just combined. Be careful not to overmix, as this can lead to tough cookies.
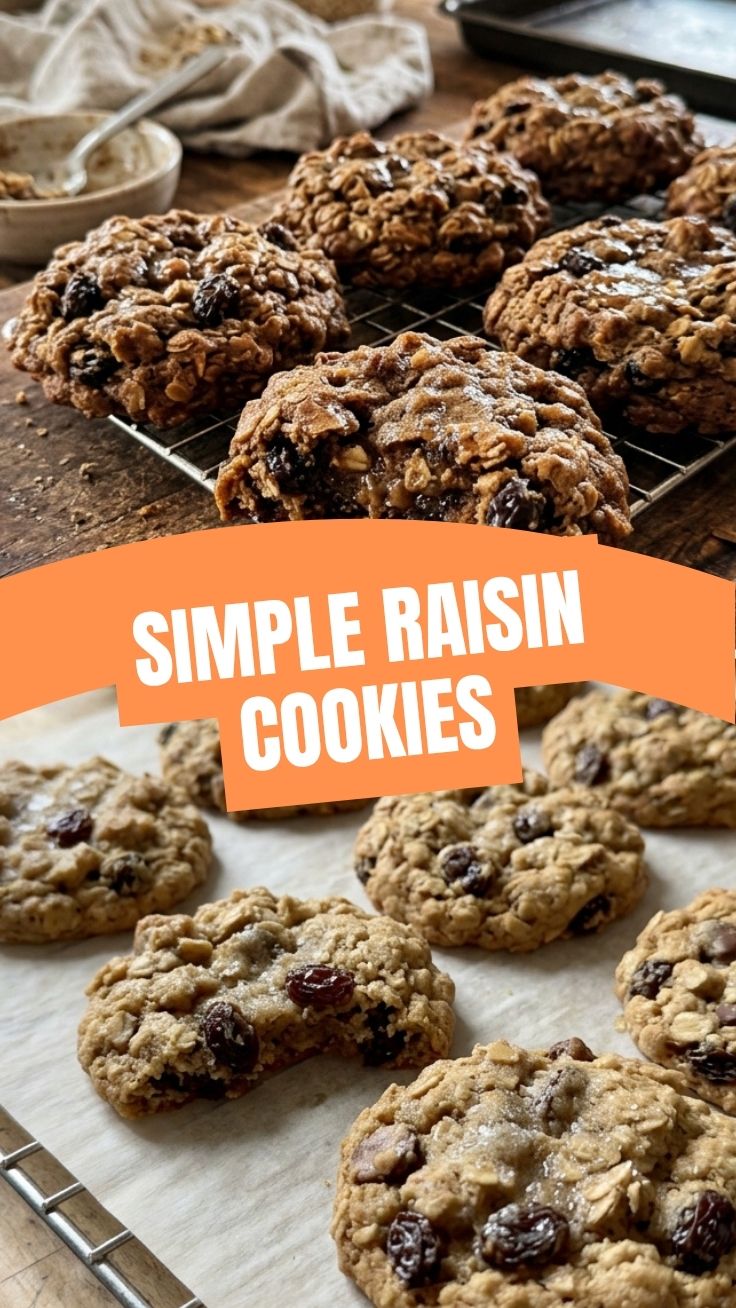
6. Fold in Oats and Raisins: Remove the bowl from the mixer and, using a rubber spatula, gently fold in the rolled oats and raisins until evenly distributed. This tender Oatmeal Raisin Cookies dough is now ready for shaping.
7. Scoop and Bake: Drop rounded tablespoons of dough (or use a cookie scoop) onto the prepared baking sheets, leaving about 2 inches between each cookie. For the best cookie recipes results, bake one sheet at a time in the preheated oven for 10-12 minutes, or until the edges are golden brown and the centers are set but still slightly soft.
8. Cool: Let the cookies cool on the baking sheet for 2-3 minutes before transferring them to a wire rack to cool completely. This allows them to set and prevents them from breaking.
Nutritional Benefits & Advantages
Oatmeal raisin cookies, particularly when made with wholesome ingredients, offer more than just a delightful taste. Rolled oats are an excellent source of dietary fiber, especially soluble fiber, which can help lower cholesterol levels and promote digestive health. Raisins provide natural sweetness, antioxidants, and essential minerals like iron and potassium. While they contain sugar, homemade versions allow you to control the amount, making them a more nutritious option compared to many commercially produced sweets.
Tips Variations & Cooking Advice
- Spice It Up: Add a pinch of nutmeg or allspice for a more complex flavor profile. A touch of ground ginger can also be wonderful.
- Nutty Addition: Stir in ½ cup of chopped walnuts or pecans along with the raisins for added crunch and flavor.
- Chocolate Lovers: Swap half of the raisins for chocolate chips (milk, dark, or white) for a different take on the classic.
- Gluten-Free Option: Substitute all-purpose flour with a 1:1 gluten-free baking flour blend that contains xanthan gum. Ensure your oats are certified gluten-free.
- Chewier vs. Crispier: For chewier cookies, slightly underbake them. For crispier cookies, bake a minute or two longer and ensure they fully cool on a wire rack.
- Soak Your Raisins: For extra plump and juicy raisins, soak them in warm water or rum for 10-15 minutes before draining and adding to the dough.
Common Mistakes to Avoid
- Overmixing the Dough: Overmixing develops the gluten in the flour, leading to tough, cake-like cookies. Mix until just combined.
- Using Hot Butter: If your butter is too warm or melted, your cookies will spread excessively. Ensure butter is softened but still cool to the touch.
- Not Chilling the Dough: While optional, chilling prevents excessive spreading and results in richer flavor and a chewier texture.
- Baking on Greased Sheets: Unless specified, using parchment paper or silicone mats is preferable to greasing, which can sometimes cause over-spreading.
- Overbaking: This is the quickest way to end up with dry, hard cookies. Pull them from the oven when the edges are golden and the centers still look slightly soft. They will continue to set as they cool.
Storage & Meal Prep Tips
Store baked Oatmeal Raisin Cookies in an airtight container at room temperature for up to 3-5 days. For longer storage, freeze cooled cookies in a single layer on a baking sheet until solid, then transfer to a freezer-safe bag or container for up to 3 months. Thaw at room temperature or gently reheat in a microwave for a few seconds. You can also prepare the dough ahead of time and refrigerate it for up to 3 days or freeze it in pre-portioned balls for up to 1 month. When ready to bake, place frozen dough balls directly on baking sheets and bake, adding a few extra minutes to the cooking time.
Conclusion
Baking your own Oatmeal Raisin Cookies is a rewarding experience that yields a comforting, wholesome treat. By following these detailed steps and tips, you’re not just baking; you’re crafting a little piece of home. We encourage you to try this recipe and discover the joy of homemade goodness. Share your creations and explore more delightful cookie recipes on our blog! The aroma alone is enough to bring a smile to anyone’s face.
FAQs
Q1: Can I use instant oats instead of rolled oats?
A: No, it’s not recommended. Instant oats are more processed and will result in a different texture, often leading to a mushier cookie rather than the desired chewiness. Stick to old-fashioned rolled oats.
Q2: My cookies spread too much. What went wrong?
A: This usually happens if your butter was too soft or melted, or if your dough wasn’t chilled. Ensure your butter is softened but still cool, and consider chilling the dough for at least 30 minutes before baking.
Q3: How do I make my cookies chewier?
A: For chewier cookies, slightly underbake them. The centers should still look slightly soft when you remove them from the oven. Using brown sugar also contributes significantly to chewiness.
Q4: Can I freeze the cookie dough?
A: Absolutely! Scoop the dough into balls and freeze them on a baking sheet until solid. Then transfer them to a freezer-safe bag. You can bake them from frozen, adding a few extra minutes to the baking time.
Q5: What’s the best way to ensure my raisins are plump and don’t dry out during baking?
A: Soaking your raisins in warm water, juice, or even a bit of rum for 10-15 minutes before adding them to the dough can help them stay plump and juicy during baking. Just remember to drain them thoroughly before adding.