Beyond the Box: Crafting Irresistible Homemade Brownies from Scratch
Ever found yourself craving that perfect fudgy, intensely chocolatey bite, only to be disappointed by store-bought options? There’s a magic to homemade Brownies that simply can’t be replicated, a depth of flavor and a gratifying texture that makes every moment of preparation worthwhile. Today, we’re diving deep into the art of creating truly exceptional Chocolate brownies right in your own kitchen. Forget dry, crumbly squares; we’re talking about rich, decadent treats that will have everyone asking for your secret. Preparing these indulgent delights at home offers unparalleled control over ingredients, allowing you to tailor the sweetness and intensity to your exact preference. Let’s unlock the secrets to baking the most delicious Brownies you’ve ever tasted.
Ingredients & Kitchen Tools
Crafting the perfect batch of Chocolate brownies requires a few key items and high-quality ingredients.
- Unsalted Butter (1 cup / 226g): Essential for moisture and rich flavor. Unsalted allows you to control the salt content.
- Granulated Sugar (2 cups / 400g): Provides sweetness and contributes to a crisp top crust.
- Large Eggs (4): Binds the ingredients, provides structure, and contributes to fudginess.
- Vanilla Extract (2 teaspoons): Enhances the chocolate flavor. Use pure vanilla for best results.
- All-Purpose Flour (1 cup / 125g): Structure for the brownies; avoid overmixing.
- Unsweetened Cocoa Powder (¾ cup / 75g): The star of our Chocolate brownies. Use a good quality Dutch-processed cocoa for a darker, richer flavor.
- Salt (½ teaspoon): Balances sweetness and enhances flavor.
- Baking Powder (¼ teaspoon): Provides a slight lift, preventing overly dense brownies.
- Chocolate Chips or Chunks (1 cup / 170g): Optional, but highly recommended for an extra burst of chocolate. Use semi-sweet or dark chocolate.
- Optional Topping: Flaky sea salt (a pinch for sprinkling).
Kitchen Tools:
- 9×13 inch Baking Pan: For even baking.
- Parchment Paper: Prevents sticking and makes removal easy.
- Large Mixing Bowls (2): For wet and dry ingredients.
- Whisk: For combining dry ingredients.
- Rubber Spatula: For folding and scraping.
- Saucepan (small): For melting butter.
- Measuring Cups & Spoons: For accurate ingredient portions.
Prep Time & Cooking Schedule
- Prep Time: 15 minutes
- Cook Time: 25-30 minutes
- Cooling Time: 30-60 minutes (essential for fudgy texture)
To plan your baking session, allocate roughly an hour and a half from start to delicious finish. While the active preparation is quick, the cooling time is crucial for the brownies to set properly, ensuring that satisfying fudgy interior. Resist the urge to cut into them too early!
Step-by-Step Instructions
1. Preheat & Prep: Preheat your oven to 350°F (175°C). Grease and line a 9×13 inch baking pan with parchment paper, leaving an overhang on the sides for easy lifting.
2. Melt Butter: In a small saucepan over low heat, melt the unsalted butter. Remove from heat once melted.
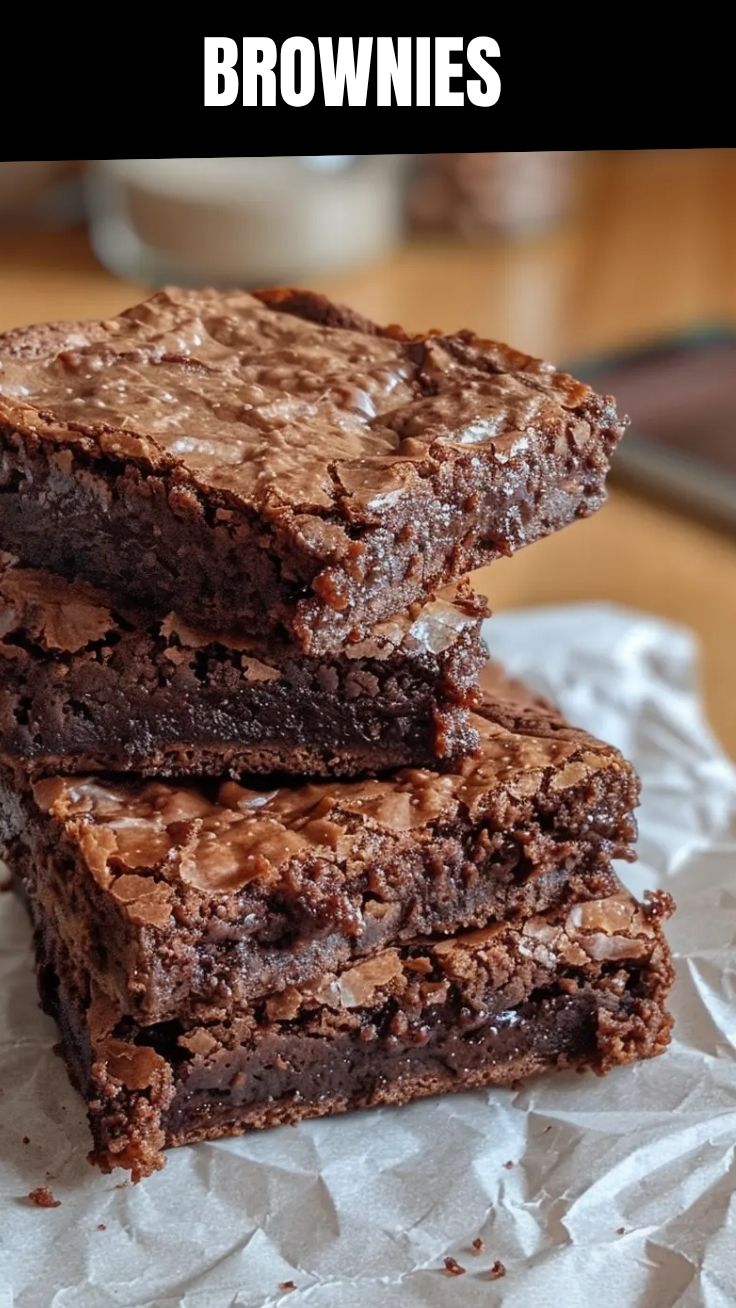
3. Combine Wet Ingredients: In a large bowl, whisk together the melted butter and granulated sugar until well combined. Beat in the eggs one at a time, incorporating each fully before adding the next. Stir in the vanilla extract. The mixture should become glossy. This step is crucial for developing the characteristic crackly top on your Brownies.
4. Combine Dry Ingredients: In a separate medium bowl, whisk together the all-purpose flour, unsweetened cocoa powder, salt, and baking powder. Ensure there are no lumps of cocoa.
5. Combine Wet and Dry: Gradually add the dry ingredients to the wet ingredients, mixing with a rubber spatula until just combined. Do not overmix; overmixing can develop gluten, leading to tougher brownies. Fold in the optional chocolate chips or chunks now. This careful combination leads to the perfect consistency for our delicious Chocolate brownies.
6. Bake: Pour the batter into the prepared baking pan, spreading it evenly.
7. Bake: Bake for 25-30 minutes, or until a toothpick inserted into the center comes out with moist crumbs, but not wet batter. The edges should be set, and the top may have a slight crackle. Avoid overbaking, as this can lead to dry brownies.
8. Cool: Let the Brownies cool completely in the pan on a wire rack before lifting them out using the parchment paper overhang and cutting into squares. This cooling process is vital for achieving that desirable fudgy texture.
Nutritional Benefits & Advantages
While Brownies are an indulgence, homemade versions offer some advantages. When made with high-quality dark cocoa, you benefit from antioxidants found in cacao. Choosing recipes with fewer processed ingredients and controlling sugar levels can make a difference. Plus, the satisfaction of creating them yourself is immeasurable!
Tips, Variations & Cooking Advice
- Fudgier Brownies: If you prefer even fudgier brownies, slightly underbake them. The toothpick should still have some moist batter clinging to it.
- Cakey Brownies: For a more cake-like texture, increase the flour by ¼ cup and add an additional ¼ teaspoon of baking powder.
- Flavor Variations:
* Mint Chocolate: Add ½ teaspoon peppermint extract with the vanilla.
* Espresso: Add 1-2 teaspoons instant espresso powder to the dry ingredients to deepen the chocolate flavor.
* Nutty Brownies: Fold in ½ cup chopped walnuts or pecans with the chocolate chips.
- Dietary Adaptations:
* Gluten-Free: Substitute the all-purpose flour with a 1:1 gluten-free baking flour blend containing xanthan gum.
* Dairy-Free: Use a good quality plant-based butter alternative and dairy-free chocolate chips.
Common Mistakes to Avoid
- Overmixing: Overmixing the batter develops gluten, resulting in tough, dry brownies. Mix only until just combined.
- Overbaking: The most common culprit for dry brownies. Keep a close eye on them; remember, they continue to cook slightly as they cool. Err on the side of underbaking for fudgier results.
- Cutting Warm Brownies: This leads to a gooey mess and less defined squares. Patience is key; allow them to cool completely.
- Using Low-Quality Chocolate/Cocoa: The quality of your chocolate and cocoa powder significantly impacts the final taste. Invest in good ingredients.
Storage & Meal Prep Tips
Once cooled, store your Brownies in an airtight container at room temperature for up to 3-4 days. For longer storage, they can be refrigerated for up to a week. To freeze, wrap individual brownies tightly in plastic wrap, then place them in a freezer-safe bag or container for up to 3 months. Thaw at room temperature for a quick treat. These are fantastic for meal prepping desserts or having a convenient indulgence ready to go!
Conclusion
There you have it – the ultimate guide to creating unbelievably delicious homemade Brownies. By following these steps and tips, you’re not just baking; you’re crafting an experience. The rich, fudgy texture and intense flavor of these homemade Chocolate brownies will undoubtedly become a household favorite. Don’t be afraid to experiment with variations and make them your own. Try this recipe this weekend, and share your results in the comments below! What’s your favorite brownie topping?
FAQs
Q1: How can I achieve that crackly top on my brownies?
A1: The crackly top is often achieved by dissolving the sugar well in the melted butter and eggs, creating a glossy mixture. Avoid overmixing the flour once added.
Q2: My brownies are dry. What went wrong?
A2: The most common culprit for dry brownies is overbaking. Keep a close eye on them and remove them from the oven when a toothpick comes out with moist crumbs, not wet batter, but definitely not completely clean.
Q3: Can I use oil instead of butter?
A3: While butter provides a richer flavor and fudgier texture, you can substitute oil (like vegetable or canola oil) for a slightly chewier brownie. The amount would be similar to the butter.
Q4: How do I make them extra fudgy?
A4: To make them extra fudgy, opt for good quality dark chocolate or cocoa, slightly underbake them, and ensure you let them cool completely before cutting. Using a higher fat content (like butter or even an extra egg yolk) can also help.
Q5: Can I add nuts or other mix-ins to the batter?
A5: Absolutely! Chopped walnuts, pecans, different types of chocolate chips, or even chopped candies like M&Ms or Oreos can be folded into the batter during the final mixing step (Step 5).