Unlocking the Secret to Perfectly Crispy Onion Rings at Home
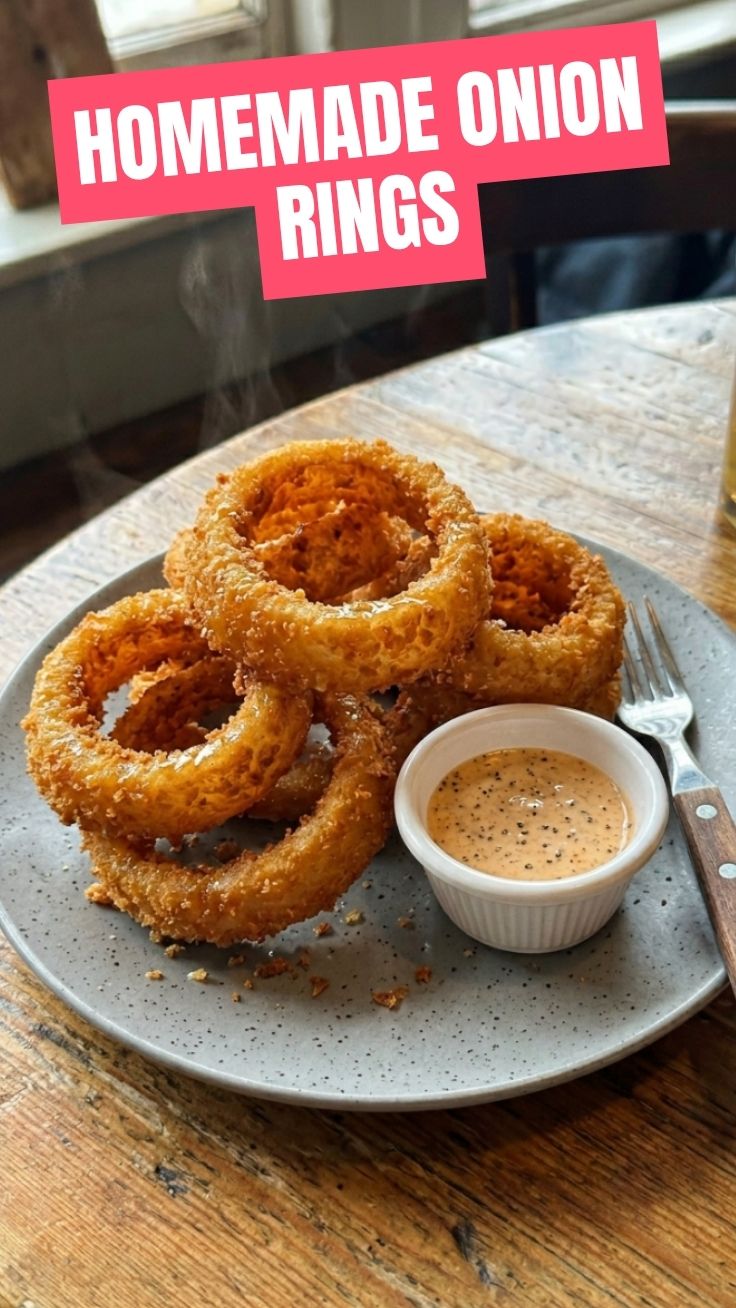
Ever wondered how restaurants achieve that ethereal crunch and irresistible flavor in their onion rings? Forget soggy, store-bought imposters! Today, we’re diving deep into the art of crafting extraordinary Onion Rings (Crispy) right in your own kitchen. This isn’t just about frying; it’s about mastering a technique that elevates a simple onion into a golden, savory delight. And for those seeking a healthier twist, we’ll even explore the wonders of Air Fryer Onion Rings, ensuring everyone can enjoy this beloved snack. Preparing these at home guarantees fresh ingredients, customized seasoning, and a truly superior taste experience that store-bought versions simply can’t match.
Ingredients & Kitchen Tools
- Large Sweet Onions (2-3): Vidalias or Walla Wallas are ideal for their mild flavor and thick rings.
- All-Purpose Flour (1.5 cups): Forms the base of our crispy coating.
- Cornstarch (0.5 cup): The secret weapon for extra crispiness and a lighter texture.
- Baking Powder (1 tsp): Helps create a puffy, airy batter.
- Salt (1 tsp): Enhances flavor. Adjust to taste.
- Black Pepper (0.5 tsp): Adds a subtle kick.
- Paprika (1 tsp): For color and a hint of smoky sweetness.
- Garlic Powder (0.5 tsp): Boosts savory notes.
- Cold Seltzer Water or Club Soda (1.5 cups): The effervescence creates a lighter, airier batter. Cold is crucial!
- Large Eggs (2): Helps the batter adhere to the onions.
- Vegetable Oil or Canola Oil (for frying): Choose an oil with a high smoke point.
- Kitchen Tools:
* Large Mixing Bowls (2-3): For wet and dry ingredients.
* Whisk: For combining ingredients smoothly.
* Sharp Knife: For slicing onions evenly.
* Cutting Board: A stable surface for preparation.
* Large Cast Iron Skillet or Dutch Oven: Best for even heat distribution during frying.
* Spider Skimmer or Slotted Spoon: For safely removing fried rings.
* Wire Rack with Paper Towels: For draining excess oil.
* Tongs: For handling onions.
* Thermometer (optional but recommended): Oil temperature is key for perfect crispness.
* Air Fryer (for Air Fryer Onion Rings variation): Essential for the healthier alternative.
Prep Time & Cooking Schedule
- Prep Time: 20-25 minutes
* This includes slicing the onions, preparing the batter, and setting up your frying station.
- Cook Time: 15-20 minutes (for a batch of
Onion Rings (Crispy))
* Frying typically takes 2-3 minutes per batch.
- Resting Time: 5 minutes
* Allow freshly fried onion rings to drain and cool slightly before serving.
Planning ahead is key to a smooth cooking process. Have all your ingredients measured and ready (mise en place) before you begin. For the best results, serve these immediately after frying to maximize their crispiness.
Step-by-Step Instructions
1. Prepare the Onions: Peel your sweet onions and slice them into 1/4 to 1/2-inch thick rings. Carefully separate the rings. For extra crispiness, some chefs recommend soaking the rings in ice water for 15-30 minutes, then patting them thoroughly dry to remove excess moisture.
2. Make the Dry Mix: In a large bowl, whisk together the all-purpose flour, cornstarch, baking powder, salt, black pepper, paprika, and garlic powder. Ensure there are no lumps.
3. Create the Wet Batter: In a separate medium bowl, whisk the eggs lightly. Gradually add the cold seltzer water or club soda, mixing until just combined. Overmixing can deflate the carbonation, which is crucial for a light batter.
4. Heat the Oil: Pour 2-3 inches of vegetable or canola oil into a deep skillet or Dutch oven. Heat over medium-high heat to 350-375°F (175-190°C). If you don’t have a thermometer, you can test the oil by dropping a tiny amount of batter in; it should sizzle and float to the surface within a few seconds.
5. Bathe and Fry: Dip an onion ring into the dry flour mixture, shaking off any excess. Then, fully submerge it into the wet batter, ensuring it’s evenly coated. Let any excess drip off. Carefully place the battered onion rings, a few at a time, into the hot oil. Do not overcrowd the pan, as this will drop the oil temperature and make them greasy. Fry for 2-3 minutes per side, or until golden brown and perfectly crisp. This method is what gives you truly excellent Onion Rings (Crispy).
6. Drain and Season: Using a spider skimmer or slotted spoon, remove the golden-brown rings from the oil and transfer them to a wire rack lined with paper towels to drain excess oil. Immediately sprinkle with a pinch of extra salt while they’re hot.
7. For Air Fryer Onion Rings: Follow steps 1-3. Instead of deep frying, lightly coat the battered onion rings with a cooking spray (olive oil or avocado spray works well). Place them in a single layer in your air fryer basket, ensuring not to overcrowd. Air fry at 375°F (190°C) for 12-15 minutes, flipping halfway through, until golden and crisp. You might need to adjust timing based on your specific air fryer model.
Nutritional Benefits & Advantages
Onions themselves are packed with beneficial compounds. They are a good source of Vitamin C, B vitamins, and potassium, and they contain antioxidants and sulfur compounds that have been linked to various health benefits, including reducing inflammation and boosting cardiovascular health. While deep-fried versions should be enjoyed in moderation, the Air Fryer Onion Rings offer a significantly lower-fat alternative without sacrificing much of the satisfying crunch, making them a healthier indulgence.
Tips, Variations & Cooking Advice
- Spice It Up: Add a pinch of cayenne pepper or chili powder to the dry mix for a spicy kick.
- Cheesy Delight: Mix a tablespoon of grated Parmesan cheese into the dry mix for a savory, cheesy flavor.
- Beer Batter: Substitute half of the seltzer water with a light lager for a classic beer-battered taste.
- Gluten-Free: Use an all-purpose gluten-free flour blend in place of regular flour. Ensure your cornstarch is also certified gluten-free.
- Dairy-Free: This recipe is naturally dairy-free if using water or seltzer.
- Adjust Seasoning: Taste your batter before adding the onions. You can always adjust salt and pepper.
Common Mistakes to Avoid
- Overcrowding the Pan: This is the most common mistake. It drops the oil temperature, leading to greasy, soggy onion rings. Fry in small batches.
- Insufficiently Hot Oil: If the oil isn’t hot enough, the batter will absorb too much oil and become greasy.
- Not Drying Onions: Excess moisture on the onions can lead to a less crispy batter and splattering oil.
- Overmixing the Batter: For the wet batter, mix just until combined. Overmixing develops the gluten in the flour, resulting in a tougher coating instead of a light, airy one.
- Skipping the Wire Rack: Don’t place freshly fried rings directly on paper towels for too long; they will steam and become soft. The wire rack allows air circulation, maintaining crispness.
Storage & Meal Prep Tips
For optimal crispness, Onion Rings (Crispy) are best enjoyed immediately after frying. If you have leftovers, store them in an airtight container in the refrigerator for up to 2-3 days. To reheat, spread them in a single layer on a baking sheet and bake at 350°F (175°C) for 5-7 minutes, or until heated through and re-crisped. For Air Fryer Onion Rings, reheat them in the air fryer at 350°F (175°C) for 3-5 minutes, shaking the basket occasionally. Freezing is not recommended as it significantly degrades their texture.
Conclusion
There you have it – the definitive guide to creating irresistibly crunchy Onion Rings (Crispy) right in your own home. Whether you opt for the classic deep-fried method or embrace the healthier convenience of Air Fryer Onion Rings, the satisfaction of biting into that perfectly seasoned, golden exterior is unparalleled. We encourage you to give this recipe a try and rediscover the joy of homemade goodness. Share your culinary triumphs in the comments below – happy frying!
FAQs
Q1: Can I use different types of onions?
A1: While sweet onions like Vidalias or Walla Wallas are recommended for their mildness, you can use yellow onions. However, they might have a sharper flavor.
Q2: How do I prevent the batter from falling off the onions?
A2: Ensure your onion rings are completely dry before dredging in flour, and that your batter is of the right consistency – not too thick (which makes it heavy) or too thin (which won’t adhere).
Q3: What’s the best way to get a really crispy air-fried result?
A3: Don’t overcrowd the air fryer basket; cook in batches. A light spritz of oil spray also helps achieve that golden, crispy exterior.
Q4: Can I make the batter ahead of time?
A4: While you can mix the dry ingredients ahead of time, it’s best to prepare the wet batter just before frying to retain the fizziness from the seltzer water, which contributes to crispiness.