“`html
(Approx. 900 words)
Savor the Flavor: Your Ultimate Guide to Perfect Stuffed Bell Peppers
Are you looking for a dish that’s both vibrant and satisfying, packing a punch of flavor and nutrition into every bite? Look no further than Stuffed Bell Peppers! Preparing this classic comfort food at home isn’t just about cooking; it’s about crafting a personalized culinary experience. It allows you to control the quality of ingredients, experiment with flavors, and impress your taste buds with a dish that’s far superior to any takeout option. From the sweet crunch of fresh bell peppers to the hearty, savory filling, this recipe promises a delightful journey for your palate. Get ready to transform simple ingredients into an extraordinary meal.
Ingredients & Kitchen Tools
- Bell Peppers: 4 large, any color (red, yellow, orange for sweetness; green for a slight bitterness). Pick firm, unblemished peppers.
- Ground Meat: 1 lb (450g) lean ground beef, turkey, or a plant-based alternative. The leaner the better for less grease.
- Cooked Rice: 1 cup (180g) cooked white or brown rice. Leftover rice works perfectly!
- Canned Tomatoes: 1 (14.5 oz / 411g) can diced tomatoes, undrained. Adds moisture and tang.
- Onion: 1 medium, chopped finely. Provides aromatic depth.
- Garlic: 2 cloves, minced. Essential for robust flavor.
- Cheese: 1 cup (113g) shredded mozzarella or cheddar, plus extra for topping. Melty goodness!
- Herbs & Spices: 1 tsp dried oregano, 1/2 tsp dried basil, salt, and black pepper to taste. Classic Italian flavors.
- Olive Oil: 1 tbsp. For sautéing.
- Broth (optional): 1/2 cup chicken or vegetable broth. Adds extra moisture if needed.
Kitchen Tools:
- Large Skillet: For browning meat and sautéing.
- Baking Dish: 9×13 inch (23×33 cm). To hold the stuffed peppers.
- Large Mixing Bowl: For combining the filling.
- Sharp Knife & Cutting Board: For prep.
- Measuring Cups & Spoons: For accurate ingredient amounts.
Prep Time & Cooking Schedule
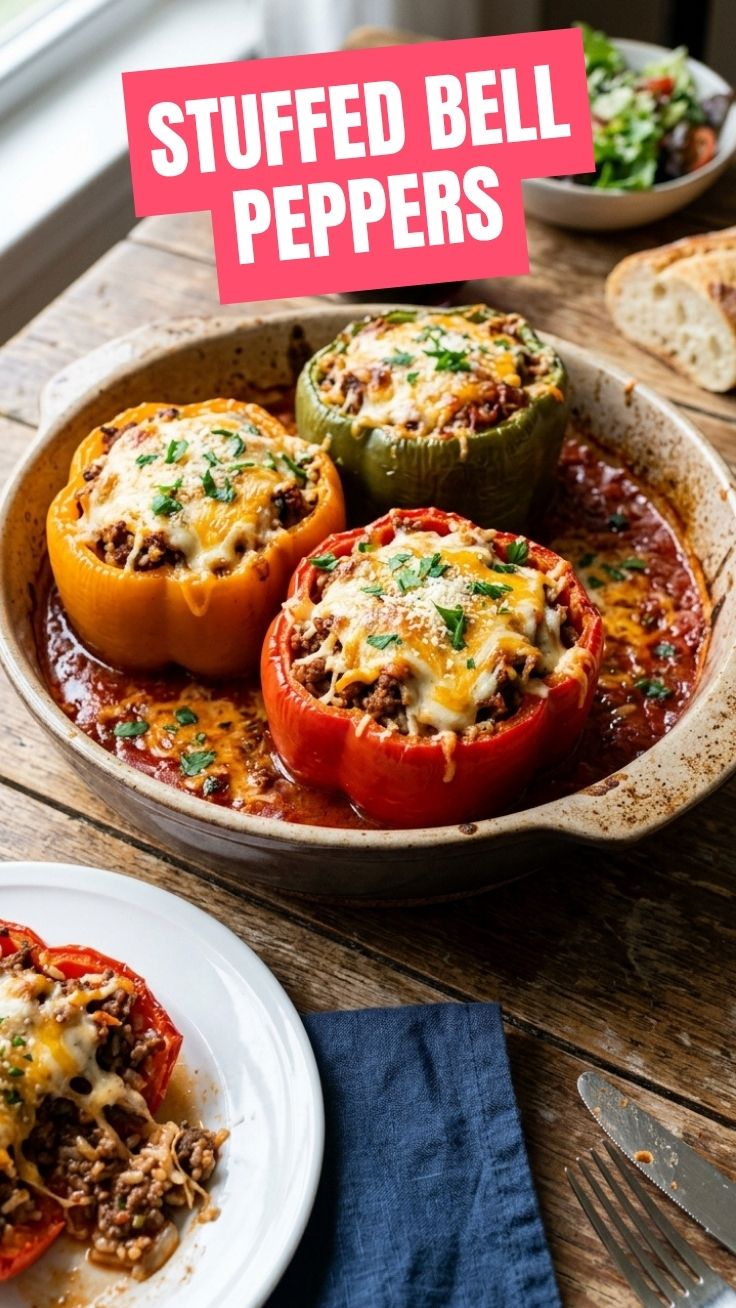
- Prep Time: 25 minutes
- Cook Time: 40-50 minutes
- Resting Time: 5-10 minutes (after baking)
This recipe is perfect for a weeknight meal or a casual gathering. Most of the prep can be done ahead of time, like chopping the vegetables or cooking the rice, making the actual assembly and baking a breeze. Plan about an hour and a half from start to finish, allowing ample time for the delicious aromas to fill your kitchen.
Step-by-Step Instructions
- Prepare the Bell Peppers: Preheat your oven to 375°F (190°C). Wash the bell peppers thoroughly. Carefully slice them in half lengthwise and remove the seeds and membranes. For stability, you can slice a thin piece off the bottom of each pepper half if needed, ensuring they sit flat in the baking dish.
- Cook the Filling Base: Heat olive oil in a large skillet over medium heat. Add the chopped onion and sauté until softened, about 5-7 minutes. Stir in the minced garlic and cook for another minute until fragrant.
- Brown the Meat: Add your chosen ground meat to the skillet. Break it up with a spoon and cook until browned, about 8-10 minutes. Drain any excess fat.
- Combine the Filling: Transfer the cooked meat and vegetable mixture to a large mixing bowl. Add the cooked rice, diced tomatoes (undrained), dried oregano, and dried basil. Stir well to combine. Season generously with salt and pepper to taste. Fold in 1 cup of shredded cheese. This hearty mixture is what truly makes a marvelous batch of Stuffed Bell Peppers.
- Stuff the Peppers: Spoon the filling generously into each bell pepper half. Arrange the stuffed peppers in your baking dish. If the dish seems dry, you can pour 1/2 cup of broth around the bottom to prevent sticking and add moisture.
- Bake to Perfection: Cover the baking dish with foil and bake for 30 minutes. This helps steam the peppers, making them tender.
- Final Bake: Remove the foil, sprinkle the remaining cheese over the top of the peppers, and bake uncovered for another 10-15 minutes, or until the peppers are tender and the cheese is melted and bubbly.
- Rest and Serve: Let the peppers rest for 5-10 minutes before serving. This allows the filling to set and prevents burns.
Nutritional Benefits & Advantages
This dish is a nutritional powerhouse! Bell peppers are low in calories but high in Vitamin C, Vitamin A, and antioxidants, supporting immune health and skin vitality. Lean ground meat provides essential protein for muscle repair and satiety, while rice offers complex carbohydrates for sustained energy. Depending on your choice of ingredients, this meal can be packed with fiber, essential vitamins, and minerals. Opting for brown rice and a generous amount of vegetables further boosts its health profile.
Tips Variations & Cooking Advice
- Make it Vegetarian/Vegan: Substitute ground meat with lentils, black beans, quinoa, or a plant-based crumble. Use vegan cheese for a fully plant-based option.
- Spice it Up: Add a pinch of red pepper flakes to the filling or a dash of hot sauce before serving for a kick.
- Herb Appeal: Experiment with fresh herbs like parsley, cilantro, or chives added to the filling for a brighter flavor.
- Different Grains: Instead of rice, try couscous, farro, or bulgur wheat in the filling.
- Cheese Variations: Feta, Parmesan, or a spicy Monterey Jack can all be delicious additions.
- Mini Peppers: For appetizers, use mini bell peppers and adjust baking time.
- Alternative Cooking: You can cook these in an Instant Pot or slow cooker; timings will vary.
Common Mistakes to Avoid
- Overfilling: Don’t pack the peppers too tightly, as the filling needs space to cook evenly.
- Undercooked Peppers: Ensure the peppers are tender. If they’re too firm after baking, cover again and bake for a little longer.
- Dry Filling: If your filling seems dry, add a splash of broth, tomato sauce, or even a little water before stuffing the peppers.
- Lack of Seasoning: Taste your filling before stuffing! Adjust salt, pepper, and herbs as needed. It’s harder to fix once baked.
- Not Draining Fat: If using higher-fat ground meat, always drain excess grease to prevent a soggy, oily dish.
Storage & Meal Prep Tips
Leftover Stuffed Bell Peppers store wonderfully! Allow them to cool completely, then transfer to an airtight container. They will last in the refrigerator for up to 3-4 days. For longer storage, flash-freeze individual cooked peppers on a baking sheet, then transfer to a freezer-safe bag or container. They can be frozen for up to 3 months. To reheat, thaw overnight in the fridge (if frozen) and then warm in the oven at 350°F (175°C) until heated through, or microwave for quicker reheating. Add a splash of water or broth if reheating in the oven to prevent drying out.
Conclusion
Congratulations, you’ve just unlocked the secrets to crafting truly spectacular Stuffed Bell Peppers! This versatile and satisfying dish is not only a feast for the eyes but also a treat for your taste buds, offering a perfect blend of savory goodness encased in tender, sweet bell peppers. We encourage you to try this recipe, experiment with the variations, and make it your own. Share your culinary creations in the comments below – we’d love to hear how it turned out!
FAQs
- Can I prepare the filling ahead of time? Yes, you can prepare the filling up to two days in advance and store it in the refrigerator. Stuff the peppers just before baking.
- What if my peppers aren’t softening? Ensure your oven temperature is accurate and the peppers are covered with foil for at least the first 30 minutes. If still firm, extend covered baking time.
- Can I use raw rice in the filling? You can, but you’ll need to increase the liquid in the filling and the baking time significantly (up to 1.5 hours covered) to allow the rice to cook through. Using pre-cooked rice is simpler and ensures consistent results.
- How do I prevent the peppers from toppling over in the baking dish? Slice a small, thin strip off the bottom of each pepper half (opposite the cut opening) to create a flat base. Arrange them snugly in the baking dish.
- Can I make these dairy-free? Absolutely! Omit the cheese or use your favorite brand of dairy-free shredded cheese. The flavor will still be fantastic.
“`