The Irresistible Aroma: Mastering Homemade Cinnamon Rolls
Who can resist the warm, sweet embrace of a perfectly baked cinnamon roll? That delicate balance of soft, pillowy dough, rich cinnamon-sugar filling, and a luscious glaze is pure comfort food. While store-bought versions can satisfy a craving, there’s an unparalleled joy and satisfaction in creating these delectable treats from scratch. Beyond the incredible flavour, preparing Cinnamon Rolls (Homemade) allows you to control the quality of ingredients, customize the sweetness, and even experiment with unique fillings. This comprehensive guide will walk you through every step of crafting the ultimate Cinnamon Roll Recipe, transforming your kitchen into a haven of intoxicating aromas and irresistible indulgence. Get ready to bake!
Ingredients & Kitchen Tools
Gathering your mise en place is the first step to baking success. Here’s what you’ll need:
For the Dough:
- 1 cup warm whole milk (105-115°F/40-46°C): Activates the yeast; ensure it’s not too hot or cold.
- 2 ¼ teaspoons active dry yeast (one standard packet): The leavening agent for a fluffy dough.
- ¼ cup granulated sugar: Feeds the yeast and adds sweetness to the dough.
- 1 large egg (at room temperature): Adds richness and helps with texture.
- ¼ cup unsalted butter, melted: Contributes to a tender crumb.
- ½ teaspoon salt: Enhances flavour and balances sweetness.
- 3 cups all-purpose flour (plus more for dusting): The main structural component.
For the Filling:
- ½ cup unsalted butter, softened: Spreads easily and adds richness.
- ¾ cup packed light brown sugar: Provides deep, molasses-like sweetness.
- 2 tablespoons ground cinnamon: The star spice!
For the Glaze:
- 1 ½ cups powdered sugar (confectioners’ sugar): Creates a smooth, sweet glaze.
- 2-3 tablespoons whole milk (or heavy cream): Adjusts consistency, cream adds richness.
- ½ teaspoon vanilla extract: Enhances flavour.
Kitchen Tools:
- Large mixing bowl: For dough preparation.
- Measuring cups and spoons: For accurate ingredient quantities.
- Whisk: To combine dry ingredients.
- Rolling pin: To flatten the dough.
- 9×13 inch baking dish: To bake the rolls.
- Plastic wrap: For proofing the dough.
- Pastry brush (optional): To spread melted butter for the filling.
Prep Time & Cooking Schedule
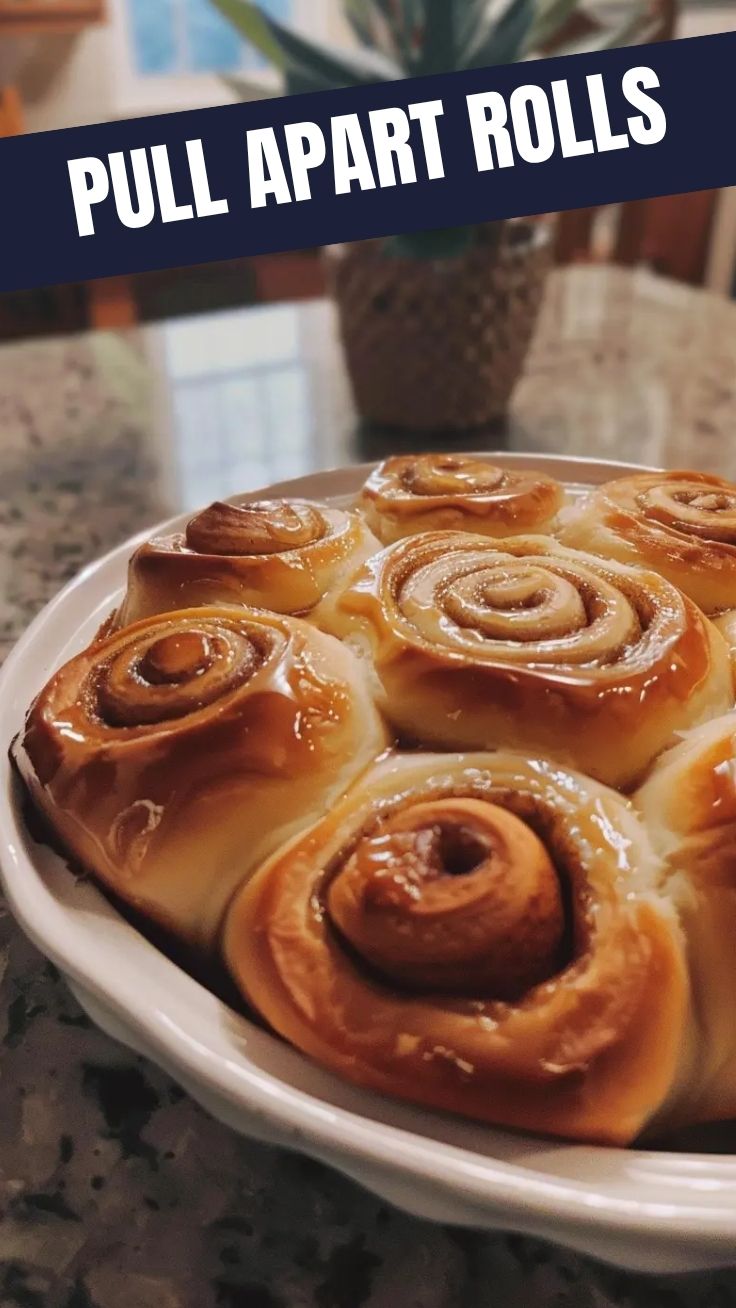
- Prep time: 30 minutes (active)
- First Proofing: 1-1.5 hours
- Assembly: 20 minutes
- Second Proofing: 30-45 minutes
- Bake time: 20-25 minutes
- Cooling/Glazing: 10 minutes
Total Time: Approximately 3-4 hours. This recipe requires patience due to proofing times, but the hands-on active time is manageable, making it a perfect weekend baking project. Plan accordingly to ensure the rolls have ample time to rise and develop their characteristic softness.
Step-by-Step Instructions
1. Activate the Yeast: In a large bowl, combine the warm milk, yeast, and a pinch of granulated sugar. Let it sit for 5-10 minutes until foamy, indicating the yeast is active.
2. Make the Dough: Stir in the remaining granulated sugar, egg, melted butter, and salt into the yeast mixture. Gradually add the flour, one cup at a time, mixing until a shaggy dough forms. Turn the dough out onto a lightly floured surface and knead for 5-7 minutes until smooth and elastic.
3. First Proof: Place the kneaded dough in a lightly oiled bowl, turning once to coat. Cover with plastic wrap and let it rise in a warm place for 1 to 1.5 hours, or until doubled in size. This is crucial for developing the fluffy texture of your Cinnamon Rolls (Homemade).
4. Prepare the Filling: While the dough rises, combine the softened butter, brown sugar, and ground cinnamon in a small bowl until well mixed.
5. Roll and Fill: Once the dough has doubled, gently punch it down. On a lightly floured surface, roll the dough into a large rectangle, approximately 18×12 inches. Spread the cinnamon-sugar filling evenly over the entire surface, leaving a small border on one long edge.
6. Roll and Slice: Tightly roll the dough along the long edge into a log. Using a sharp knife or unflavored dental floss, cut the log into 12 equal slices (about 1.5 inches thick).
7. Second Proof: Arrange the sliced rolls in a greased 9×13 inch baking dish. Cover loosely with plastic wrap and let them rise in a warm place for another 30-45 minutes, or until puffy. This second rise contributes significantly to a tender Cinnamon Roll Recipe.
8. Bake: Preheat your oven to 375°F (190°C). Bake the cinnamon rolls for 20-25 minutes, or until golden brown and cooked through.
9. Make the Glaze: While the rolls cool slightly, whisk together the powdered sugar, milk (or cream), and vanilla extract until smooth.
10. Glaze and Serve: Once the cinnamon rolls are out of the oven, let them cool for about 5-10 minutes before drizzling generously with the prepared glaze. Serve warm and enjoy!
Nutritional Benefits & Advantages
While often considered an indulgence, homemade cinnamon rolls offer some surprising advantages. Crafting them from scratch means you avoid preservatives and artificial ingredients commonly found in store-bought versions. Yeast-leavened doughs can be easier to digest for some. Cinnamon itself is a powerful antioxidant and anti-inflammatory spice known for its potential benefits in blood sugar regulation. Plus, the sheer joy and mental well-being derived from baking and sharing these treats are invaluable!
Tips, Variations & Cooking Advice
- Lemon Zest Glaze: Add 1 teaspoon of lemon zest to the glaze for a bright, tangy counterpoint to the sweetness.
- Nutty Twist: Sprinkle chopped pecans or walnuts over the cinnamon filling before rolling for added texture and flavour.
- Fruit Infusion: For a seasonal twist, add finely diced apples or a thin layer of fruit preserves (like raspberry) over the cinnamon filling.
- Overnight Rolls: Prepare the dough and assemble the rolls up to the second proof. Cover tightly and refrigerate overnight. In the morning, let them come to room temperature for 30-60 minutes before baking as directed.
- Dairy-Free: Substitute unsweetened almond milk for dairy milk and a plant-based butter alternative for a dairy-free version.
Common Mistakes to Avoid
- Using cold ingredients: Ensure milk and eggs are at room temperature for optimal yeast activation and dough elasticity.
- Over-flouring the dough: Too much flour can make the rolls dry and tough. Add just enough to prevent sticking.
- Not enough kneading: Insufficient kneading results in a dense, crumbly texture.
- Overproofing: If the dough proofs too long, it can collapse in the oven or have an off-flavour. Watch for doubling in size.
- Underbaking: Raw dough in the center is no fun! Ensure rolls are golden brown and cooked through.
Storage & Meal Prep Tips
- Storage: Store leftover cinnamon rolls in an airtight container at room temperature for up to 2-3 days.
- Refrigeration: For longer storage, refrigerate for up to 5 days.
- Freezing: Unbaked rolls (after the second proof) can be frozen. Place the baking dish in the freezer until solid, then transfer the frozen rolls to a freezer-safe bag for up to 1 month. Thaw overnight in the refrigerator, then let come to room temperature before baking. Baked rolls can also be frozen for up to 1 month.
- Reheating: Warm individual rolls in the microwave for 15-30 seconds, or in a preheated oven at 300°F (150°C) for 10-15 minutes, tented with foil to prevent drying.
Conclusion
There’s an undeniable magic in creating something so delightful from scratch, and these Cinnamon Rolls (Homemade) are truly a testament to that. With this detailed guide, you now possess the knowledge to bake perfect, dreamy cinnamon rolls that will impress everyone who tastes them. Don’t be intimidated by the multi-step process; each stage contributes to the final, irresistible texture and flavour of this classic. We encourage you to roll up your sleeves, embrace the process, and soon you’ll be enjoying the fruits of your labour – warm, gooey, and unbelievably delicious Cinnamon Roll Recipe! Share your creations with us, and happy baking!
FAQs
Q1: My dough isn’t rising. What went wrong?
A1: This usually indicates inactive yeast. Ensure your milk was no hotter than 115°F (too hot kills yeast) and not too cold (prevents activation). Old yeast can also be a culprit.
Q2: Can I reduce the sugar in the glaze?
A2: Yes, you can reduce the powdered sugar to 1 cup for a less sweet glaze, adjusting the milk to achieve the desired consistency.
Q3: How do I get my rolls perfectly golden brown?
A3: Ensure your oven temperature is accurate. For an extra golden top, you can brush the rolls with a little milk or cream a few minutes before they finish baking.
Q4: Can I use store-bought pizza dough as a shortcut?
A4: While possible, pizza dough has a different texture and flavour profile. Your results will vary significantly from scratch-made cinnamon rolls. It will lack the richness and tenderness of a dedicated sweet dough.
Q5: My filling oozed out during baking. How can I prevent this?
A5: This can happen if the filling is too soft or if the rolls aren’t tightly rolled. Ensure your butter for the filling is softened, not melted, and roll the dough as tightly as possible.