Unlock the Secret to the Perfect Creamy Coleslaw: A Homemade Delight!
Ever wondered what makes restaurant-style Coleslaw so irresistibly creamy and flavorful? The truth is, achieving that perfect balance of tangy, sweet, and crisp is simpler than you think when you create your own coleslaw recipe at home. Beyond the incredible taste, preparing this classic side dish from scratch offers unmatched freshness, allows for ingredient customization, and is often much healthier than store-bought versions. Get ready to elevate your meal game with a side that truly shines, all while understanding the nuanced art of creating this beloved dish.
Ingredients & Kitchen Tools
Gathering the right ingredients and tools is the first step towards a phenomenal Coleslaw.
- For the Salad:
1 medium head green cabbage (finely shredded or thinly sliced, about 6-7 cups) – The base of our dish; fresh is key.*
2 large carrots (grated or julienned) – Adds color, sweetness, and crunch.*
¼ cup red onion (very thinly sliced or finely minced) – Provides a subtle bite and aromatic depth.*
Optional: ¼ cup chopped fresh parsley – For a touch of freshness and vibrant green.*
- For the Dressing:
1 cup mayonnaise (full-fat for richness, or light for a healthier option) – The creamy foundation.*
¼ cup apple cider vinegar (adds a tangy brightness) – Crucial for balancing richness.*
2 tablespoons granulated sugar (adjust to taste, for sweetness) – Sweetness balances tang.*
1 tablespoon Dijon mustard (for a subtle zesty kick) – Enhances flavor complexity.*
½ teaspoon celery seeds (essential for classic coleslaw flavor) – The secret ingredient!*
½ teaspoon salt (or to taste) – Seasoning is vital.*
¼ teaspoon black pepper (freshly ground, for best flavor) – Adds a gentle spice.*
- Kitchen Tools:
Large mixing bowl – For combining all ingredients.*
Whisk – For emulsifying the dressing.*
Sharp knife or mandoline slicer – For shredding cabbage evenly.*
Box grater or food processor – For carrots and potentially cabbage.*
Measuring cups and spoons – For accurate ingredient proportions.*
Airtight container – For storage.*
Prep Time & Cooking Schedule
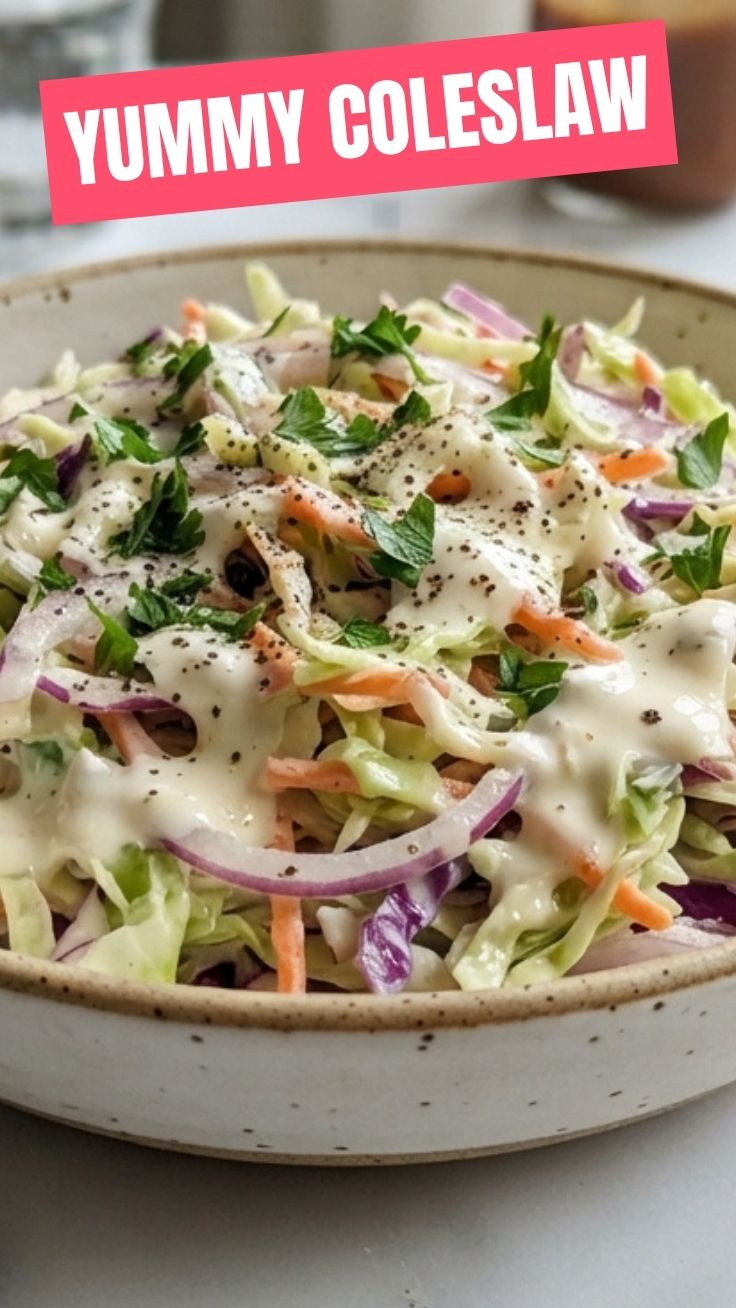
This Coleslaw is all about minimal effort for maximum reward!
- Prep Time: 20 minutes
- Resting Time: At least 30 minutes (ideally 2-4 hours, or overnight)
- Cook Time: 0 minutes (no cooking required!)
This recipe is perfect for last-minute gatherings or as a make-ahead side dish. The resting time is crucial as it allows the flavors to meld beautifully and the cabbage to soften slightly, creating that signature texture.
Step-by-Step Instructions
Follow these steps for a perfectly balanced and flavorful Coleslaw that will have everyone asking for your coleslaw recipe.
1. Prepare the Vegetables: Finely shred the cabbage. A mandoline slicer works wonders for even, thin strips, or use a sharp knife. Grate or julienne the carrots. Thinly slice or finely mince the red onion. Combine the shredded cabbage, carrots, and red onion (and optional parsley) in a large mixing bowl.
2. Whisk the Dressing: In a separate medium bowl, combine the mayonnaise, apple cider vinegar, granulated sugar, Dijon mustard, celery seeds, salt, and black pepper. Whisk vigorously until the dressing is smooth and well-emulsified. Taste and adjust seasoning as needed – you might want a bit more sugar for sweetness or vinegar for tang.
3. Combine and Toss: Pour the prepared dressing over the shredded vegetable mixture in the large bowl. Toss thoroughly using tongs or your hands (wearing gloves is recommended) to ensure every piece of vegetable is evenly coated with the creamy dressing.
4. Chill for Flavor Development: Cover the bowl tightly with plastic wrap and refrigerate for at least 30 minutes. For the best flavor and texture, allow it to chill for 2-4 hours, or even overnight. This resting period allows the dressing to penetrate the vegetables and for the flavors to fully meld.
5. Serve and Enjoy: Give the Coleslaw a final toss just before serving. Serve chilled as a delicious side for barbecues, picnics, or everyday meals.
Nutritional Benefits & Advantages
Our homemade Coleslaw is more than just a tasty side; it offers several health advantages. Cabbage is an excellent source of Vitamin C and K, and dietary fiber, promoting digestive health and boosting immunity. Carrots are packed with beta-carotene, beneficial for eye health. By making your own coleslaw recipe, you control the amount of sugar and fat, making it a potentially healthier alternative to many store-bought options that often contain excessive amounts of both.
Tips, Variations & Cooking Advice
- Sweeter Coleslaw: Increase the sugar by a tablespoon or add a touch of honey or maple syrup.
- Tangier Coleslaw: Add an extra teaspoon of apple cider vinegar or a squeeze of fresh lemon juice.
- Spicy Kick: A pinch of cayenne pepper or a dash of hot sauce in the dressing can add a pleasant heat.
- Creamier Texture: For an ultra-creamy Coleslaw, add a tablespoon of sour cream or buttermilk to the dressing.
- Vegetable Variations: Incorporate other crunchy vegetables like bell peppers (red or green), broccoli slaw mix, or thinly sliced celery.
- Nut-Free/Dairy-Free: Ensure your mayonnaise is dairy-free if needed. For a nut-free option, this recipe is naturally nut-free.
- Smaller Batches: Halve the recipe for a smaller crowd or individual servings.
Common Mistakes to Avoid
- Over-dressing: Too much dressing can make your Coleslaw soggy. Start with a little less and add more if needed.
- Not chilling long enough: Rushing the chilling process means the flavors won’t have time to develop. Patience is key!
- Unevenly shredded vegetables: Large, uneven pieces won’t absorb the dressing as well and can result in an inconsistent texture.
- Old ingredients: Always use fresh cabbage and crisp carrots for the best results. Wilted vegetables will yield a less appealing Coleslaw.
Storage & Meal Prep Tips
Store leftover Coleslaw in an airtight container in the refrigerator for up to 3-4 days. While it’s best enjoyed fresh, the flavors can deepen over time. However, it’s not suitable for freezing, as the cabbage will become watery and mushy upon thawing. This makes it an excellent meal prep item for a few days, providing a fresh and healthy side for lunches or dinners without any last-minute fuss.
Conclusion
Mastering the art of homemade Coleslaw is a rewarding culinary journey that promises fresh flavors and perfect textures every time. With this easy-to-follow coleslaw recipe, you’re now equipped to create a classic side dish that rivals any restaurant. Don’t hesitate to experiment with the tips and variations to make it uniquely yours! We encourage you to try this recipe, share your delicious results, and explore other fantastic side dishes on our blog. Happy cooking!
FAQs
Q1: Can I use pre-shredded cabbage mix?
A1: Absolutely! Pre-shredded cabbage mix can save time, but ensure it’s fresh for the best texture. You might need to adjust the amount based on bag size.
Q2: How do I prevent my coleslaw from becoming watery?
A2: A common cause of watery Coleslaw is not draining the cabbage properly after washing. Ensure your cabbage is as dry as possible. Also, avoid over-dressing and letting it sit for too long, especially if seasoned with salt early, as salt draws out moisture.
Q3: Can I make this a lighter coleslaw?
A3: Yes! Use light mayonnaise, reduce the amount of sugar, or substitute some of the mayonnaise with plain Greek yogurt for a tangier, lower-fat option.
Q4: What can I serve with this Coleslaw?
A4: This Coleslaw is a perfect accompaniment to barbecued meats like pulled pork, grilled chicken, fried fish, or alongside burgers and hot dogs. It also makes a refreshing side for picnics and potlucks.