Elevate Your Dessert Game: The Ultimate Homemade Red Velvet Cake Experience
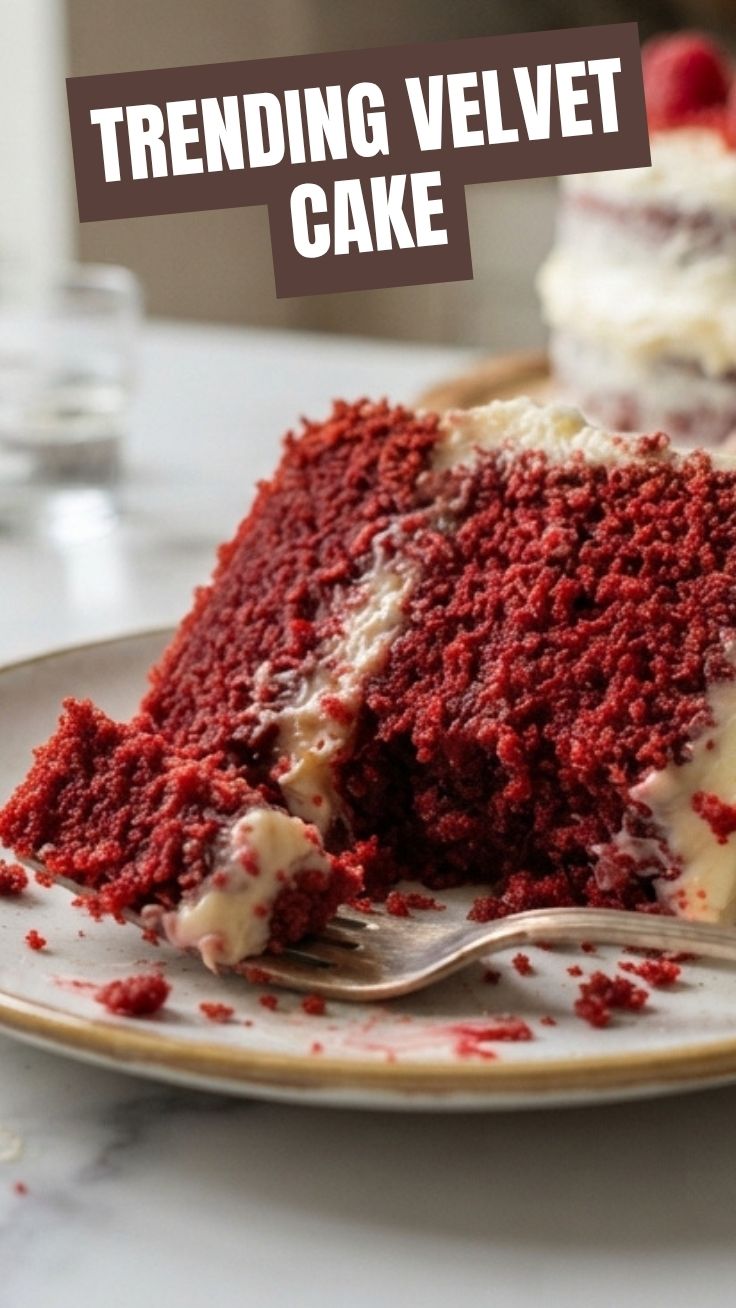
Ever wondered what makes a truly unforgettable dessert? Is it the vibrant hue, the moist crumb, or the decadent frosting? Today, we’re diving deep into the art of crafting a show-stopping Red Velvet Cake right in your own kitchen. There’s an unparalleled satisfaction in presenting a homemade masterpiece, especially when it’s one as iconic and beloved as this. Forget the boxed mixes; preparing this classic at home allows for fresh, high-quality ingredients, resulting in a flavor profile that store-bought versions simply can’t match. And let’s be honest, who doesn’t love a perfectly balanced cake adorned with a luscious cream cheese frosting? This isn’t just baking; it’s an experience, a journey into culinary delight that promises a truly rewarding outcome.
Ingredients & Kitchen Tools
Gather your culinary arsenal for this delightful baking adventure:
- All-Purpose Flour (2 ½ cups): Provides structure. Sifted for a lighter texture.
- Granulated Sugar (1 ½ cups): Sweetness and moisture.
- Unsweetened Cocoa Powder (2 tablespoons): The subtle chocolate notes defining red velvet. Use high-quality for best flavor.
- Baking Soda (1 teaspoon): Leavening agent for rise and tenderness.
- Salt (1 teaspoon): Balances sweetness and enhances other flavors.
- Buttermilk (1 cup): Activates baking soda and contributes to a tender, moist crumb. No buttermilk? Mix 1 cup milk with 1 tablespoon white vinegar or lemon juice; let sit 5 minutes.
- Vegetable Oil (1 cup): Provides moisture and richness. Can substitute with neutral-flavored oils like canola.
- Large Eggs (2): Binders, add richness and structure. Room temperature for better emulsification.
- Red Food Coloring (2-3 tablespoons): The signature vibrant hue. Gel food coloring provides a deeper color with less liquid.
- White Vinegar (1 teaspoon): Reacts with baking soda and buttermilk for a tender crumb.
- Vanilla Extract (1 teaspoon): Enhances overall flavor. Use pure extract for best results.
- For the cream cheese frosting:
* Cream Cheese (8 oz, full-fat): The tangy, creamy star. Softened to room temperature.
* Unsalted Butter (½ cup/1 stick): Provides richness and structure to the frosting. Softened.
* Powdered Sugar (3 ½ cups): Sweetens and thickens the frosting. Sifted to avoid lumps.
* Vanilla Extract (1 teaspoon): Essential for flavor.
- Kitchen Tools:
* Two 9-inch round cake pans: For even baking. Greased and floured or lined with parchment paper.
* Electric mixer (stand or hand-held): For efficient mixing of batter and frosting.
* Mixing bowls: Various sizes for wet and dry ingredients.
* Spatula: For folding and scraping.
* Whisk: For dry ingredients.
* Measuring cups and spoons: Accuracy is key in baking.
* Cooling rack: Essential for cakes to cool completely.
Prep Time & Cooking Schedule
- Prep Time: 25 minutes
* This includes getting all your ingredients to room temperature (especially eggs, buttermilk, butter, and cream cheese) and accurately measuring them out. Sifting flour and powdered sugar also falls into this window.
- Cook Time: 30-35 minutes per cake layer
* Baking time can vary slightly depending on your oven. Keep an eye on them!
- Cooling Time: 1 hour at room temperature, then 1-2 hours in the refrigerator (for cake layers before frosting)
* Allowing the cake layers to cool completely, especially a quick chill, makes them much easier to handle and prevents the cream cheese frosting from melting. This is crucial for a smooth, professional finish.
Step-by-Step Instructions
1. Preheat & Prepare: Preheat your oven to 350°F (175°C). Grease and flour two 9-inch round cake pans or line the bottoms with parchment paper.
2. Combine Dry Ingredients: In a large bowl, whisk together the all-purpose flour, granulated sugar, unsweetened cocoa powder, baking soda, and salt. Ensure there are no lumps and ingredients are well distributed.
3. Mix Wet Ingredients: In a separate medium bowl, whisk together the buttermilk, vegetable oil, large eggs, red food coloring, white vinegar, and vanilla extract until thoroughly combined and uniformly colored.
4. Combine Wet and Dry: Gradually add the wet ingredients to the dry ingredients, mixing on low speed with an electric mixer until just combined. Be careful not to overmix, as this can lead to a tough cake. Scrape down the sides of the bowl to ensure everything is incorporated.
5. Bake the Cake: Divide the Red Velvet Cake batter evenly between the prepared cake pans. Bake for 30-35 minutes, or until a wooden skewer inserted into the center comes out clean.
6. Cool: Let the cakes cool in their pans for about 10-15 minutes before inverting them onto a wire rack to cool completely. For easier frosting, once completely cool, wrap them in plastic and chill in the refrigerator for at least an hour.
7. Prepare the Cream Cheese Frosting: In a large bowl, beat the softened cream cheese and unsalted butter with an electric mixer until smooth and creamy, about 2-3 minutes. Gradually add the sifted powdered sugar, ½ cup at a time, mixing until smooth after each addition. Stir in the vanilla extract. Beat on medium-high speed for another 1-2 minutes until light and fluffy.
8. Assemble and Frost: Once the cake layers are completely cool, place one layer on your serving plate or cake stand. Spread a generous amount of cream cheese frosting evenly over the top. Carefully place the second cake layer on top. Frost the top and sides of the entire cake, smoothing with an offset spatula.
9. Serve & Enjoy: Decorate as desired (e.g., with cake crumbs or sprinkles) and serve your magnificent Red Velvet Cake!
Nutritional Benefits & Advantages
While a treat, homemade Red Velvet Cake offers some advantages. Using real cocoa powder provides antioxidants and some minerals. Buttermilk contributes probiotics, which can support gut health. By making it yourself, you control the quality of ingredients, avoiding artificial preservatives and excessive additives often found in commercially prepared desserts. The eggs contribute protein and essential nutrients, and the dairy in the cream cheese frosting provides calcium. It’s a delightful treat that, in moderation, can be part of a balanced diet.
Tips, Variations & Cooking Advice
- For Deeper Color: Consider using a high-quality gel food coloring for a more intense red without altering the cake’s consistency. You can also experiment with natural colorings like beet powder, though the shade might differ.
- Flavor Boost: Adding a touch of espresso powder (½ teaspoon) to the dry ingredients can deepen the chocolate flavor without making the cake taste like coffee.
- Buttermilk Variation: If you prefer a slightly less tangy cake, you can reduce the amount of buttermilk slightly or use a blend of milk and buttermilk.
- Gluten-Free Option: Substitute the all-purpose flour with a 1:1 gluten-free baking blend that contains xanthan gum. Adjust baking time as needed.
- Dairy-Free Frosting: Use vegan cream cheese and vegan butter substitutes for a dairy-free cream cheese frosting.
- Cupcakes: This recipe can easily be adapted for cupcakes. Fill liners about 2/3 full and bake for 18-22 minutes.
Common Mistakes to Avoid
- Overmixing the Batter: Overmixing develops gluten, leading to a tough, dense cake. Mix until just combined.
- Not Using Room Temperature Ingredients: Especially for the butter, eggs, and dairy, room temperature ingredients emulsify better, resulting in a smoother batter and a finer crumb.
- Opening the Oven Door Too Early: This can cause the cake to sink in the middle. Resist the urge until at least 2/3 of the baking time has passed.
- Under-Baking: A common pitfall. Always test with a skewer; if it comes out with wet batter, it needs more time.
- Frosting a Warm Cake: This is a cardinal sin! It will melt your beautiful cream cheese frosting into a messy disaster. Ensure cakes are completely cool, and even chilled, before frosting.
Storage & Meal Prep Tips
- Refrigeration: Store your frosted Red Velvet Cake in an airtight container in the refrigerator for up to 5 days. The cream cheese frosting requires refrigeration to maintain its freshness and integrity.
- Freezing Cake Layers: Unfrosted cake layers can be individually wrapped in plastic wrap and then in aluminum foil and frozen for up to 2-3 months. Thaw in the refrigerator overnight before frosting.
- Freezing Frosted Cake: A whole frosted cake can be frozen. Place it on a baking sheet in the freezer until the frosting is firm (about 1-2 hours). Then, wrap it tightly in plastic wrap and aluminum foil. Thaw in the refrigerator before serving.
- Reheating: This cake is best served at room temperature, so take it out of the refrigerator 30-60 minutes before serving to allow it to soften slightly and for the flavors to meld beautifully.
Conclusion
Crafting a homemade Red Velvet Cake from scratch is more than just following a recipe; it’s an act of love and a rewarding culinary experience. The result is a stunning, moist, and flavorful cake that will impress anyone who tastes it, perfectly complemented by the tangy sweetness of the cream cheese frosting. We encourage you to try this recipe and savor every step of the process. Share your creations in the comments below – we’d love to see your dazzling red velvet masterpieces! Happy baking!
FAQs
Q1: Can I make this cake ahead of time?
A1: Absolutely! The cake layers can be baked a day or two in advance, wrapped tightly, and stored at room temperature or chilled. The cream cheese frosting can also be made a day ahead and stored in the refrigerator; just whip it briefly before using to restore its fluffy texture.
Q2: My cake sunk in the middle, what happened?
A2: This usually indicates either under-baking, opening the oven door too early, or rarely, too much leavening. Ensure your oven temperature is accurate and use the skewer test for doneness.
Q3: How can I achieve a perfect red color without too much food coloring?
A3: Gel food coloring is highly concentrated and produces a vibrant hue with less liquid than liquid food coloring. Using high-quality cocoa powder also helps in achieving the deep reddish-brown undertone typical of classic red velvet.
Q4: Can I use different sized cake pans?
A4: Yes, but you’ll need to adjust baking times. For three 8-inch pans, baking time might be slightly less (around 25-30 minutes). For a 9×13 inch rectangular pan, it will likely be longer (35-45 minutes). Always check for doneness with a skewer.
Q5: My cream cheese frosting is too runny. What should I do?
A5: This often happens if the butter or cream cheese is too warm, or if not enough powdered sugar was used. Try chilling the frosting for 20-30 minutes, then beat it again. If still too thin, gradually add more sifted powdered sugar until you reach the desired consistency. Ensure your cream cheese is full-fat, as low-fat versions can lead to a runnier frosting.