The Ultimate Guide to Crafting the Perfect Homemade Chocolate Chip Cookies
Is there anything more universally comforting than a warm, chewy Chocolate Chip Cookies straight from the oven? The aroma alone transports us back to childhood, to simpler times filled with joy and deliciousness. While store-bought options abound, mastering the homemade Chocolate Chip Cookie Recipe is a truly rewarding experience, offering unparalleled flavor, texture, and the satisfaction of knowing exactly what goes into each bite. In this comprehensive guide, we’ll delve into the secrets behind achieving bakery-quality cookies in your own kitchen, ensuring every batch is a resounding success.
Ingredients & Kitchen Tools
Crafting exceptional cookies begins with quality ingredients and the right culinary arsenal.
All-Purpose Flour (2 ¼ cups): The backbone of our cookies, providing structure. King Arthur or Bob’s Red Mill are excellent choices for consistent results.*
- Baking Soda (1 teaspoon): A leavening agent that helps our cookies spread and achieve a soft, chewy texture.
Salt (1 teaspoon): Enhances all the other flavors, balancing the sweetness. Don’t skip this!*
Unsalted Butter (1 cup, 2 sticks, softened): Provides richness and flavor. Ensure it’s truly softened, not melted, for proper creaming.*
- Granulated Sugar (¾ cup): Contributes to sweetness and spread.
- Packed Light Brown Sugar (¾ cup): Adds moisture, chewiness, and a delightful caramel note.
Large Eggs (2, room temperature): Binds ingredients and adds richness. Room temperature eggs emulsify better with the butter and sugars.*
Pure Vanilla Extract (2 teaspoons): Essential for that classic cookie aroma and taste. Use good quality vanilla for the best flavor payoff.*
Semi-Sweet Chocolate Chips (2 cups, 12 oz bag): The star of the show! Feel free to use milk chocolate, dark chocolate, or a mix.*
- Optional: Flaky Sea Salt: A sprinkle on top before baking enhances flavor and texture.
Kitchen Tools:
- Large Mixing Bowls (2): For wet and dry ingredients.
Electric Mixer (Stand or Handheld): For creaming butter and sugars. A whisk works, but an electric mixer makes it much easier.*
- Rubber Spatula: For scraping down bowls and folding in chocolate chips.
- Measuring Cups and Spoons: For accurate ingredient measurements.
- Baking Sheets: Large, flat sheets for baking cookies.
- Parchment Paper or Silicone Baking Mats: Prevents sticking and promotes even baking.
- Wire Cooling Rack: For cooling baked cookies.
Cookie Scoop (1.5-2 inch): Ensures uniform cookie size for even baking. Highly recommended for consistent results.*
Prep Time & Cooking Schedule
Planning your cookie-making adventure ensures a smooth and enjoyable process.
- Prep Time: 15-20 minutes
* This includes gathering ingredients, measuring, and setting up your workspace.
- Chill Time (Dough): 30 minutes to 2 hours (or overnight)
Chilling the dough is crucial for flavor development and prevents excessive spreading. The longer the chill, the deeper the flavor.*
- Bake Time: 10-12 minutes per batch
* Baking times can vary depending on your oven and desired doneness.
- Resting Time (on baking sheet): 5 minutes
* Allows the cookies to set up before transferring them to a cooling rack.
- Cooling Time (on wire rack): 15-20 minutes
* Ensures cookies are fully set and ready to enjoy.
Step-by-Step Instructions
Follow these precise steps to create the ultimate Chocolate Chip Cookies, mastering every nuance of this classic Chocolate Chip Cookie Recipe.
1. Preheat & Prepare: Preheat your oven to 375°F (190°C). Line two baking sheets with parchment paper or silicone baking mats.
2. Whisk Dry Ingredients: In a medium bowl, whisk together the flour, baking soda, and salt. Set aside.
3. Cream Butter & Sugars: In a large bowl, using an electric mixer, cream the softened unsalted butter with the granulated sugar and packed light brown sugar on medium speed until light and fluffy, about 2-3 minutes. This incorporates air, contributing to a tender crumb.
4. Add Eggs & Vanilla: Beat in the eggs one at a time, mixing well after each addition. Stir in the pure vanilla extract.
5. Combine Wet & Dry: Gradually add the dry ingredients to the wet ingredients, mixing on low speed until just combined. Be careful not to overmix, as this can lead to tough cookies.
6. Fold in Chocolate Chips: With a rubber spatula, gently fold in the semi-sweet chocolate chips until evenly distributed.
7. Chill the Dough: Cover the bowl with plastic wrap and refrigerate for at least 30 minutes, or up to 2 hours. Chilling helps the flavors meld and prevents the cookies from spreading too much. For an even richer flavor, chill overnight.
8. Scoop & Bake: Scoop rounded tablespoons of dough onto the prepared baking sheets, leaving about 2 inches between each cookie. If desired, sprinkle a pinch of flaky sea salt on top of each dough ball.
9. Bake to Perfection: Bake for 10-12 minutes, or until the edges are golden brown and the centers are still slightly soft. For a chewier cookie, pull them out when the centers look slightly underdone. For a crispier cookie, bake for an extra minute or two.
10. Cool & Enjoy: Let the cookies cool on the baking sheets for 5 minutes before transferring them to a wire rack to cool completely.
Nutritional Benefits & Advantages
While a treat, homemade Chocolate Chip Cookies offer some inherent advantages. Using real butter provides healthy fats, and dark chocolate chips (if chosen) are rich in antioxidants, which can help combat free radicals in the body. Compared to many commercially produced cookies, you have full control over the sugar content and can opt for higher-quality ingredients, avoiding artificial flavors and preservatives. Plus, the comfort and joy derived from a freshly baked cookie can undoubtedly boost mood and well-being!
Tips, Variations & Cooking Advice
- Brown Butter: For a deeper, nuttier flavor, brown your butter before creaming it with the sugars. Allow it to cool slightly before use.
- Chocolate Variety:
* Chocolate Chunks: Larger pieces of chocolate create pools of melted goodness.
* Chopped Chocolate Bar: Offers a more intense chocolate flavor and varied textures.
* White Chocolate Chips, Peanut Butter Chips, or Toffee Bits: Experiment with different mix-ins for unique flavor profiles.
Sea Salt: A sprinkle of flaky sea salt on top before* baking elevates the flavor and provides a delightful contrast.
- Cookie Size: Adjust your cookie scoop for larger or smaller cookies, keeping in mind that baking times will vary.
- Gluten-Free: Substitute all-purpose flour with a 1:1 gluten-free baking blend.
- Dairy-Free: Use a high-quality plant-based butter substitute and ensure your chocolate chips are dairy-free.
Common Mistakes to Avoid
- Overmixing the Dough: Leads to excess gluten development, resulting in tough, dry cookies. Mix until just combined.
- Not Chilling the Dough: Causes cookies to spread too much and lose their desirable chewiness.
- Overbaking: Results in dry, crumbly cookies. Err on the side of underbaking for a chewier texture.
- Using Cold Eggs/Butter: Prevents proper emulsification and creaming, affecting cookie texture.
- Crowding the Baking Sheet: Leads to uneven baking and cookies sticking together. Give them space!
Storage & Meal Prep Tips
- Room Temperature: Cooled cookies can be stored in an airtight container at room temperature for up to 3-4 days. Placing a slice of bread in the container can help keep them soft.
- Freezing Baked Cookies: Once completely cooled, place cookies in a single layer in an airtight freezer-safe bag or container. They can be frozen for up to 3 months. Thaw at room temperature or warm briefly in the oven.
- Freezing Cookie Dough: Scoop dough balls onto a parchment-lined baking sheet and freeze until solid. Transfer frozen dough balls to an airtight freezer-safe bag. They can be frozen for up to 3 months. Bake directly from frozen, adding an extra 2-3 minutes to the baking time. This is fantastic for meal prepping fresh-baked cookies on demand!
Conclusion
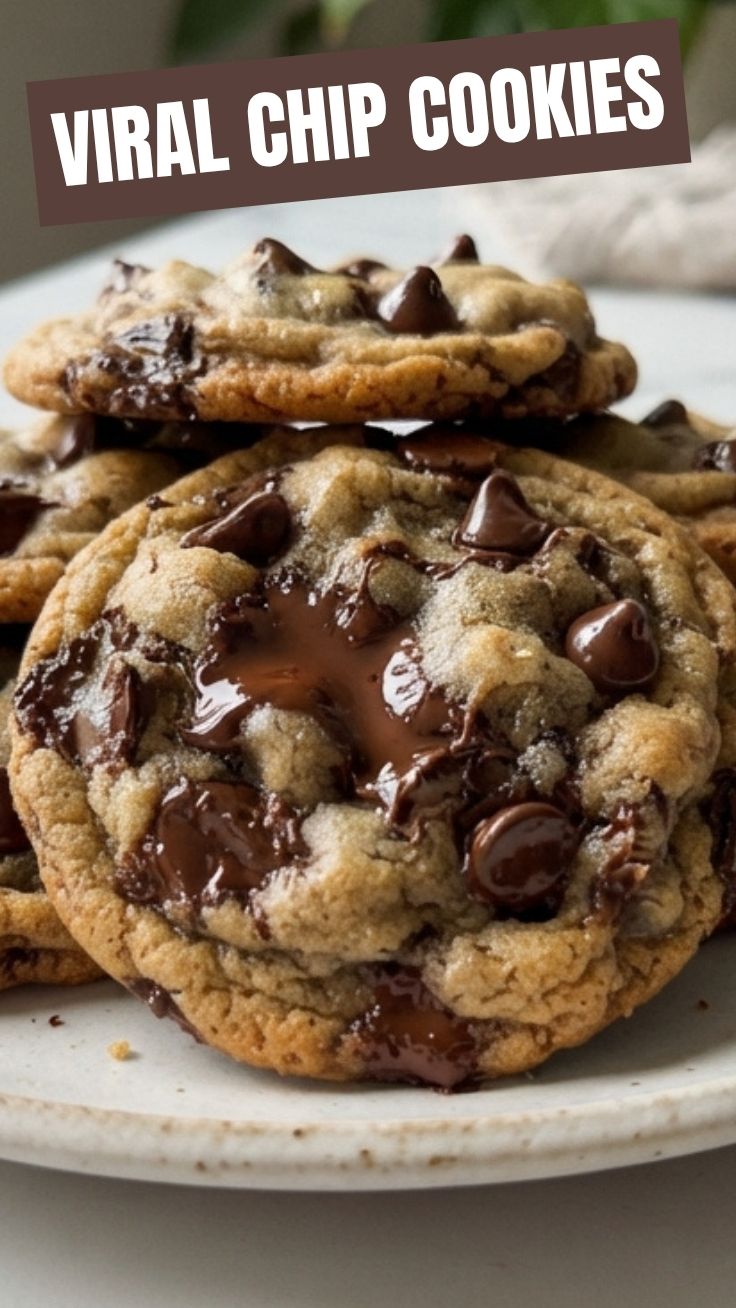
There’s a certain magic in baking a fresh batch of homemade Chocolate Chip Cookies. This detailed Chocolate Chip Cookie Recipe is designed to guide you through every step, ensuring you achieve that perfect balance of crispy edges, chewy centers, and molten chocolate goodness. We encourage you to try this recipe and experience the joy of creating these timeless treats. Share your baking triumphs with us, and let’s keep the love for homemade cookies alive!
FAQs
Q1: My cookies are spreading too much. What went wrong?
A: This usually happens if your butter was too warm, your oven temperature is too low, or you didn’t chill the dough long enough. Ensure butter is softened, not melted, and always chill your dough.
Q2: Can I use different types of chocolate?
A: Absolutely! Feel free to use milk chocolate, dark chocolate, chocolate chunks, or even a mix of your favorite chocolates to customize your cookies.
Q3: How do I know when the cookies are fully baked?
A: The edges should be golden brown, and the centers should still look slightly soft. They will firm up as they cool. If you prefer a crispier cookie, bake for an additional minute or two.
Q4: Can I make this dough ahead of time?
A: Yes! The dough can be refrigerated for up to 3 days or frozen for up to 3 months. This is perfect for having fresh cookies whenever the craving strikes!
Q5: My cookies are tough. What caused this?
A: Overmixing the dough is the most common culprit. Mix the dry ingredients into the wet ingredients only until just combined to avoid developing too much gluten.