Unlock the Secret to the Best Thanksgiving Meal: Your Guide to Perfect Homemade Gravy!
Ever wondered what truly elevates a festive meal from good to unforgettable? It’s often the humble, yet essential, additions that make all the difference. While the majestic Thanksgiving Turkey undoubtedly takes center stage, its faithful companion, the luscious gravy, often steals the show. Forget bland, store-bought options; mastering homemade Turkey Gravy is not just a culinary skill, it’s a rite of passage. This comprehensive guide will empower you to create a rich, flavorful, and velvety gravy that will have your guests raving and coming back for more. Making it from scratch ensures fresh ingredients, customized flavors, and a truly authentic taste that complements your holiday feast perfectly.
Ingredients & Kitchen Tools
Crafting the perfect gravy begins with the right components and equipment.
Roast Turkey Pan Drippings: The flavorful fat and juices left after roasting your Thanksgiving Turkey. This is the foundation of your gravy’s flavor.*
Chicken or Turkey Broth (4-6 cups): Low-sodium is preferred, allowing you to control the seasoning. Adds liquid and depth.*
Unsalted Butter (4 tablespoons): For making the roux. Contributes richness and helps thicken.*
All-Purpose Flour (1/4 cup): To create the roux, which is essential for thickening. Provides body and consistency.*
Dry White Wine or Sherry (1/4 cup – optional): Adds a touch of acidity and complexity. Enhances flavor notes.*
Fresh Thyme or Sage Sprigs (2-3): Infuses earthy, aromatic notes. Adds herbal depth.*
Salt and Freshly Ground Black Pepper (to taste): Essential for seasoning. Brings out the flavors.*
Gravy Separator: To easily remove excess fat from the drippings. Optional, but highly recommended for a smoother gravy.*
Fine-Mesh Sieve: For straining out any lumps or solids. Ensures a silky-smooth texture.*
Whisk: Crucial for preventing lumps and achieving a smooth consistency. Your best friend for lump-free gravy.*
Saucepan (medium-sized): For cooking the gravy. A fundamental cooking vessel.*
Fat Separator Cup (optional, but highly recommended): For removing excess fat from drippings. Achieves a cleaner gravy.*
Prep Time & Cooking Schedule
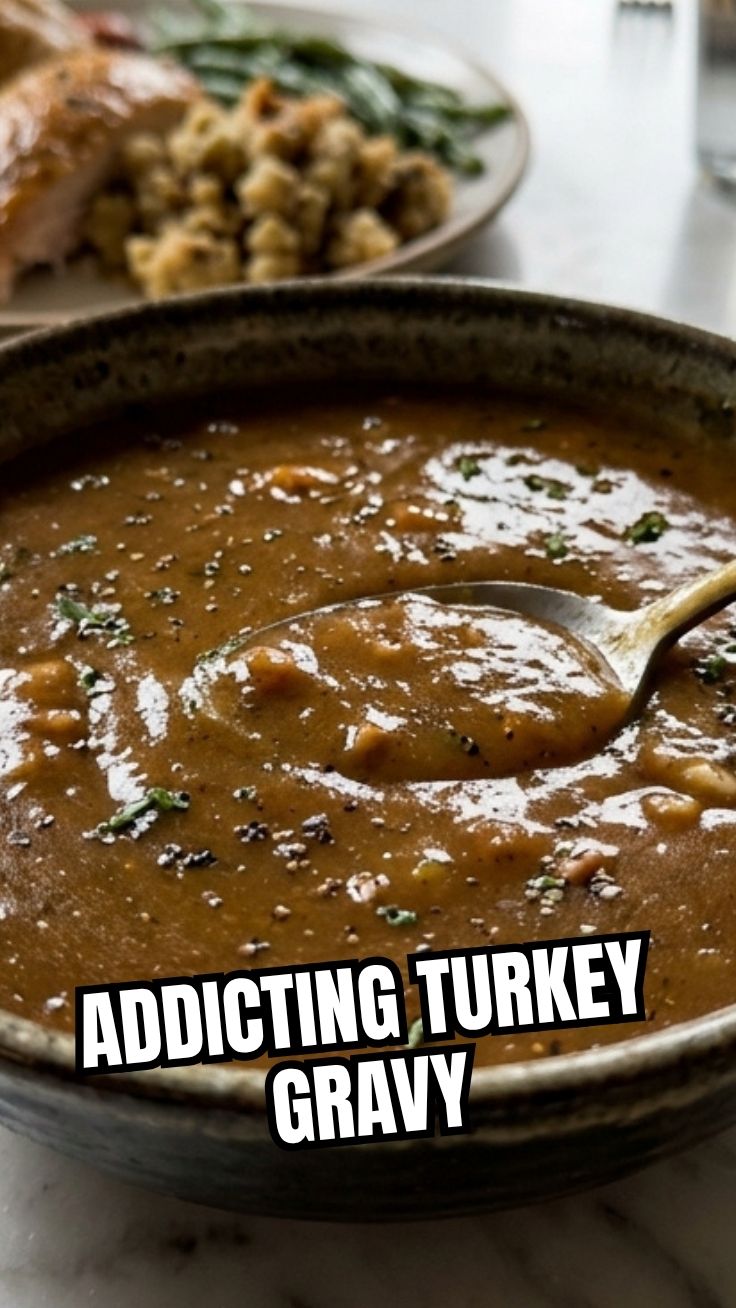
- Prep time: 10 minutes
- Cook time: 20-25 minutes
- Resting time (optional, after straining): 5 minutes
This recipe is best prepared immediately after your Thanksgiving Turkey has finished roasting and is resting. This allows you to utilize the hot pan drippings directly. Plan to start your gravy while your turkey rests, giving you ample time to perfect the consistency and flavor before it’s time to carve and serve.
Step-by-Step Instructions
1. Prepare the Drippings: After removing your Thanksgiving Turkey from the roasting pan, carefully pour all the pan drippings into a gravy separator or a heatproof pitcher. Allow the fat to separate and rise to the top. Skim off most of the fat, leaving about 2-3 tablespoons in the roasting pan for flavor, or measure out 2-3 tablespoons of separated fat. Discard remaining fat.
2. Deglaze the Pan (Optional): Place the roasting pan over two stove burners on medium heat. Add 1/2 cup of broth or wine and use a wooden spoon to scrape up any browned bits from the bottom of the pan. These are packed with flavor! Pour this flavorful liquid into a measuring cup with the defatted drippings.
3. Make the Roux: In a medium saucepan, melt the 4 tablespoons of unsalted butter over medium heat. Once melted, sprinkle in the 1/4 cup of all-purpose flour. Whisk continuously for 1-2 minutes until a smooth paste (roux) forms and cooks to a light golden color. This step is crucial for eliminating a raw flour taste.
4. Gradually Add Liquid: Slowly pour in the deglazed pan drippings/broth mixture, whisking constantly to prevent lumps. Gradually add the remaining 4-6 cups of chicken or turkey broth, still whisking. For a truly exceptional Turkey Gravy, consider incorporating a little extra broth if you prefer a thinner consistency.
5. Simmer and Thicken: Bring the gravy to a gentle simmer over medium heat, continuing to whisk occasionally. Let it simmer for 10-15 minutes, or until the gravy thickens to your desired consistency. The gravy will thicken further as it cools slightly.
6. Season and Strain: Add the fresh thyme or sage sprigs. Season with salt and freshly ground black pepper to taste. Remove the herb sprigs. For an ultra-smooth gravy, pour it through a fine-mesh sieve into a serving boat, pressing on any solids to extract maximum flavor. Taste and adjust seasonings as needed.
Nutritional Benefits & Advantages
Homemade Turkey Gravy, when prepared with care, can be a flavorful addition without being overly indulgent. By controlling the amount of fat and sodium, it becomes a healthier alternative to many store-bought varieties. The use of natural pan drippings provides essential amino acids and savory umami, while the broth contributes vitamins and minerals. Compared to highly processed substitutes, your homemade version offers superior taste and nutritional integrity.
Tips, Variations & Cooking Advice
- Herb Infusion: For a deeper herbal note, gently simmer a sprig of rosemary along with the thyme and sage.
- Mushroom Gravy: Sauté sliced mushrooms in butter before adding the flour for an earthy, umami-rich variation.
- Gluten-Free Gravy: Substitute the all-purpose flour with a gluten-free flour blend or cornstarch slurry (1 tablespoon cornstarch dissolved in 2 tablespoons cold water, added to simmering gravy).
- Dairy-Free: Use a plant-based butter substitute or omit butter entirely for the roux, using only the fat from the drippings.
- Color Enhancement: A tiny pinch of browning liquid (like Kitchen Bouquet) can be added for a richer, darker color without altering flavor.
Common Mistakes to Avoid
- Not Skimming Fat: Too much fat makes the gravy greasy. Use a separator or a spoon to skim thoroughly.
- Cold Broth: Adding cold broth to a hot roux can lead to lumps. Ensure your broth is warm or room temperature for smoother incorporation.
- Not Whisking Enough: Insufficient whisking, especially when adding liquids, results in lumpy gravy. Whisk, whisk, whisk!
- Undercooking the Roux: A raw flour taste can ruin the gravy. Cook the flour and butter for at least 1-2 minutes until lightly golden.
- Over-seasoning Early: Pan drippings and broth already contain salt. Season gradually and taste throughout the process.
Storage & Meal Prep Tips
Leftover Turkey Gravy can be stored in an airtight container in the refrigerator for up to 3-4 days. To reheat, gently warm on the stovetop over low heat, whisking frequently. If it’s too thick, add a splash of broth or water to reach your desired consistency. Gravy can also be frozen in freezer-safe containers or bags for up to 3 months. Thaw overnight in the refrigerator before reheating.
Conclusion
Crafting a homemade Turkey Gravy from scratch is a rewarding experience that elevates any meal, especially your Thanksgiving Turkey. With this detailed guide, you’re now equipped to create a flavorful, smooth, and unforgettable gravy that will become a cherished part of your culinary repertoire. Don’t shy away from the pan drippings; they are the secret to magnificent flavor! Give this recipe a try and share your delicious results with us! Happy cooking!
FAQs
1. Can I make gravy without pan drippings?
Yes, you can. While pan drippings offer the best flavor, you can substitute them entirely with turkey or chicken broth and add a tablespoon of butter or oil to create the roux. You might want to add a pinch of poultry seasoning for extra depth of flavor.
2. How do I fix lumpy gravy?
If your gravy turns lumpy, don’t despair! Simply pour it through a fine-mesh sieve or use an immersion blender to achieve a smooth consistency.
3. My gravy is too thin/thick. How do I adjust it?
If it’s too thin, simmer it for a few more minutes to reduce, or add a slurry of 1 tablespoon cornstarch mixed with 2 tablespoons cold water. If it’s too thick, whisk in a little more warm broth or water until you reach your desired consistency.
4. Can I make this gravy ahead of time?
You can prepare the gravy base (roux and broth) ahead of time and refrigerate it. However, the freshest and most flavorful gravy is made by incorporating the pan drippings right after the turkey is cooked. You can then finish the gravy quickly.
5. What if I don’t have a gravy separator?
Don’t worry! You can let the drippings sit in a bowl for a few minutes, allowing the fat to rise. Then, carefully spoon off the fat from the top, or pour the drippings into another container, leaving the fat behind.