Unlock Summer Bliss: Craft Your Own Perfect Peanut Butter Chocolate Milkshake at Home!
Tired of store-bought shakes that are full of artificial ingredients and compromise on flavor? What if you could whip up a decadent, creamy, and utterly satisfying Peanut Butter Chocolate Milkshake right in your own kitchen – one that tastes infinitely better and is tailored to your preferences? Preparing this beloved treat at home isn’t just about saving money; it’s about controlling the quality of your ingredients, experimenting with flavors, and creating a truly personalized indulgence. With just a few simple ingredients and minimal effort, you can transform ordinary moments into extraordinary dessert experiences. This blog post will guide you through crafting a sensational Peanut Butter Chocolate Milkshake that rivals any diner, ensuring you have all the secrets to perfect milkshake recipes at your fingertips.
Ingredients & Kitchen Tools
Here’s a breakdown of what you’ll need to create your gourmet Milkshake:
Premium Ice Cream: 2 cups (approximately 4 scoops) of high-quality vanilla or chocolate ice cream. (Vanilla provides a neutral base, while chocolate amplifies the cocoa notes. Opt for full-fat for maximum creaminess.)*
Creamy Peanut Butter: ½ cup. (Use a good quality, creamy peanut butter – natural or processed – ensuring it’s not too oily for best texture.)*
Milk: ½ cup whole milk. (Whole milk yields the richest, thickest shake. Dairy-free alternatives can be used for dietary needs.)*
Unsweetened Cocoa Powder: 2 tablespoons. (For a deep chocolate flavor without added sweetness.)*
Powdered Sugar (Optional): 1-2 tablespoons. (Adjust to your sweetness preference; great for balancing the bitterness of cocoa.)*
Vanilla Extract: ½ teaspoon. (Enhances overall flavor and aroma.)*
Ice Cubes (Optional): 3-4 cubes. (For an extra frosty and thick consistency without diluting flavor too much.)*
- Blender: A powerful blender is essential for achieving a smooth, lump-free consistency.
- Measuring Cups & Spoons: For accurate ingredient portions.
- Serving Glasses: Tall glasses ideal for showcasing your creation.
- Straws: Wide straws are best for thick Milkshakes.
Prep Time & Cooking Schedule
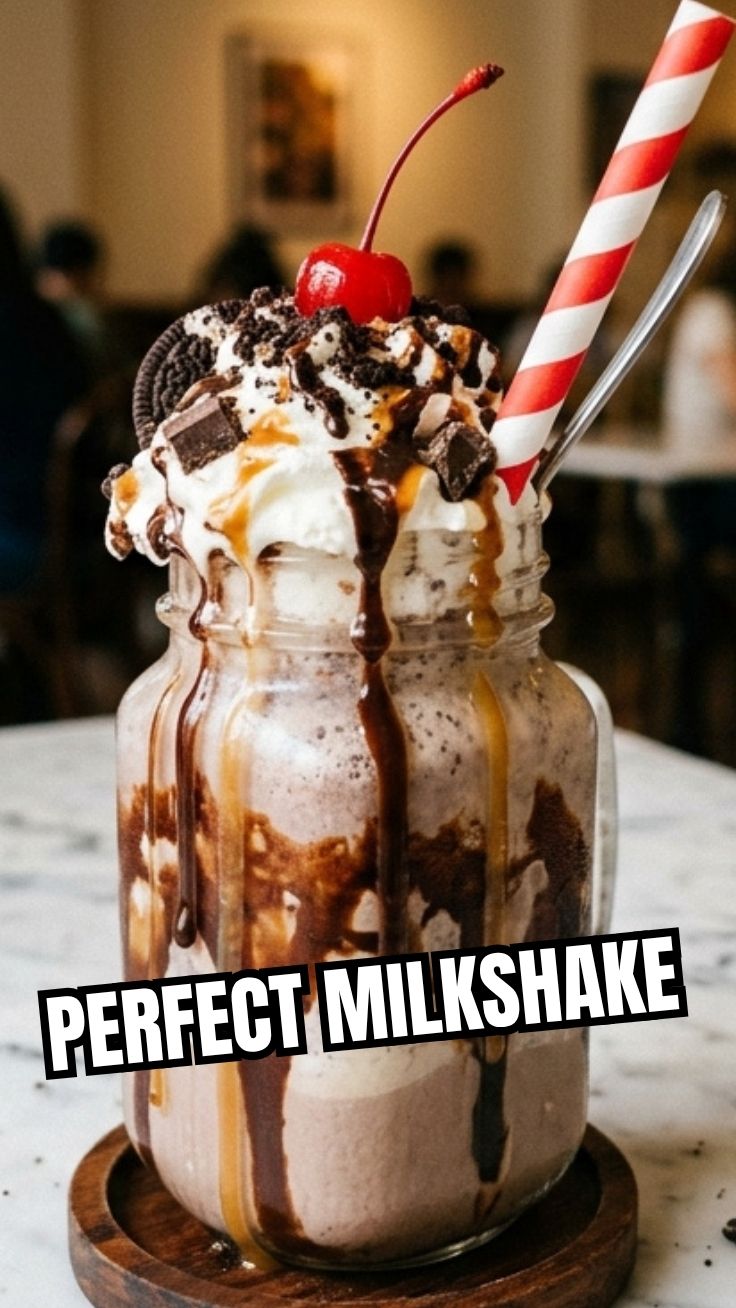
This delightful Peanut Butter Chocolate Milkshake is incredibly quick to prepare, making it a perfect spontaneous treat.
- Prep Time: 5 minutes
- Cook Time: 0 minutes
- Blending Time: 1-2 minutes
- Total Time: Approximately 7 minutes
No resting or marinating time is required! This speedy creation is designed to be enjoyed immediately. Plan to make it just before serving to experience its optimal frosty texture and rich flavor.
Step-by-Step Instructions
Follow these simple steps to craft the perfect Peanut Butter Chocolate Milkshake:
1. Gather Your Ingredients: Ensure all ingredients are measured and ready. This streamlines the blending process.
2. Add Wet Ingredients First: Pour the milk into your blender. This helps the blades move freely and prevents the ice cream from sticking to the bottom.
3. Scoop in Ice Cream: Add the vanilla or chocolate ice cream to the blender. The colder the ice cream, the thicker your final Milkshake will be.
4. Introduce Flavor Components: Add the creamy peanut butter, unsweetened cocoa powder, vanilla extract, and optional powdered sugar to the blender.
5. Add Ice (Optional): If you prefer an extra frosty and thick consistency, toss in 3-4 ice cubes. This trick is great for preventing a runny shake, especially on hot days.
6. Blend Until Smooth: Secure the blender lid and blend on medium-high speed. Start with short bursts, then gradually increase to a continuous blend. Watch for a perfectly smooth, creamy texture. You may need to stop and scrape down the sides with a spatula a few times to ensure all ingredients are incorporated. Avoid over-blending, as this can melt the ice cream too much.
7. Taste and Adjust: Pour a small amount into a spoon and taste. If desired, add more powdered sugar for sweetness or a touch more milk for a thinner consistency. This is key to mastering various milkshake recipes.
8. Serve Immediately: Pour the finished Milkshake into tall glasses. Garnish with a drizzle of chocolate sauce, a dollop of whipped cream, or a sprinkle of chopped peanuts for an extra touch of decadence. Enjoy!
Nutritional Benefits & Advantages
Beyond its indulgent taste, this homemade Peanut Butter Chocolate Milkshake offers some notable advantages. Peanut butter is a great source of healthy fats, protein, and dietary fiber, contributing to satiety and energy. Cocoa powder, especially unsweetened, is packed with antioxidants, known for their potential to combat free radicals. When made with whole milk, you’re also getting calcium and Vitamin D for bone health. By making it yourself, you control the sugar content, avoiding the excessive amounts often found in commercial shakes, and can opt for natural, high-quality ingredients, supporting a more wholesome approach to dessert enjoyment.
Tips, Variations & Cooking Advice
- Flavor Boosts: Add a pinch of sea salt to enhance the chocolate and peanut butter flavors. A shot of espresso or instant coffee powder can also elevate the richness.
- Thickening Power: For an extra-thick shake, use less milk or add a frozen banana. Frozen banana also adds a wonderful creamy texture and natural sweetness.
- Dietary Adaptations:
* Dairy-Free: Substitute dairy ice cream with a plant-based alternative (almond, soy, or coconut milk ice cream) and use plant-based milk.
* Gluten-Free: All ingredients in this recipe are naturally gluten-free.
* Protein Boost: Add a scoop of your favorite unflavored or chocolate protein powder for a post-workout treat.
- Swirl it Up: Drizzle chocolate syrup or warmed peanut butter into the serving glass before pouring the Milkshake for a visually appealing marble effect.
Common Mistakes to Avoid
- Over-Blending: This is the most common mistake. Blending for too long generates heat and melts the ice cream, resulting in a thin, watery shake. Blend just until smooth.
- Too Much Milk: Adding too much milk too soon can make your Milkshake too thin. Start with the recommended amount and add more gradually if needed.
- Poor Quality Peanut Butter: Oily or separated natural peanut butter can throw off the texture. Ensure it’s well-mixed before adding, or opt for creamy, homogenized varieties for consistency.
- Neglecting the Chill Factor: Using warm ingredients or serving in a warm glass can quickly melt your shake. Ensure ice cream is very cold and consider chilling your serving glasses beforehand.
Storage & Meal Prep Tips
This Peanut Butter Chocolate Milkshake is best enjoyed immediately for optimal texture and temperature. However, if you have leftovers, they can be stored in an airtight container in the freezer for a few hours. When ready to enjoy again, you might need to let it thaw for 10-15 minutes at room temperature and then re-blend it briefly with a splash of milk to regain its creamy consistency. Freezing for longer periods will turn it into more of an ice cream-like consistency rather than a drinkable shake. This isn’t a typical meal prep item, but it’s a fantastic spontaneous treat!
Conclusion
Crafting your own Peanut Butter Chocolate Milkshake at home is a simple yet incredibly rewarding experience. It’s an exercise in culinary control, allowing you to tailor every aspect from sweetness to thickness, ultimately delivering a superior treat that outperforms any store-bought equivalent. This guide has equipped you with all the knowledge to create a consistently delicious and satisfying shake, expanding your repertoire of impressive dessert creations. Don’t hesitate to dive in and experiment with these delightful milkshake recipes! Share your marvelous creations in the comments below, or tell us your favorite variations. Happy blending!
FAQs
Q1: Can I use frozen yogurt instead of ice cream?
A1: Yes, you can! Frozen yogurt will yield a tangier, slightly lighter Milkshake. Adjust sweetness with powdered sugar as needed.
Q2: How do I make my Milkshake thicker without adding more ice cream?
A2: To thicken your shake, reduce the amount of milk, add a few ice cubes, or incorporate a frozen banana. A tablespoon of chia seeds can also be added for natural thickening and extra fiber.
Q3: My Milkshake isn’t blending smoothly. What should I do?
A3: If your blender is struggling, add a tablespoon or two more milk to help the ingredients move. Stop and stir the mixture with a spatula to dislodge anything stuck to the bottom or sides, then resume blending.
Q4: Can I use different nut butters?
A4: Absolutely! Almond butter, cashew butter, or even sunflower seed butter can be excellent alternatives, each lending a unique flavor profile to your homemade Milkshake.
Q5: What are some fun toppings for this Milkshake?
A5: Popular toppings include whipped cream, chocolate syrup drizzle, chopped roasted peanuts, chocolate shavings, mini chocolate chips, or even a mini peanut butter cup.