Master the Art of Homemade Pizza: Your Ultimate Guide to Irresistible Dough
Ever dreamt of crafting that perfect, crispy-chewy pizza crust right in your own kitchen? That authentic taste and delightful aroma that transports you straight to Italy? Today, we’re diving deep into the art of making the Pizza Dough that will elevate your homemade pies from good to absolutely glorious. Preparing this foundational element at home isn’t just about saving money; it’s about unlocking unparalleled flavor, controlling the quality of your ingredients, and mastering a skill that will impress friends and family for years to come. Forget the bland, store-bought alternatives; with our guidance, you’ll be creating a truly remarkable foundation for all your pizza adventures using your new favorite homemade pizza dough.
Ingredients & Kitchen Tools
Crafting the perfect crust starts with quality ingredients and the right tools.
- All-Purpose Flour (3 cups): The backbone of our dough. While bread flour can offer a chewier crust, all-purpose is more readily available and yields fantastic results.
- Warm Water (1 ¼ cups, 105-115°F / 40-46°C): Crucial for activating the yeast. Water that’s too hot will kill it, too cold won’t activate it.
- Active Dry Yeast (2 ¼ teaspoons or 1 standard packet): The magic leavening agent that gives our dough its rise and airy texture.
- Granulated Sugar (1 teaspoon): Feeds the yeast, helping it become active and producing a more flavorful crust.
- Olive Oil (2 tablespoons, plus more for greasing): Adds flavor, richness, and helps create a tender crumb.
- Salt (1 teaspoon): Enhances flavor and controls yeast activity. Without salt, your dough would be bland and rise too quickly.
- Large Mixing Bowl: For combining ingredients and allowing the dough to rise.
- Measuring Cups & Spoons: Essential for precise ingredient measurements.
- Whisk or Fork: For stirring the yeast mixture.
- Dough Scraper (optional but recommended): Helps with handling sticky dough and cleaning your work surface.
- Clean Kitchen Towel or Plastic Wrap: To cover the dough during proofing.
- Baking Sheet or Pizza Stone (for baking): Your choice for achieving that perfect crust.
Prep Time & Cooking Schedule
- Prep Time: 15 minutes (active hands-on time)
- Proofing/Rising Time: 1-1.5 hours (first rise); 30 minutes (second rise, optional)
- Resting Time (after forming): 10-15 minutes
- Total Time: Approximately 2 hours
- Cook Time (for pizza): 10-15 minutes (depending on toppings and oven temperature)
This schedule allows ample time for the yeast to work its magic, developing both flavor and texture. Planning ahead is key for the best results!
Step-by-Step Instructions
1. Activate the Yeast: In your large mixing bowl, combine the warm water and sugar. Sprinkle the active dry yeast over the top. Let it sit for 5-10 minutes until foamy, indicating the yeast is active. If it doesn’t foam, discard and start again with fresh yeast or warmer water.
2. Combine Wet & Dry: Stir in the olive oil and salt into the yeast mixture. Gradually add the all-purpose flour, one cup at a time, mixing with a wooden spoon or your hands until a shaggy dough forms.
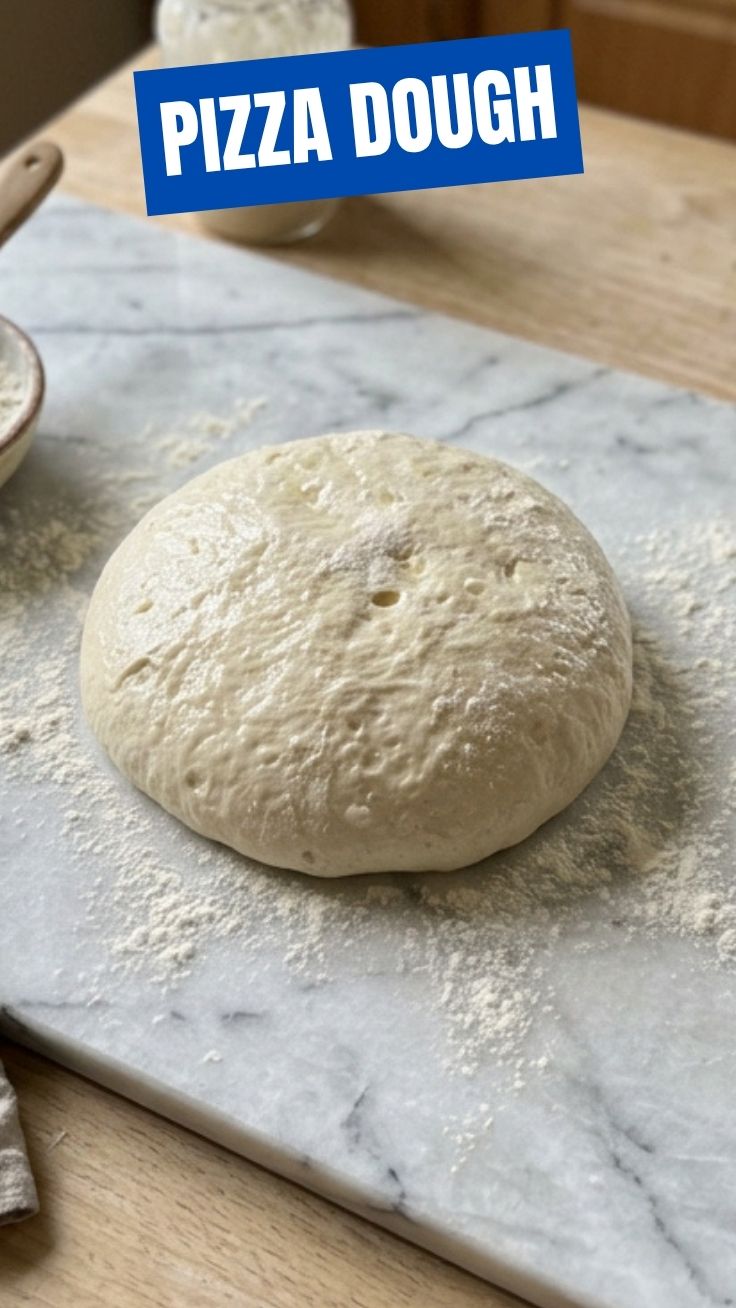
3. Knead the Dough: Transfer the dough to a lightly floured surface. Knead for 8-10 minutes until the dough is smooth, elastic, and no longer sticky. You should achieve a pliable and yielding texture that springs back when gently poked. This crucial step develops the gluten, giving our Pizza Dough its characteristic chew.
4. First Rise: Lightly oil the mixing bowl. Place the kneaded homemade pizza dough into the bowl, turning it once to coat with oil. Cover the bowl with a clean kitchen towel or plastic wrap. Let it rise in a warm, draft-free place for 1 to 1.5 hours, or until doubled in size.
5. Punch Down & Second Rise (Optional): Gently punch down the risen dough to release the air. If you have extra time and want an even more flavorful crust, you can cover it again and let it rise for another 30 minutes. This second rise develops more complex flavors.
6. Shape & Bake: Divide the dough into 2-3 equal portions (depending on your desired pizza size). On a lightly floured surface, gently stretch or roll out each portion into your desired pizza shape. Let the shaped dough rest for 10-15 minutes before adding toppings. Preheat your oven with a pizza stone or baking sheet inside to 450-500°F (230-260°C).
Nutritional Benefits & Advantages
Making your own pizza dough offers several nutritional advantages. You control the amount of salt and oil, avoiding excessive sodium and unhealthy fats often found in store-bought options. Whole wheat flour can be substituted for a portion of the all-purpose flour to increase fiber content, aiding digestion and promoting satiety. Plus, the fresh yeast contributes to a naturally fermented product, potentially offering beneficial enzymes and improved nutrient absorption.
Tips, Variations & Cooking Advice
- Flavor Boost: For a richer flavor, refrigerate the dough for 24-48 hours after the first rise. This slow fermentation really enhances the taste.
- Herb Inclusion: Knead in a teaspoon of dried herbs like oregano, basil, or Italian seasoning for an aromatic crust.
- Gluten-Free: Replace all-purpose flour with a high-quality gluten-free all-purpose flour blend (ensure it contains xanthan gum) and follow the same steps.
- Thick vs. Thin: For a thin crust, roll the dough out as thin as possible. For a thicker, chewier crust, leave it a bit thicker.
- Oven Temperature: A very hot oven is crucial for a crisp crust. Don’t be afraid to crank up the heat!
Common Mistakes to Avoid
- Water Temperature Too Hot/Cold: As mentioned, this can kill or inactive the yeast. Always check with a thermometer.
- Not Kneading Enough: Insufficient kneading results in a dense, tough crust due to underdeveloped gluten.
- Adding Too Much Flour: Leads to dry, crumbly dough that’s hard to work with. Add incrementally.
- Not Letting it Rise Enough: A short rise means less flavorful dough and a less airy crust. Patience is key.
- Overloading the Pizza: Too many toppings can make your pizza soggy and difficult to cook evenly. Less is often more.
Storage & Meal Prep Tips
This easy Pizza Dough is perfect for meal prep! After the first rise, you can:
- Refrigerate: Place the dough in an airtight container or a well-oiled, covered bowl for up to 3 days. Punch it down gently before use.
- Freeze: After the first rise, tightly wrap individual portions in plastic wrap, then place in a freezer-safe bag. Freeze for up to 3 months. Thaw overnight in the refrigerator, then bring to room temperature before shaping.
- Reheating: Leftover pizza is best reheated in a hot oven (350°F/175°C) or on a stovetop in a covered skillet to restore crispness.
Conclusion
Mastering this Pizza Dough recipe is a game-changer for any home cook. It’s a rewarding process that yields incredible flavor and texture, far surpassing any store-bought alternative. By following these simple yet precise steps, you’ve now unlocked the secret to perfect pizzas every time, starting with your very own homemade pizza dough. Don’t hesitate to experiment with toppings and techniques; the world of pizza is your oyster! Give this recipe a try, share your creations, and let us know your favorite pizza combinations in the comments below!
FAQs
Q1: Can I use instant yeast instead of active dry yeast?
A1: Yes, you can. Instant yeast can typically be added directly to the flour without proofing in water, saving a step. Use the same amount.
Q2: My dough isn’t rising. What went wrong?
A2: The most common culprit is inactive yeast, either due to expired yeast or water that was too hot or too cold. Ensure your water temperature is between 105-115°F (40-46°C).
Q3: How do I get a really crispy crust?
A3: Two main tips: preheat your oven and pizza stone/baking steel to a very high temperature (450-500°F / 230-260°C) for at least 30-60 minutes before baking, and avoid overloading your pizza with toppings.
Q4: Can I make this dough in a stand mixer?
A4: Absolutely! Use the dough hook attachment and knead on medium-low speed for 6-8 minutes until the dough pulls away from the sides of the bowl and is smooth and elastic.
Q5: What if my dough is too sticky or too dry?
A5: If too sticky, add flour one tablespoon at a time until it’s manageable. If too dry, add water one teaspoon at a time. The humidity of your environment can affect the exact flour-to-water ratio.