Bake Your Way to Bliss: The Ultimate Guide to Homemade Pumpkin Perfection
Ever wondered what magic a humble pumpkin can weave in your kitchen? Imagine the comforting aroma of cinnamon and nutmeg filling your home, promising a taste of autumn, no matter the season. Preparing a delicious Pumpkin Bread from scratch isn’t just about baking; it’s about creating a moment of pure, edible joy. This comprehensive guide will walk you through crafting a moist, flavorful loaf that will become a cherished family favorite. We’ll demystify every step, ensuring your homemade Pumpkin Loaf turns out perfectly every time.
Ingredients & Kitchen Tools
Gathering your provisions efficiently is the first step to baking success.
Wet Ingredients:
- 1 can (15 oz) Pumpkin Puree: Not pumpkin pie filling! Pure pumpkin provides the natural, earthy flavor.
- 2 large Eggs: Room temperature eggs emulsify better for a smoother batter.
- 1 cup Granulated Sugar: Sweetens and tenderizes the bread.
- 1/2 cup Brown Sugar (packed): Adds depth of flavor and moisture due to molasses content.
- 1/2 cup Vegetable Oil: Keeps the bread incredibly moist. Can substitute with melted butter or unsweetened applesauce for a lighter version.
- 1/4 cup Milk: Any milk will do; adds tenderness.
Dry Ingredients:
- 1 3/4 cups All-Purpose Flour: The structural base of our loaf.
- 1 tsp Baking Soda: Leavening agent helping the bread rise.
- 1/2 tsp Baking Powder: Another leavening agent for extra lift and a tender crumb.
- 1 tsp Ground Cinnamon: Classic warm spice.
- 1/2 tsp Ground Nutmeg: Pairs perfectly with cinnamon and pumpkin.
- 1/4 tsp Ground Cloves: Adds a subtle, aromatic complexity.
- 1/2 tsp Salt: Balances the sweetness and enhances flavors.
Optional Add-ins:
- 1 cup Chocolate Chips: For a decadent twist.
- 1 cup Chopped Walnuts or Pecans: Adds texture and nutty flavor.
Kitchen Tools:
- Large Mixing Bowl: For combining ingredients.
- Whisk: To blend wet ingredients and aerate dry ingredients.
- Rubber Spatula: For scraping down the bowl and folding.
- Loaf Pan (9×5 inch): The perfect vessel for baking. Gremio recommends a light-colored metal pan for even baking.
- Parchment Paper: Optional, but makes for easy removal and cleanup.
- Measuring Cups & Spoons: Accuracy is key in baking!
Prep Time & Cooking Schedule
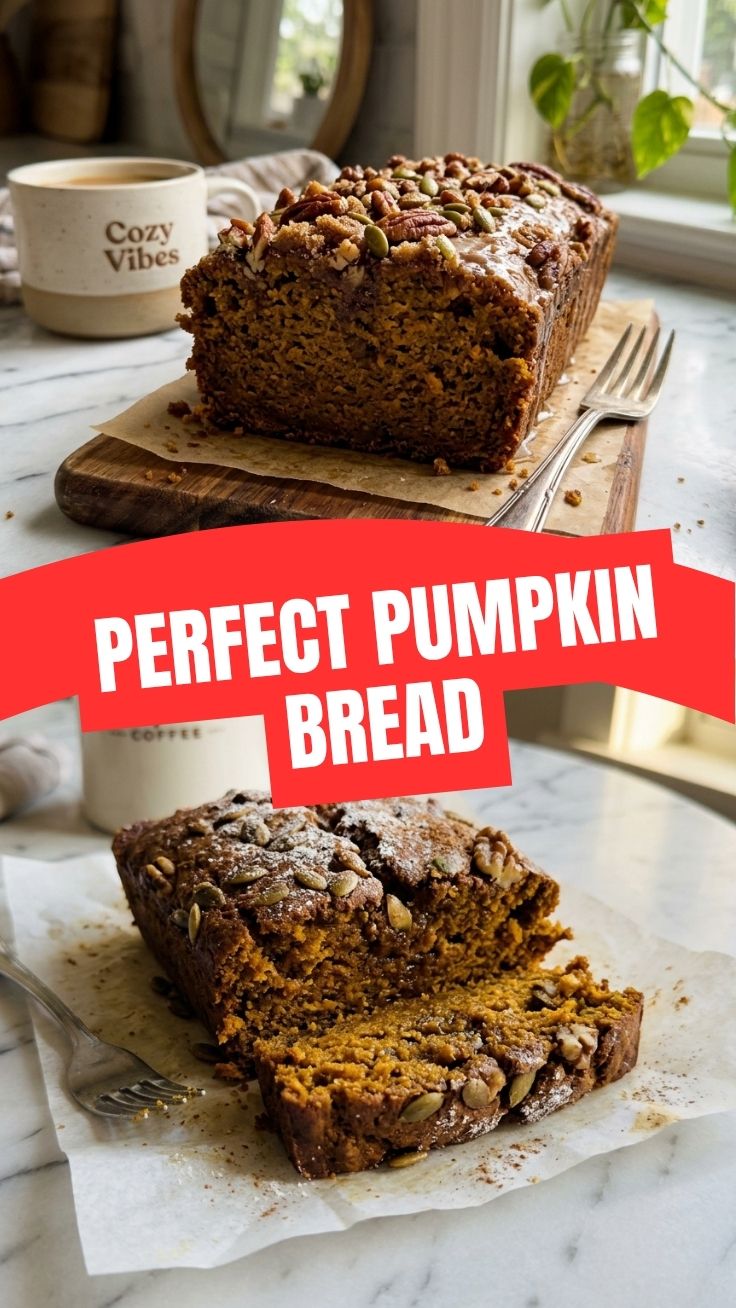
This recipe is surprisingly quick to put together, making it ideal for a spontaneous baking session.
- Prep Time: 15 minutes. This includes gathering ingredients, measuring, and preheating your oven.
- Bake Time: 55-65 minutes. Factors like oven calibration and pan material can influence this.
- Cooling Time: 15-20 minutes in the pan, then fully on a wire rack. This allows the bread to set and prevents it from becoming soggy.
Plan to dedicate about 90 minutes from start to finish to enjoy this warm, fragrant treat.
Step-by-Step Instructions
Follow these steps carefully for a bakery-quality Pumpkin Bread.
1. Preheat & Prepare: Preheat your oven to 350°F (175°C). Grease and flour a 9×5 inch loaf pan, or line it with parchment paper for effortless removal.
2. Combine Wet Ingredients: In a large bowl, whisk together the pumpkin puree, eggs, granulated sugar, brown sugar, vegetable oil, and milk until well combined and smooth.
3. Whisk Dry Ingredients: In a separate medium bowl, whisk together the flour, baking soda, baking powder, cinnamon, nutmeg, cloves, and salt. This ensures even distribution of leavening agents and spices.
4. Combine Wet & Dry: Gradually add the dry ingredients to the wet ingredients, mixing with a rubber spatula until just combined. Be careful not to overmix, as this can lead to a tough Pumpkin Loaf. A few lumps are perfectly fine.
5. Add Optional Mix-ins: Gently fold in any chocolate chips, nuts, or other additions at this stage.
6. Pour & Bake: Pour the batter evenly into your prepared loaf pan. Bake for 55-65 minutes, or until a wooden skewer inserted into the center comes out clean.
7. Cool: Let the bread cool in the pan for 15-20 minutes before carefully transferring it to a wire rack to cool completely. This crucial step prevents sticking and allows the loaf to firm up.
Nutritional Benefits & Advantages
Pumpkin isn’t just delicious; it’s a nutritional powerhouse! It’s rich in Vitamin A (from beta-carotene), which is vital for vision and immune function. It also provides dietary fiber, promoting digestive health and helping you feel fuller for longer. While this recipe includes sugar, you can moderate it or use alternative sweeteners for a healthier twist, leveraging pumpkin’s natural sweetness.
Tips, Variations & Cooking Advice
- Spice It Up: Adjust the spice levels to your preference. Add a pinch of ginger or allspice for extra warmth.
- Gluten-Free Option: Substitute all-purpose flour with a 1:1 gluten-free baking blend that contains xanthan gum.
- Dairy-Free: Use plant-based milk (almond, soy, oat) and use oil instead of butter.
- Reduced Sugar: You can slightly reduce the sugar content, but be mindful that sugar also contributes to moisture and tenderness.
- Mini Loaves: Divide the batter among mini loaf pans and reduce baking time to 25-30 minutes.
Common Mistakes to Avoid
Overmixing the Batter: This develops the gluten too much, resulting in a tough and dense bread. Mix just* until incorporated.
- Baking at the Wrong Temperature: An oven that’s too hot can burn the outside while leaving the inside raw. Too cool, and the bread won’t rise properly. An oven thermometer can be a great asset.
- Not Greasing the Pan Properly: Leads to the bread sticking, making removal difficult and potentially damaging the loaf.
- Cutting Too Soon: Warm bread is more fragile and prone to crumbling. Patience is a virtue here!
Storage & Meal Prep Tips
Your homemade Pumpkin Bread is a joy to have on hand.
- Countertop: Store wrapped tightly in plastic wrap or in an airtight container at room temperature for up to 3-4 days.
- Refrigerator: Extends freshness up to a week.
- Freezing: For longer storage, wrap individual slices or the whole loaf tightly in plastic wrap, then aluminum foil. Freeze for up to 3 months. Thaw at room temperature or gently warm in the microwave or oven.
This bread makes an excellent gift, a quick breakfast, or a delightful afternoon snack.
Conclusion
Baking your own Pumpkin Bread is a rewarding experience, filling your home with intoxicating aromas and your table with a tender, spiced treat. With this guide, you now possess all the knowledge to create a truly irresistible Pumpkin Loaf. Don’t hesitate to embark on this culinary adventure. Bake it, share it, and savor every cinnamon-kissed bite. What are your favorite autumn baking traditions? Share your experiences in the comments below!
FAQs
Q1: Can I use fresh pumpkin instead of canned puree?
A1: Yes, you can! You’ll need to roast and puree your own pumpkin. Ensure it’s very smooth and drained of excess moisture to maintain the correct batter consistency.
Q2: My bread sank in the middle. What happened?
A2: This can be due to several factors: overmixing the batter, too much leavening agent, opening the oven door too early, or insufficient baking time. Ensure you follow the mixing instructions carefully and resist the urge to peek during the first 45 minutes of baking.
Q3: Can I add cream cheese frosting to this bread?
A3: Absolutely! A classic cream cheese frosting complements the pumpkin and spices wonderfully. Just be sure to cool the bread completely before frosting.
Q4: How can I make this bread more moist?
A4: Ensure your pumpkin puree isn’t watery. You can also add a tablespoon or two of sour cream or plain yogurt to the wet ingredients for an extra boost of moisture and tenderness.
Q5: What’s the best way to get a nice crust on top?
A5: A sprinkle of turbinado sugar on top of the batter before baking can provide a lovely, slightly crunchy crust. Ensure your oven temperature is accurate for even browning.