The Ultimate Flaky Homemade Pumpkin Pie: Your Guide to a Slice of Heaven
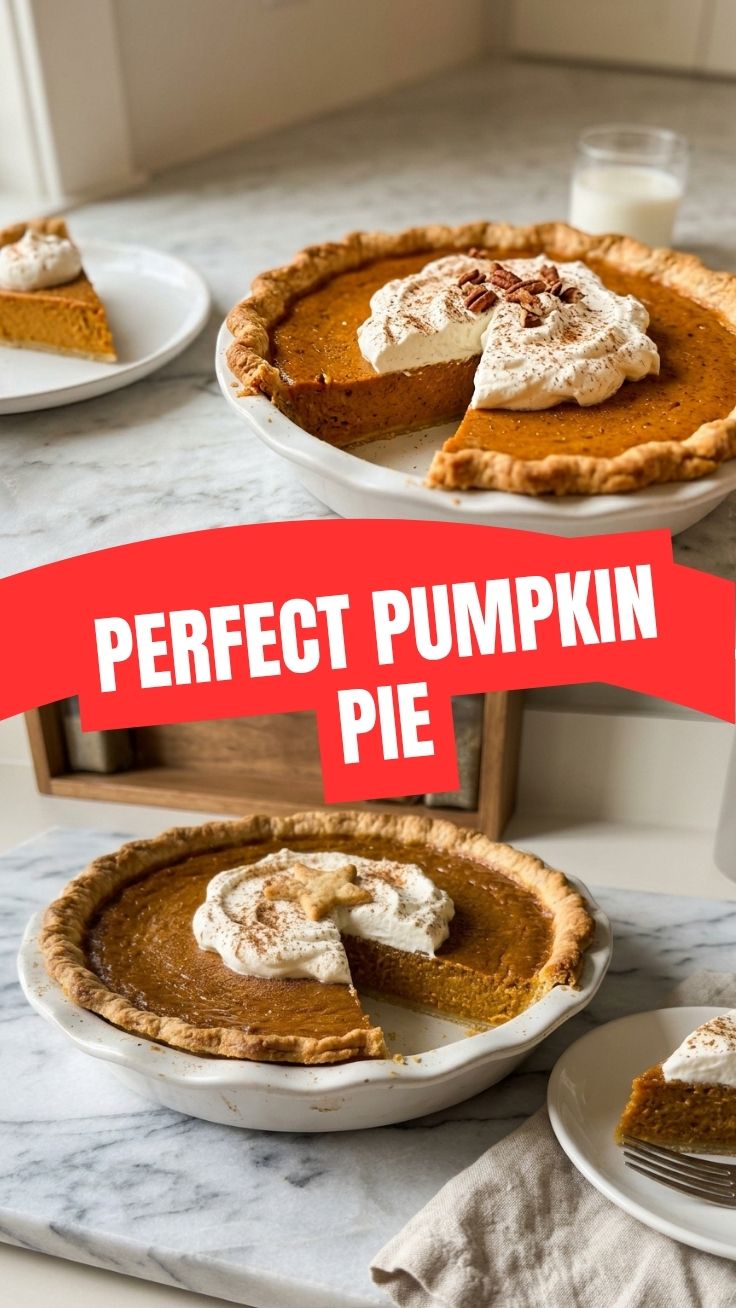
Is there anything more comforting and evocative of cozy gatherings than a perfectly baked Pumpkin Pie? This quintessential dessert, a crowning jewel of autumnal tables, brings a warmth and sweetness that’s unmatched. While store-bought versions have their place, crafting this delightful confection at home transforms it into an experience, not just a meal. Imagine the aroma of cinnamon and nutmeg filling your kitchen, the satisfaction of a golden-brown crust, and the creamy, subtly spiced filling that delights every palate. Especially around Thanksgiving, mastering this classic recipe guarantees a memorable dessert that will have everyone asking for your secret. This comprehensive guide will walk you through every step to achieve that perfect slice.
Ingredients & Kitchen Tools
To embark on your pumpkin pie journey, gather these culinary essentials:
- For the Crust:
* 2 ½ cups All-purpose flour: The foundation of your flaky crust.
* 1 teaspoon Salt: Enhances the flavor of the crust.
* 1 cup (2 sticks) Unsalted butter, very cold and cut into cubes: The key to a tender, flaky texture. Keep it as cold as possible!
* ½ cup Ice water: Helps bind the dough without developing gluten too much.
- For the Filling:
* 15 ounces Canned pumpkin purée: Ensure it’s 100% pumpkin, not pumpkin pie filling. It’s the heart of our pie.
* 1 cup Heavy cream: Adds richness and a silky texture.
* ½ cup Granulated sugar: Provides sweetness.
* ¼ cup Packed light brown sugar: Adds depth and a hint of caramel.
* 2 large Eggs: Act as a binder and create a smooth custard.
* 1 teaspoon Ground cinnamon: The classic spice, offering warmth.
* ½ teaspoon Ground ginger: A pungent, spicy note.
* ¼ teaspoon Ground cloves: Adds a potent, aromatic spice.
* ⅛ teaspoon Ground nutmeg: A sweet, woody spice that complements the others.
* ½ teaspoon Salt: Balances the sweetness and enhances spice flavors.
* 1 teaspoon Vanilla extract: Elevates all the flavors.
- Kitchen Tools:
* Large mixing bowls: For combining ingredients.
* Pastry blender or food processor: For cutting butter into flour.
* Rolling pin: To create an even pie crust.
* 9-inch pie plate: The vessel for your masterpiece.
* Whisk: For blending the filling smoothly.
* Measuring cups and spoons: For precise ingredient amounts.
* Oven thermometer (optional but recommended): Ensures accurate baking temperature.
Prep Time & Cooking Schedule
- Prep time: 30 minutes (for crust and filling)
- Chill time: 30 minutes (for pie crust dough)
- Bake time: 50-60 minutes
- Cooling time: At least 2-4 hours, or preferably overnight
Plan ahead! The chilling of the pie dough is crucial for flakiness, and allowing the pie to cool completely sets the filling, preventing cracks and ensuring a perfect slice. Starting the day before a big event like Thanksgiving is an excellent approach.
Step-by-Step Instructions
1. Prepare the Pie Crust: In a large bowl, whisk together flour and salt. Cut in the cold butter using a pastry blender or your fingertips until the mixture resembles coarse crumbs with some pea-sized butter pieces. Gradually add ice water, one tablespoon at a time, mixing until just combined and the dough comes together. Form into a disc, wrap in plastic, and chill for at least 30 minutes. This chilling step is vital for a tender, flaky crust for your Pumpkin Pie.
2. Roll and Blind Bake the Crust: On a lightly floured surface, roll out the chilled dough into a 12-inch circle. Carefully transfer it to your 9-inch pie plate. Trim and crimp the edges. Prick the bottom with a fork several times. Line with parchment paper and fill with pie weights or dried beans. Blind bake at 400°F (200°C) for 15 minutes, then remove weights and parchment and bake for another 5-7 minutes until lightly golden.
3. Prepare the Pumpkin Filling: While the crust bakes, whisk together pumpkin purée, heavy cream, granulated sugar, brown sugar, eggs, cinnamon, ginger, cloves, nutmeg, salt, and vanilla extract in a large bowl until smooth and well combined.
4. Assemble and Bake: Pour the pumpkin filling into the warm, blind-baked pie crust. Reduce oven temperature to 375°F (190°C). Carefully place the pie in the preheated oven.
5. Bake the Pie: Bake for 50-60 minutes, or until the edges are set and slightly puffed, and the center jiggles only slightly when gently shaken. If the crust begins to brown too quickly, loosely cover the edges with aluminum foil.
6. Cool Completely: Remove the pie from the oven and transfer it to a wire rack. Let it cool completely for at least 2-4 hours at room temperature before slicing. This allows the custard to fully set.
Nutritional Benefits & Advantages
Pumpkin is a nutritional powerhouse! It’s rich in Vitamin A, crucial for vision and immune function, and a good source of Vitamin C, an antioxidant. Its fiber content aids digestion, and it’s surprisingly low in calories. While our pie contains sugar and fats, using whole ingredients means you’re avoiding artificial additives often found in store-bought desserts. Making it yourself also gives you control over sugar levels and ingredients, allowing for healthier modifications.
Tips, Variations & Cooking Advice
- Spice it Up: Feel free to adjust the spice levels to your preference. A pinch of ground cardamom or allspice can add an interesting twist.
- Dairy-Free Version: For a dairy-free pie, substitute the heavy cream with full-fat coconut milk (canned, chilled overnight, and use the solid cream) and use a dairy-free pie crust recipe.
- Gluten-Free Crust: Use a high-quality gluten-free all-purpose flour blend for the crust to accommodate dietary needs.
- Don’t Overbake: An overbaked pumpkin pie can develop cracks and a rubbery texture. Watch for that slight wiggle in the center.
Common Mistakes to Avoid
- Warm Butter in Crust: Using warm butter will result in a tough, un-flaky crust. Always use very cold butter.
- Overworking the Dough: Overworking pie dough develops gluten, leading to a tough crust. Mix just until combined.
- Not Blind Baking: Blind baking the crust prevents a soggy bottom from the wet filling. Don’t skip this step!
- Cutting too Soon: Cutting into a warm pie almost guarantees a runny, messy slice. Patience is key!
Storage & Meal Prep Tips
Your homemade Pumpkin Pie should be stored in the refrigerator. Cover it loosely with plastic wrap or aluminum foil. It will stay fresh for 3-4 days. While technically you can freeze pumpkin pie (up to one month), the texture of the custard filling can sometimes change upon thawing, becoming slightly wetter. If freezing, wrap tightly in plastic wrap and then foil. Thaw in the refrigerator overnight before serving.
Conclusion
There’s an undeniable charm and depth of flavor in a homemade Pumpkin Pie that simply can’t be replicated. With this comprehensive guide, you’re equipped to create a dessert that’s not just delicious but also a testament to your culinary skill. Whether it’s for a festive gathering, a quiet evening at home, or the centerpiece of your Thanksgiving spread, this pie is sure to impress. Don’t hesitate to share your baking triumphs in the comments below, or tell us your favorite family variations!
FAQs
Q1: My pie crust is tough. What did I do wrong?
A1: This usually happens from overworking the dough, which develops gluten. Ensure your butter is very cold and mix the dough just until it comes together.
Q2: How can I prevent my pumpkin pie from cracking?
A2: Overbaking is the main culprit. Remove the pie from the oven when the center still has a slight jiggle. Rapid temperature changes can also cause cracks, so let it cool slowly at room temperature.
Q3: Can I make the pie filling ahead of time?
A3: Yes, you can prepare the filling mixture up to 24 hours in advance and store it in the refrigerator. Give it a good whisk before pouring it into your blind-baked crust.
Q4: What’s the best way to serve pumpkin pie?
A4: Chilled pumpkin pie is delightful on its own, but it’s often served with a dollop of fresh whipped cream, a dusting of cinnamon, or a scoop of vanilla ice cream.
Q5: My pie has a soggy bottom. How do I fix this next time?
A5: Ensure you fully blind bake your crust as instructed. This creates a barrier between the wet filling and the dough, preventing sogginess. You can also try brushing the blind-baked crust with a beaten egg white before filling and baking.