The Zest for Life: Crafting the Perfect Homemade Lemonade
Ever wondered what makes a hot summer day truly perfect? Often, it’s the simple pleasures, like a tall, frosty glass of Lemonade (Classic Homemade). Forget store-bought mixes; there’s an undeniable magic in concocting this sunny beverage from scratch. Not only does it offer unparalleled refreshment, but it also allows you to control every ingredient, ensuring a pure, vibrant taste that simply can’t be replicated. This comprehensive guide will walk you through the art of creating the perfect Homemade lemonade recipe, transforming humble lemons into a dazzling, thirst-quenching masterpiece. It’s a valuable skill that promises endless delightful sips.
Ingredients & Kitchen Tools
- Fresh Lemons (8-10 large, organic if possible): The star of the show. Organic lemons often yield more juice and a brighter zest.
- Granulated Sugar (1 to 1.5 cups, adjust to taste): Provides sweetness. You can substitute with honey or agave nectar for a healthier alternative.
- Filtered Cold Water (6-8 cups): Essential for a clean, refreshing taste. Avoid tap water if it has a strong chlorine flavor.
- Ice Cubes (generous amount): For serving, to keep your lemonade perfectly chilled.
Kitchen Tools:
- Large Pitcher or Dispenser (2-liter capacity or more): For mixing and serving.
- Lemon Juicer (handheld or electric): To efficiently extract juice.
- Fine-Mesh Sieve or Strainer: To remove pulp and seeds for a smooth lemonade.
- Large Spoon or Whisk: For stirring.
- Cutting Board and Sharp Knife: For slicing lemons.
- Measuring Cups and Spoons: For accurate ingredient quantities.
Prep Time & Cooking Schedule
- Prep Time: 15-20 minutes
- Chill Time: At least 1 hour (essential for optimal flavor merging)
This recipe is incredibly quick to prepare, making it a perfect last-minute refreshment. The most time-consuming part is often the juicing, but a good juicer makes short work of it. Allowing it to chill thoroughly in the refrigerator is crucial, as cold enhances the lemon’s brightness and balances the sweetness. Plan to make it at least an hour before serving, or even the night before for maximum flavor development.
Step-by-Step Instructions
1. Prepare the Lemons: Wash your lemons thoroughly. For easier juicing, you can roll them firmly on a countertop before slicing them in half.
2. Juice the Lemons: Using your juicer, extract all the juice from the lemons. You should aim for about 1.5 to 2 cups of fresh lemon juice. Strain the juice through a fine-mesh sieve into your large pitcher to remove any pulp and seeds. This ensures a beautifully clear and smooth Lemonade (Classic Homemade).
3. Create Simple Syrup (Optional but Recommended for Smoothness): In a small saucepan, combine 1 cup of sugar with 1 cup of water. Heat over medium heat, stirring constantly until the sugar is completely dissolved. Do not boil. This simple syrup ensures the sugar fully integrates into the cold liquid without a gritty texture. If skipping this step, you can add sugar directly to the lemon juice and cold water, stirring diligently until dissolved.
4. Combine Ingredients: Pour the strained lemon juice into your pitcher. Add the simple syrup (or granulated sugar if not making syrup) and stir well until fully combined.
5. Add Water: Gradually add 5-7 cups of cold filtered water to the pitcher, stirring as you go. Taste frequently, adjusting the amount of water and sugar to achieve your desired balance of tartness and sweetness. This is where your personal preference for the perfect Homemade lemonade recipe comes into play.
6. Chill: Cover the pitcher and refrigerate for at least 1 hour. This allows the flavors to meld beautifully and ensures a refreshingly cold drink.
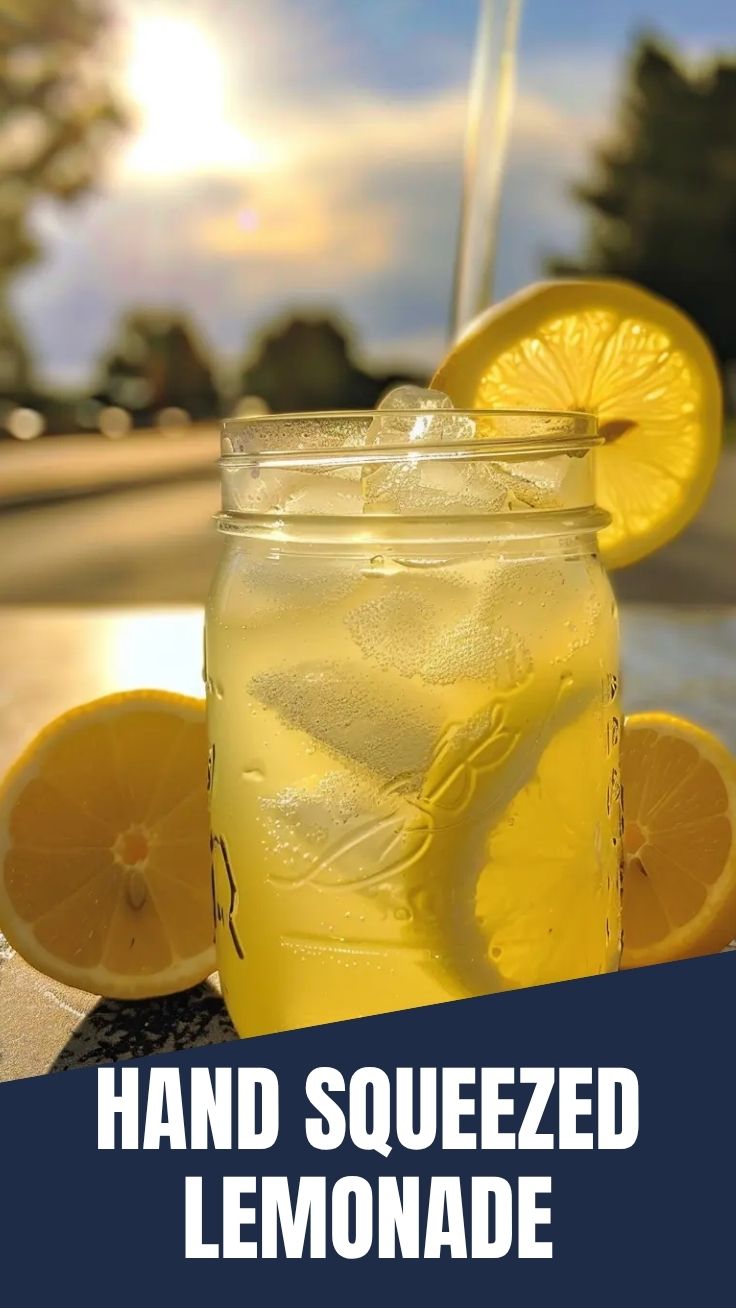
7. Serve: Serve over plenty of ice, optionally garnished with fresh lemon slices or mint sprigs.
Nutritional Benefits & Advantages
Homemade lemonade, especially when made with less sugar or natural sweeteners, offers more than just refreshment. Lemons are an excellent source of Vitamin C, a powerful antioxidant that supports immune health and skin vitality. They also contain compounds that can aid digestion and even support hydration. By making it yourself, you avoid the artificial colors, flavors, and excessive sugars often found in commercially prepared versions, leading to a purer, more healthful beverage.
Tips, Variations & Cooking Advice
- Flavor Boosts: Add a few sprigs of fresh mint, basil, or rosemary to the pitcher while chilling for an herbal twist. Muddled berries (strawberries, raspberries) can also create delicious fruit-infused lemonade.
- Sparkling Lemonade: Substitute some of the still water with sparkling water or club soda for an effervescent treat.
- Low-Sugar Option: Reduce the sugar significantly or replace it with a sugar substitute like stevia or erythritol to fit dietary needs. For a truly natural sweetness, try a touch of pure maple syrup.
- Zest for Extra Flavor: For a more intense lemon flavor, you can grate a teaspoon of lemon zest into your simple syrup while it’s heating. Strain it out before adding to the juice if you prefer a smooth texture.
- Don’t Waste the Zest: After juicing, don’t discard the lemon peels immediately! You can zest them and freeze the zest for future baking or cooking.
Common Mistakes to Avoid
- Using Bottled Lemon Juice: While convenient, bottled lemon juice lacks the vibrant, fresh flavor of freshly squeezed. Always go for fresh for the best results.
- Over-Sweetening: It’s easier to add more sugar than to take it away. Start with less sugar and gradually add more to taste.
- Not Chilling Long Enough: Warm lemonade dilutes the flavors. Chilling is essential for melding the components and achieving that crisp, refreshing sensation.
- Ignoring the Simple Syrup Step: While optional, especially for cold water, dissolving sugar in warm water first ensures a smooth, non-gritty texture in your final beverage.
Storage & Meal Prep Tips
Homemade lemonade can be stored covered in the refrigerator for up to 5-7 days. The flavor might mellow slightly over time, but it remains perfectly delicious. For longer storage, you can freeze concentrated lemon juice (without the added water) in ice cube trays. Thaw the concentrate and dilute with water and add sugar when ready to serve. This is great for preparing ahead for parties or busy weeks.
Conclusion
There’s nothing quite like the bright, invigorating taste of a perfectly balanced glass of homemade lemonade. By following this detailed guide, you’ve unlocked the secrets to crafting a truly spectacular Lemonade (Classic Homemade) that surpasses any store-bought alternative. Experiment with the tips and variations to find your signature twist, and enjoy the pure, refreshing delight of this classic beverage. We encourage you to try this Homemade lemonade recipe today and share your delightful creations with us in the comments!
FAQs
Q1: Can I use Meyer lemons for lemonade?
A1: Absolutely! Meyer lemons are sweeter and less acidic than regular lemons, offering a slightly different, often preferred, flavor profile for lemonade. You might need to adjust the sugar content accordingly.
Q2: What’s the best way to get the most juice from a lemon?
A2: Rolling a lemon firmly on a countertop before cutting, microwaving it for 10-15 seconds, or using a good quality reamer or juicer will help extract the maximum amount of juice.
Q3: How can I make my lemonade less tart?
A3: To reduce tartness, you can add more sugar, more water, or both. Taste as you go until you achieve your desired balance.
Q4: Can I add fruit pulp for a more rustic lemonade?
A4: Yes, instead of straining all the pulp, you can leave some in for a thicker, more rustic texture. Just be sure to strain out any seeds.
Q5: What are some good garnishes for lemonade?
A5: Fresh lemon slices, lime wedges, mint sprigs, or even a few berries add beautiful visual appeal and a fresh aroma to your homemade lemonade.