The Ultimate Guide to Fudgy, decadent Chocolate Brownies from Scratch
Are you ready to transform your kitchen into a haven of irresistible aromas and gooey indulgence? There’s nothing quite like the dense, fudgy perfection of homemade Chocolate Brownies. While countless commercial options exist, preparing them yourself offers an unparalleled sense of satisfaction, complete control over ingredients, and the promise of a fresher, more delicious treat. This comprehensive guide will walk you through crafting the perfect batch, from selecting the finest cocoa to achieving that coveted crinkly top. Get ready to bake some of the best brownie recipes you’ve ever tasted!
Ingredients & Kitchen Tools
To embark on your brownie-making journey, gather these essential items:
- 1 cup (2 sticks) unsalted butter: Adds richness and moisture. If using salted, omit added salt.
- 1 ¾ cups granulated sugar: Provides sweetness and contributes to the fudgy texture.
- ½ cup unsweetened cocoa powder: The star ingredient! Dutch-processed or natural, both work, but Dutch-processed often yields a darker brownie.
- 4 large eggs: Binds ingredients and creates structure.
- 1 teaspoon vanilla extract: Enhances the chocolate flavor.
- 1 cup all-purpose flour: Gives structure without making the brownies cakey.
- ½ teaspoon baking powder: A tiny amount helps with a light lift, preventing a brick-like texture.
- ¼ teaspoon salt: Balances sweetness and deepens chocolate notes.
- Optional: 1 cup chocolate chips or chopped nuts: For extra chocolatey goodness or textural contrast.
Kitchen Tools:
- 9×13 inch baking pan: Ideal size for a standard batch.
- Parchment paper: For easy removal and cleanup.
- Large microwave-safe bowl: For melting butter and chocolate.
- Whisk: For combining wet ingredients.
- Spatula: For folding in dry ingredients.
- Measuring cups and spoons: For accurate ingredient quantities.
Prep Time & Cooking Schedule
Planning is key for a seamless baking experience!
- Prep Time: 15 minutes (This includes gathering ingredients and melting butter/chocolate.)
- Cook Time: 25-30 minutes (Depending on your oven and desired fudginess.)
- Cooling Time: At least 2 hours (Crucial for achieving that perfect dense, fudgy texture. Resist cutting too soon!)
Allow ample cooling time for the best results; impatiently slicing hot brownies can lead to a crumbly mess.
Step-by-Step Instructions
Follow these steps precisely to achieve glorious Chocolate Brownies:
1. Preheat Oven & Prep Pan: Preheat your oven to 350°F (175°C). Line a 9×13 inch baking pan with parchment paper, leaving an overhang on the sides to create “handles” for easy removal. Lightly grease the parchment paper.
2. Melt Butter & Chocolate (if using baking chocolate): In a large microwave-safe bowl, melt the butter. If using baking chocolate (not cocoa powder, which is added later), melt it with the butter.
3. Combine Wet Ingredients: Remove the melted butter from the microwave. Whisk in the granulated sugar until well combined. Add the eggs one at a time, whisking vigorously after each addition until fully incorporated and the mixture is smooth and glossy. Stir in the vanilla extract. This vigorous whisking helps create that desirable crinkly top.
4. Sift Dry Ingredients: In a separate medium bowl, whisk together the all-purpose flour, unsweetened cocoa powder, baking powder, and salt. Sifting helps prevent lumps and ensures even distribution.
5. Combine Wet and Dry: Gradually add the dry ingredient mixture to the wet ingredients, folding gently with a spatula until just combined. Be careful not to overmix, as this can lead to tough, cakey brownies. If using chocolate chips or nuts, fold them in now.
6. Bake: Pour the batter into your prepared baking pan and spread evenly. Bake for 25-30 minutes. The brownies are done when a toothpick inserted about 1 inch from the edge comes out with moist crumbs, but not wet batter. The center should still seem slightly underdone—this is the secret to fudginess! Avoid overbaking, which leads to dry brownie recipes.
7. Cool Completely: Remove the pan from the oven and let the brownies cool completely in the pan on a wire rack for at least 2 hours, or ideally, chill them in the refrigerator for an hour before cutting. This allows them to set properly and intensify their fudgy texture.
Nutritional Benefits & Advantages
While often seen as an indulgence, homemade brownies can offer some benefits. Dark cocoa powder is rich in antioxidants, which are known to combat free radicals in the body. Using real butter provides healthy fats, and by making them at home, you control the sugar content, avoiding excessive additives found in commercial versions. The eggs contribute protein, and if you add nuts, you’ll incorporate healthy fats and fiber. Plus, the joy and stress relief from baking can be highly beneficial for mental well-being!
Tips, Variations, & Cooking Advice
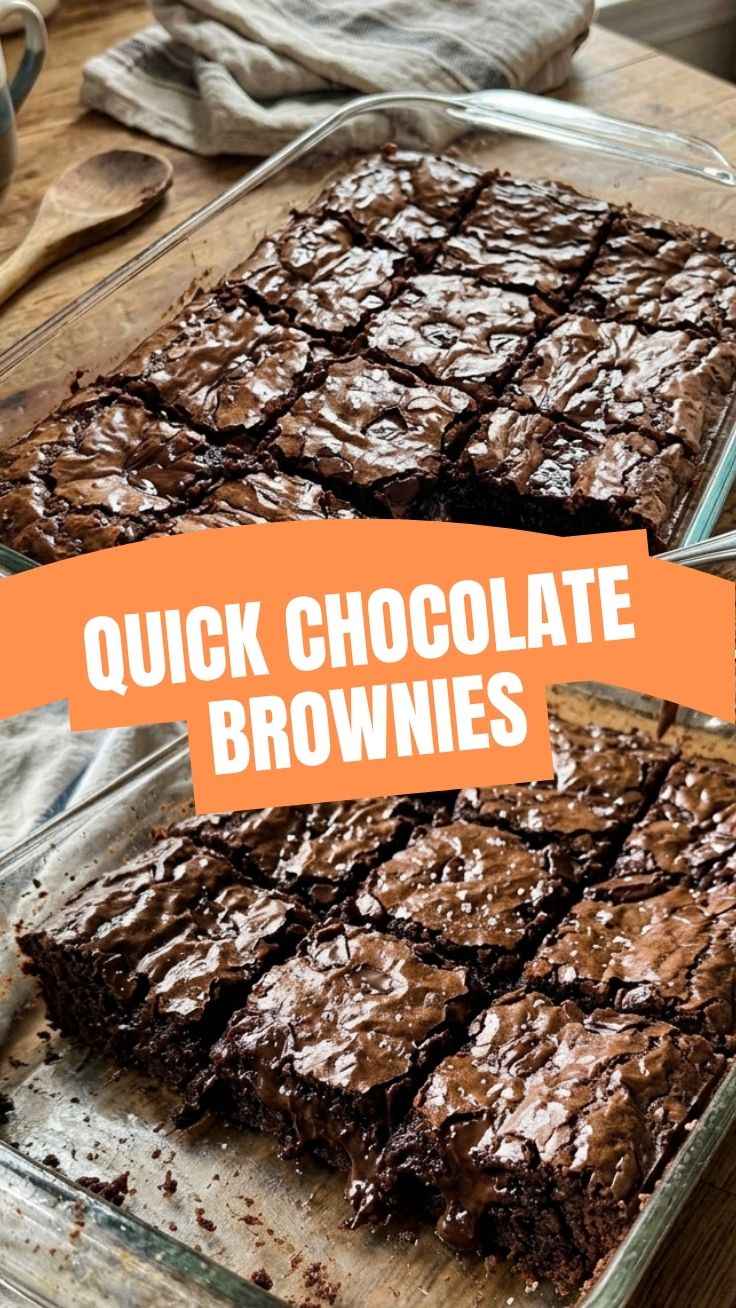
- Crinkly Top Secret: Whisking the eggs and sugar vigorously in the wet ingredients helps dissolve the sugar, contributing to that classic shiny, crinkly brownie top.
- Fudgier Brownies: Undercook them slightly! The internal temperature will continue to rise after they’re pulled from the oven.
- Cakey Brownies: For a more cake-like texture, increase the flour by ¼ cup and use ½ teaspoon of baking powder.
- Flavor Boosts: Add a pinch of espresso powder to deepen the chocolate flavor without making it coffee-flavored. A dash of cayenne pepper or chili powder can also add an exciting kick.
- Dietary Adaptations:
* Gluten-Free: Substitute the all-purpose flour with a 1:1 gluten-free baking blend that contains xanthan gum.
* Dairy-Free: Use a good quality plant-based butter alternative and ensure your chocolate chips are dairy-free.
- Blondies: If you love the texture but want a vanilla twist, check out blondie recipes!
Common Mistakes to Avoid
- Overmixing: This develops gluten in the flour, resulting in tough, cakey brownies instead of fudgy ones. Mix only until no streaks of flour remain.
- Overbaking: The most common mistake! Overbaked brownies are dry and crumbly. When in doubt, err on the side of slightly underbaked.
- Cutting Too Soon: Patience is a virtue here. Warm brownies are soft and fragile. Allow them to cool completely (even chill them) for clean, perfect squares.
- Using Too Little Fat: Fat is essential for fudginess. Don’t skimp on the butter!
- Incorrect Pan Size: Using a pan too large will result in thin, crispy brownies, while a pan too small will lead to undercooked centers. Stick to the 9×13 inch pan.
Storage & Meal Prep Tips
Once your fudgy masterpieces are cool, proper storage ensures they stay delicious.
- Countertop: Store brownies in an airtight container at room temperature for up to 3-4 days. Placing a piece of bread in the container can help keep them moist.
- Refrigeration: For extended freshness, especially in warmer climates, store in an airtight container in the refrigerator for up to a week. They will be firmer when cold and taste great chilled!
- Freezing: For long-term storage, cut the brownies into individual squares. Wrap each square tightly in plastic wrap, then place them in a freezer-safe bag or container. They can be frozen for up to 3 months. Thaw at room temperature or gently warm in the microwave.
Conclusion
Baking your own Chocolate Brownies is a rewarding experience that yields a truly spectacular treat. With this guide, you now have all the tools and knowledge to create perfect, fudgy brownies every time. Don’t shy away from experimenting with different additions and finding your signature touch among the many delightful brownie recipes out there. We encourage you to try this recipe, share your baking successes in the comments below, and revel in the joy of homemade deliciousness!
FAQs
Q1: Why are my brownies cakey instead of fudgy?
A1: This usually happens due to overmixing the batter, which develops too much gluten, or overbaking, which dries them out. Ensure you mix just until combined and pull them from the oven when the center still looks slightly underdone.
Q2: Can I substitute oil for butter?
A2: Yes, you can, but it will alter the flavor and texture. Oil typically yields a chewier brownie, while butter provides a richer, more classic fudgy taste. If substituting, use a neutral-flavored oil like vegetable or canola.
Q3: How do I get that crinkly top?
A3: The key is to vigorously whisk the sugar and eggs with the melted butter until the mixture is glossy and slightly thickened. This helps dissolve the sugar, which is crucial for that signature crinkly crust.
Q4: My brownies stuck to the pan, even with parchment paper. What went wrong?
A4: You likely didn’t grease the parchment paper or allow enough overhang to lift them out. A light spray of cooking oil or rub of butter on the parchment itself ensures easy release.
Q5: Can I add different kinds of chocolate to these brownies?
A5: Absolutely! Feel free to mix in milk chocolate, white chocolate, or even dark chocolate chunks or chips for varied chocolate intensity. You can also swirl in caramel or peanut butter for extra flavor.